Author:
Monica Porter
Date Of Creation:
16 March 2021
Update Date:
1 July 2024

Content
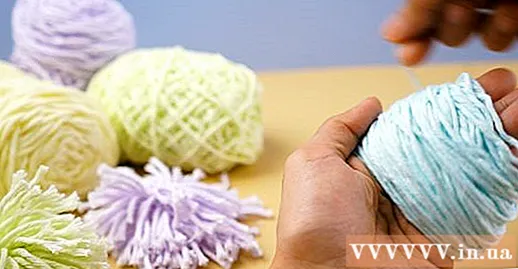
- If using 2 fingers: wrap 100-125 rounds.
- If using 3 fingers: wrap 125-150 turns.
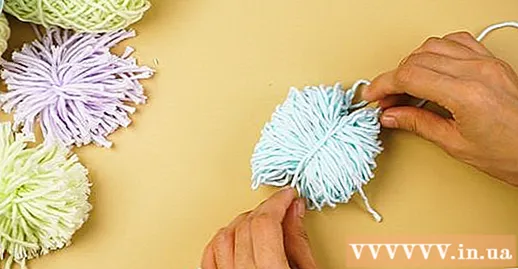
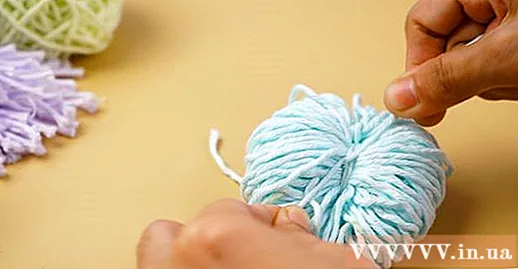
Tie the yarn around the bundle. Pull both ends of the wool yarn toward your body, then tighten the knot in the center of the bundle. This is very important. The ball may inflate if the knot is not tight.
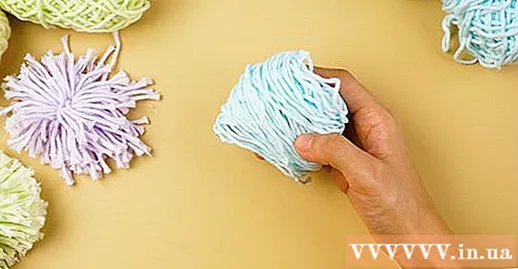
Hit the ball of wool. You can use your fingers to whip or gently roll the ball between your palms. Don't be afraid to see some loose wool; This is normal..
Method 2 of 3: Use cardboard
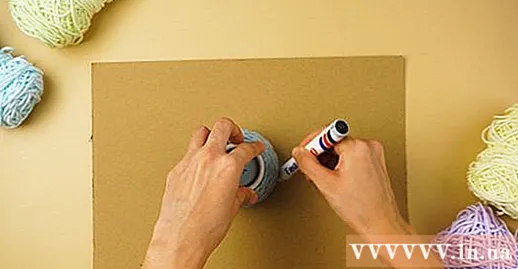
Draw a circle on the cardboard piece by contouring a cup. This will be the base for the ball of wool. If you want to make a big ball of wool, you can use a small bowl, even a CD or DVD, to draw circles.
Draw a smaller circle inside the circle just drawn. This circle is between 1.2 and 2.5 cm wide. The bigger the outer circle, the bigger the inner circle. However, you should avoid drawing the inner circle too big, otherwise the ball will be difficult to tie.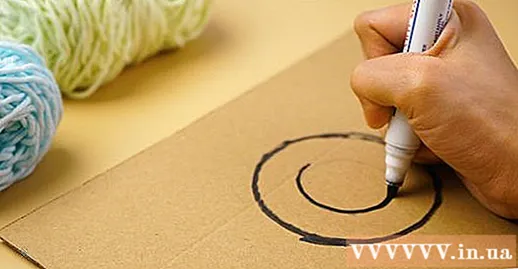
Cut the circles with a hand knife. Cut out the big circle first, then cut to the small circle. You will end up with a donut-like appearance. If you are a child, ask an adult to help you with this step.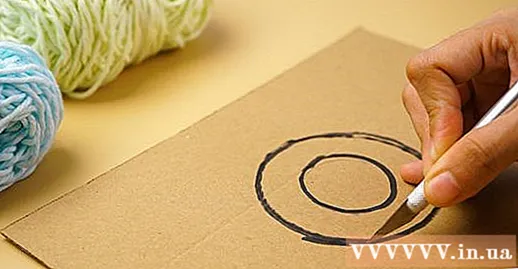
Cut a gap more than 1 cm wide in the shape of a donut. The gap will go from the outer circle to the inner circle. This step is to wrap the wool around the circle to make it easier.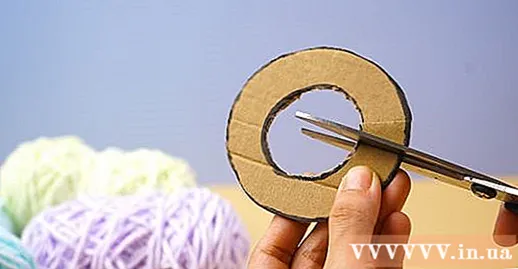
Draw a border following the donut shape just now and cut another shape exactly the same way. Put the two pieces together, remember to align the gaps of the two shapes. You will merge these two shapes into one until the final step.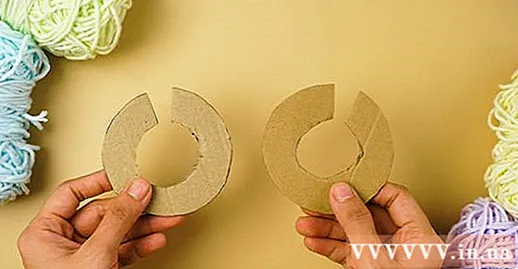
Start wrapping the wool around the donut shape. The easiest way to do this is to start at one side of the opening, wrap it around the donut shape and end on the other side.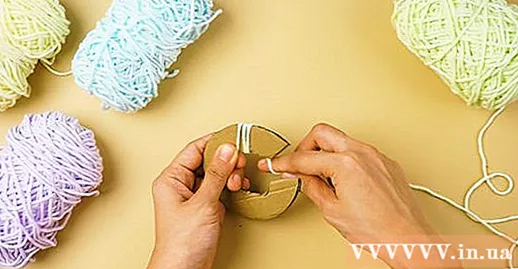
Continue wrapping around the donut shape until the opening in the middle is filled. Try to wrap your hands as evenly as possible, and not so tightly that the cardboard piece is twisted. If you like, you can change the yarns of different colors to make the ball more eye-catching.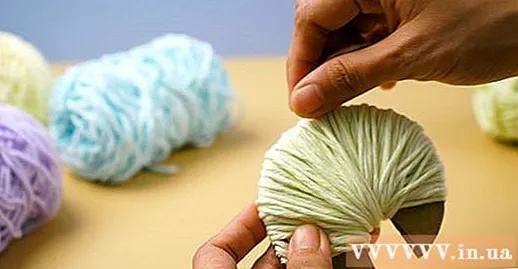
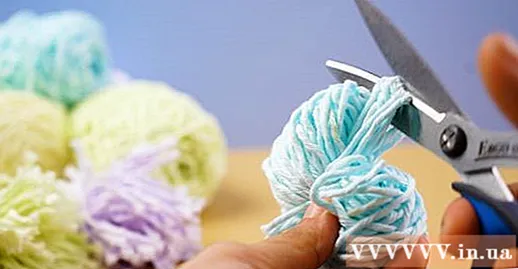
Cut the wool fibers. Cut excess wool first, then slip the scissors between the wool rings and the cardboard strip. Bring the scissor blade towards the outer edge of the donut shape and start cutting the wool rings. Keep the bundle in place, and do not let the threads come apart.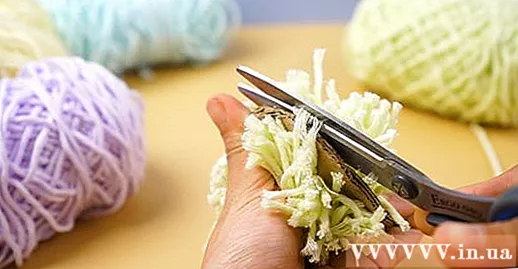
Cut a long piece of wool and loop it around the middle of the bundle. Separate the 2 pieces of cardboard a little so that you can thread the wool between the two pieces of cardboard. Tighten the ends of the wool fibers. Wrap it in the opposite direction and add another double knot.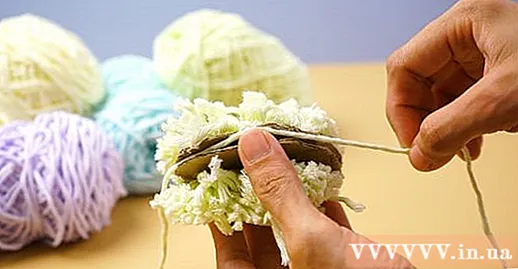
- You can cut off excess wool or tie the wool up into a loop to hang.
Carefully pull the two pieces of paper out of the ball of wool. If necessary, you can tear it up to make it easier, but be aware that the pieces of paper will no longer be used.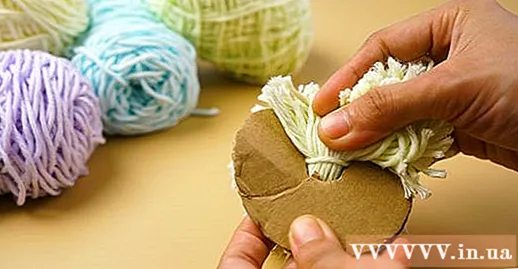
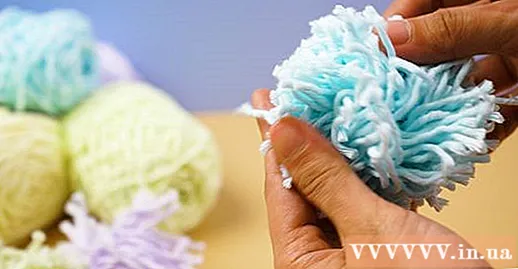
Hit the ball of wool. You can either use your fingers or roll between your palms. Don't worry if some wool falls off.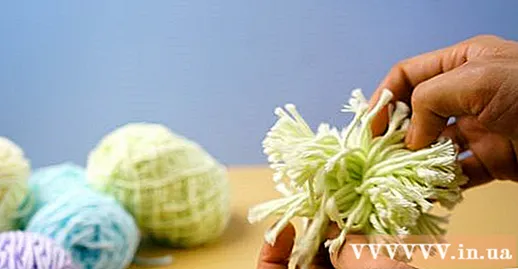
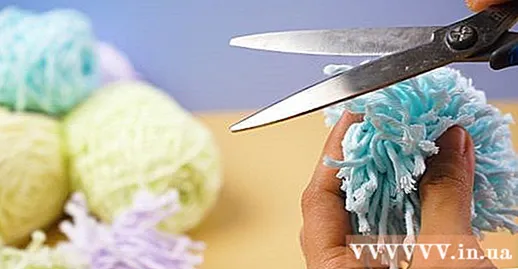
Fix the ball to be neat and even. Your ball of wool may still contain a few protruding threads, especially after whipping. Rotate the ball of wool and trim the long overhangs. advertisement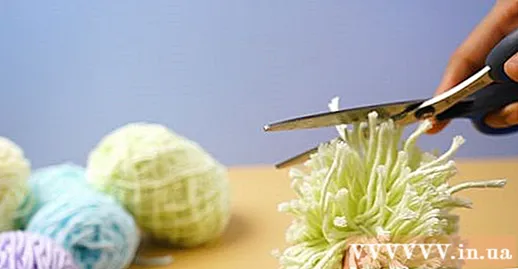
Method 3 of 3: Use a fork
Place the end of the wool thread across the teeth of the fork. You can use plastic forks, but metal ones will be more difficult to bend or break. Since you are using a small tool, you should consider using thinner yarns instead of larger fibers.
Wrap the wool around the fork teeth about 90 turns and cut the yarn. Don't wrap it too tightly to avoid bending the fork. If the fork is bent, not only will the fork be damaged, but your ball of wool will be uneven, and then it is difficult to tie the loops.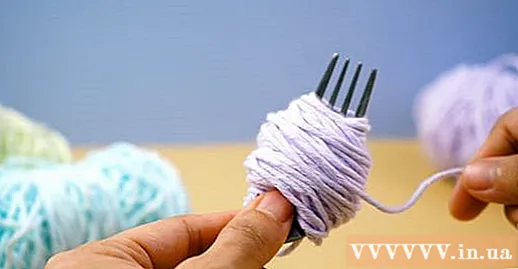
Cut a piece of wool about 30 cm long. You will use this wool to tie the ball of wool. If you want, you can thread the wool thread into the wool needle. This will make it easier to tie the ball of wool.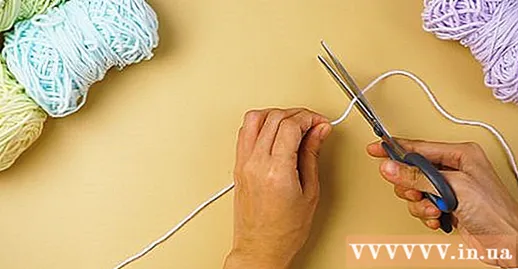
Wrap the cut wool around the wool loops on the fork. First, run the thread through the slot in the center of the fork, just below the loops. Next is to wrap the wool yarn up over the loops and go downwards, as tight as possible.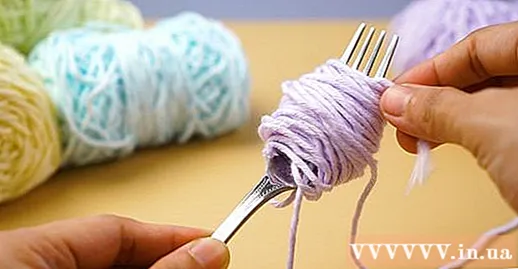
Tie the yarn into a tight knot. You can cut the excess wool or tie it into a ring to hang the ball.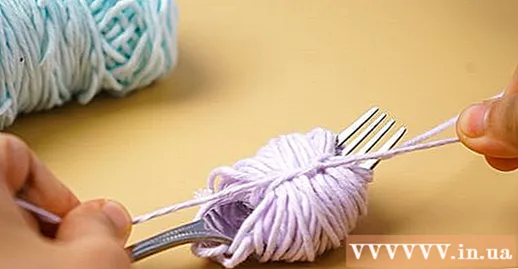
Slide the wool rings out of the fork, then cut off the loops at both ends. Gently whip the ball of wool. You can use your fingers to whip or roll in the palms of your hands. Don't worry if you have lost some of the wool.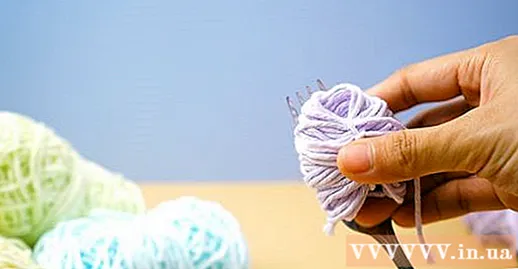
Fix the ball evenly. At this point the ball is in shape, but it might still look shaggy. If you do not feel it right, you can use scissors to trim the uneven fibers so that they are full. This step also makes the ball of wool look thicker. advertisement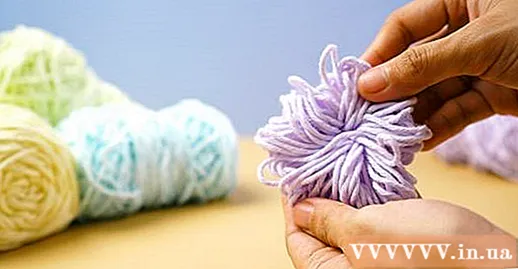
Advice
- A ball of wool makes a great cat toy! But be sure to watch out for the cat, in case the ball comes loose.
- When knitting hats or other items to be decorated with a ball, be sure to save enough wool to make the ball.
- If you make a colorful wool ball, you will have a stylish colorful ball of wool!
- If you do not have multi-colored wool, you can cut the yarn and continue wrapping when you want to change color.You can also wrap two or more colors at the same time.
- You can use ruffled wool or iridescent wool for a unique ball of wool.
- If you use thick wool the ball will look better.
Warning
- When using your fingers to make a ball of wool, be careful not to wrap it too tightly: otherwise, there is a risk of blood not circulating.
What you need
Use your fingers
- Wool
- Drag
Use cardboard
- Cardboard
- Pencil or ballpoint pen
- Cup, small bowl or CD / DVD
- Handmade knife
- Wool
- Drag
Use a fork
- Metal fork
- Wool
- Drag


