Author:
Robert Simon
Date Of Creation:
20 June 2021
Update Date:
1 July 2024
Content
This wikiHow teaches you how to boot from a USB flash drive instead of the hard drive on a Windows 7 computer. The USB booting process allows you to perform many tasks such as launching a lightweight operating system. Command line services like Clonezilla. You can even use USB to install Windows 7 if needed.
Steps
Part 1 of 4: Preparing for a warm-up
. Click the multicolored Windows logo in the lower left corner of the screen.
. The computer will start to boot.

Immediately, start pressing the BIOS key. You need to do it quickly as soon as you release the power button, and don't stop until the BIOS screen appears.
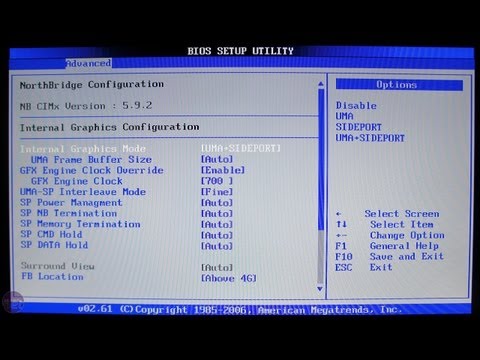
Stop pressing the BIOS key when the BIOS page starts to load. The BIOS page usually has a blue screen with white text, but your BIOS may look a little different. You should now be able to change the boot order of your computer. advertisement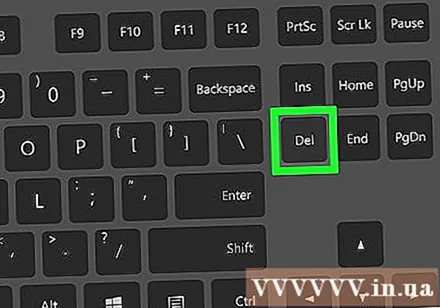
Part 3 of 4: Changing the boot order
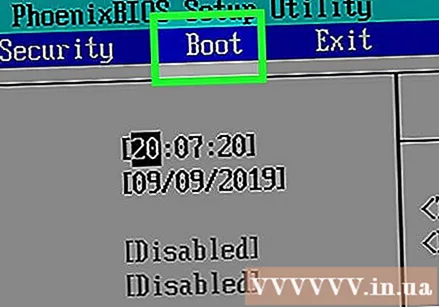
Find the "Boot Order" section. This option is on the BIOS screen, but you may need to scroll left or right (use the left and right arrow keys, respectively) through the tabs at the top of the screen until you find the "Boot Order" section.- You will probably find this in the card Advanced (Advanced), but there are also multiple BIOS variants with cards Boot Order individual.
Open the "Boot Order" menu. If "Boot Order" is a menu item instead of a title, select that section using the arrow keys and press. ↵ Enter.
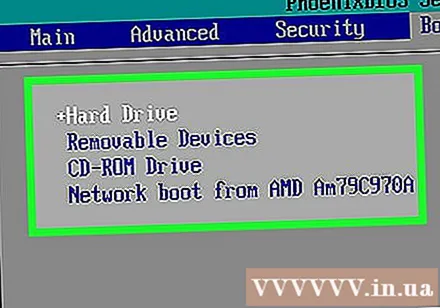
Select "USB". Find and scroll down to the "USB" option in the list of boot points.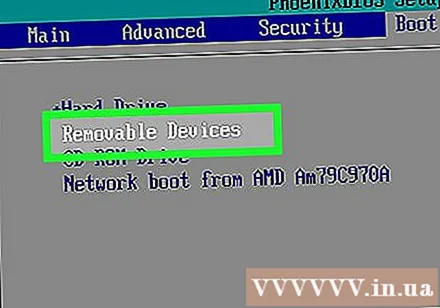
See key legend. This is usually on the lower right side of the screen, sometimes at the bottom of the screen.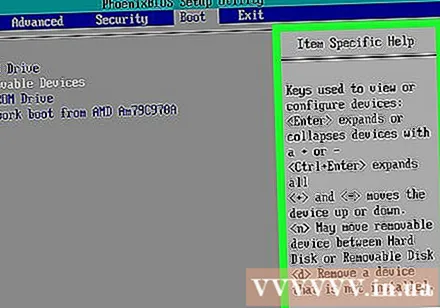
Define the key to press to move the selected item up. Usually you will press the key + to move the selected item up, however check the key legend information for sure.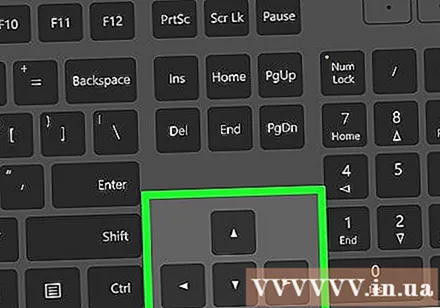
Move the "USB" option to the top of the list. Press the appropriate key until the "USB" option is at the top of the "Boot Order" list. This will ensure that when the computer starts to boot, the computer will look for the USB boot option instead of the hard drive as default. advertisement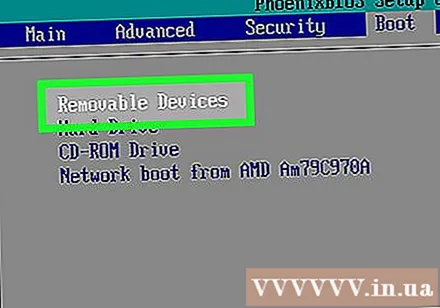
Part 4 of 4: Booting from USB
Save your changes and exit BIOS. Press the "Save and Exit" key specified in the key legend, then press the "Confirm" key when prompted.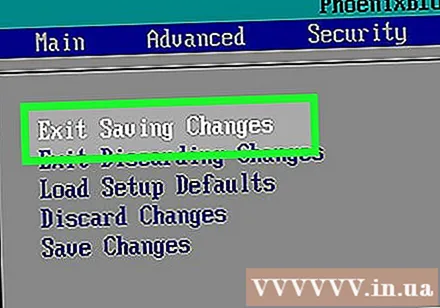
- For example, you may need to press Esc to save your changes, then press Y to confirm that you want to save and exit.
Restart the computer if necessary. If the computer does not boot from the USB flash drive the first time, the system may have selected the hard drive as the boot point. At this point, you'll need to restart your computer (with USB plugged in) before continuing.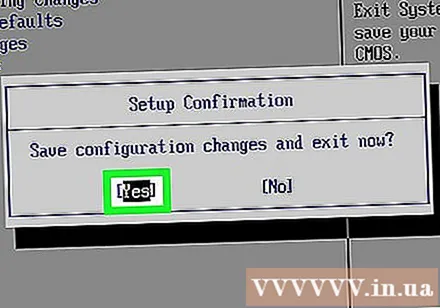
Wait for the USB program menu to appear. After the computer recognizes the USB as a boot point, the program, service or menu pre-installed on the flash drive will appear.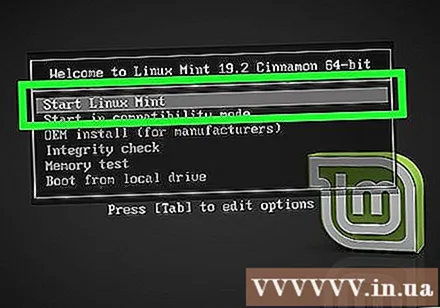
Follow the instructions on the screen. When the menu appears, you can continue to launch or install the program / service located on the USB. advertisement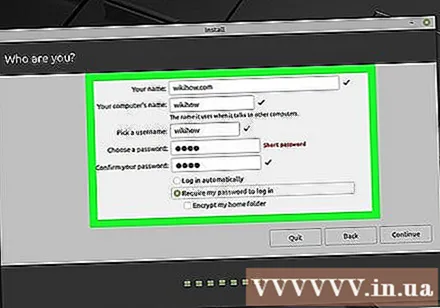
Advice
- If you don't want to use the Command Prompt to create a bootable USB, you can choose another free program, such as Live Linux USB Creator.
- In some cases, the computer will not recognize the flash drive as the boot point if you insert the wrong USB port. You can fix it by trying to plug the USB into a different port.
Warning
- The process of creating a bootable USB will cause the data on the flash drive to be erased.


