How to Fold paper cranes

Author: Laura McKinney
Date Of Creation: 8 August 2021
Update Date: 22 June 2024
Anonim
How To Make a Paper Crane: Origami Crane Step by Step - Easy
Video: How To Make a Paper Crane: Origami Crane Step by Step - Easy

Content

  • Fold the paper in half horizontally so that the top edge coincides with the bottom edge, line the fold, and open the paper.
  • Fold the sheet in half in the opposite direction.
  • Doubles vertically from right to left.

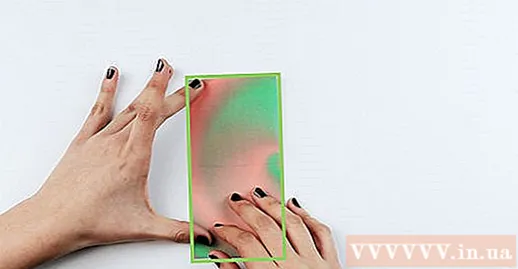
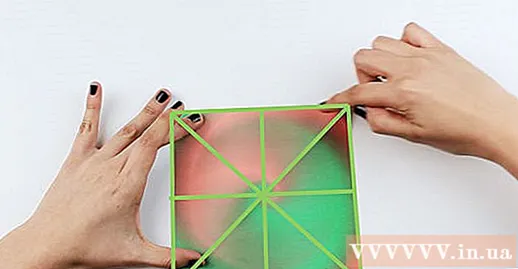
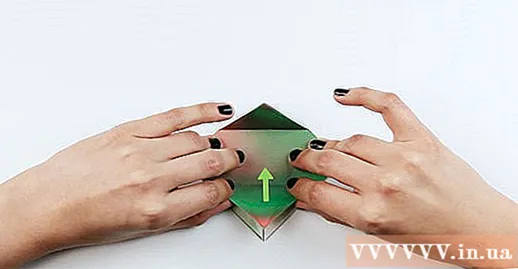
  • Follow the fold, then open the paper. The folds will form a cross.
  • Fold the paper diagonally so that the top right corner matches the lower left corner.
  • Line the fold and open the paper.

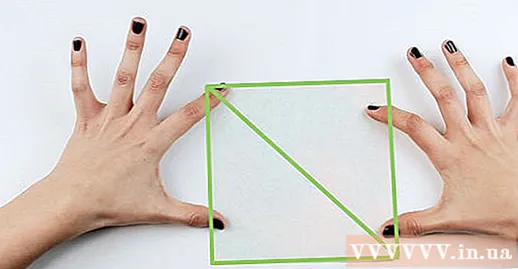
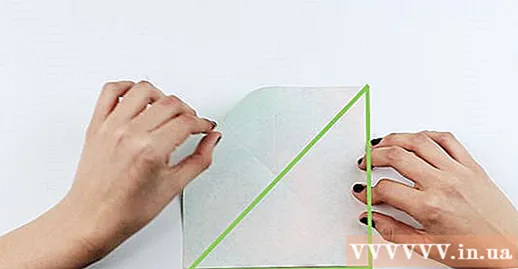
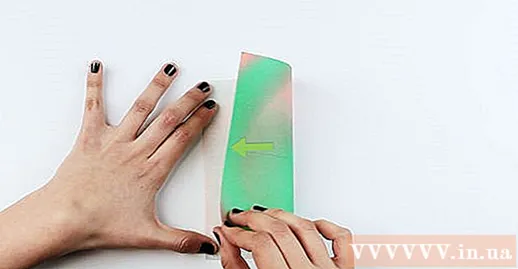
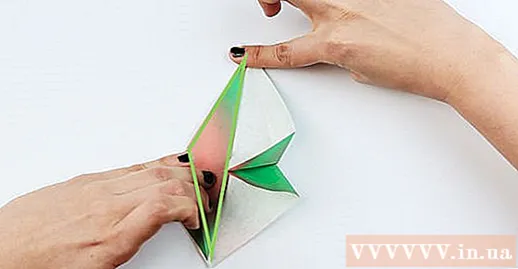
  • Fold diagonally so that the top left corner matches the lower right corner.
  • Line the fold and open the paper. The folding lines will now form an asterisk.
  • Pull the lower right edge of the top flap so that it fits snugly against the middle fold. Tighten the folds. Repeat with the lower left part. Now we will get the top surface of the kite (diamond shape).

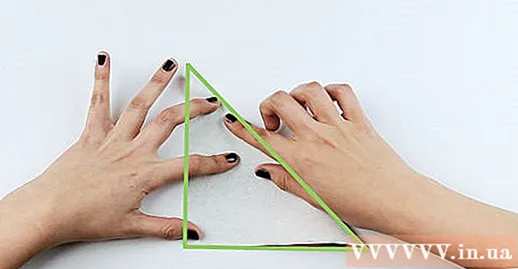
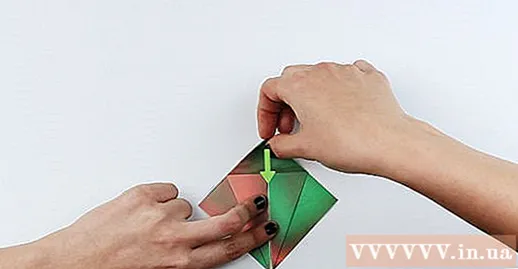
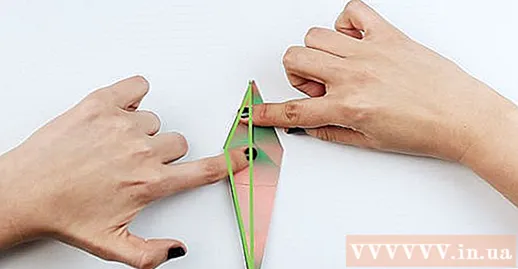
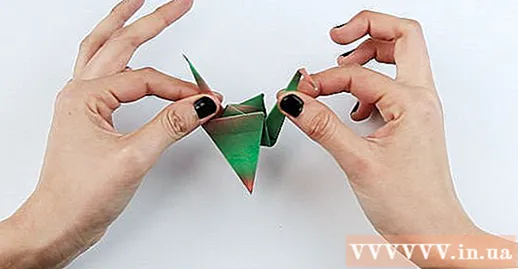
  • Pull the right corner of the upper flap into the center fold. We will have the edge of the lower right corner coinciding with the fold.
  • Fold the top corner down to create a horizontal fold that coincides with the horizontal fold in the previous step.
  • Unfold the last three folds. At this point we will have an open square in the lower part.
  • Fold the lower corner of the square upwards following the horizontal folds created in the previous step.
  • Turn the two folds on the top flap of the paper upside down by folding them in the opposite direction to the original fold.
  • Fold the outer edges of the paper in the center and smooth it flat. At this point we will have a diamond shape with two flaps facing to the left and right.
  • Turn the paper over and repeat steps 6 through 9 on this side.
  • Fold the side edges of the diamond into the middle fold.
  • Fold the right flap to the left flap. This is similar to turning a page.
  • Invert and repeat the above step on this side. Then fold the right flap on the left flap.
  • Fold the bottom end of the right flap to the top corner. Turn the paper over and repeat this step on the other side.
  • Fold the left flap to coincide with the right flap. Likewise, do the same thing as you turn the page.
  • Turn the paper over and repeat with the back. At this point, the crane's head and tail are in the middle of the part that forms the wings.
  • Fold the wing down so that it is perpendicular to the head, body, and tail.
  • Fold a piece down from the top.
  • Pull the head and tail so that they align with the side of the body.
  • 3D block creation. If you want the body of the crane to form a three-dimensional block, grab the two opposite corners at the bottom of the body and pull slightly to create the desired shape. Or you can blow into the hole under the crane's body.
  • Enjoy the results. You can donate paper cranes that have just folded, or you can hang them or use as decorations. advertisement
  • Advice

    • If you want to take the cranes away, skip the last step, you can keep the cranes in your bag, backpack or purse. The flat cranes will make it easier to organize without having to worry about the shape of the cranes getting distorted.
    • Consider using recycled paper; Recycled paper helps to protect the environment.
    • This is a common way of folding paper cranes. If you are having difficulty at a certain step in the process of folding the crane, you can find information online with the keyword "origami paper crane". Sometimes you can find another folding method that works better for you.
    • Try folding with different types of paper and patterns. The homemade goods corner in supermarkets or stationery stores has a variety of paper for different occasions. You can also find crane folding paper in newspaper and magazine stores or toy stores.
    • You can thread the crane on a string and then hang it in the room for decoration.
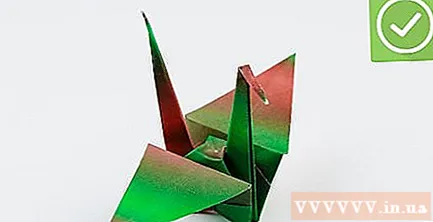
    • The best way to hang a paper crane is to pass a string through the hole in the cranes body at the intersection of the folds.
    • Thin paper and paper for origami folding are the best choices. Thin tissue paper will be more difficult to manipulate, but in return it will create paper cranes with a more magical look.
    • Cranes are a great gift.
    • You can fold the cranes with aluminum foil or metal plated paper.
    • To impress your friends, you can fold or tear the Starburst wrap into a square. Then use this piece of paper to fold the crane.
    • Do not use torn paper. To create a well-shaped cranes, you should use paper with straight edges.
    • If you get stressed or confused during the folding process, play a soothing, relaxing music.

    What you need

    • A square sheet of paper
    • One plane
    • A ruler or pleating tool (optional)