Author:
Randy Alexander
Date Of Creation:
23 April 2021
Update Date:
1 July 2024

Content
WikiHow today teaches how to minimize damage to your laptop right after you spill liquid onto the product. Remember, while the information provided below is the best way to treat yourself when water spills into your computer, there is no way to guarantee that your computer will be "saved"; Besides, bringing your laptop to a professional repair center is a much safer solution.
Steps
Turn off and disconnect the computer's power immediately. Press and hold the laptop's power button to turn off "hot". If liquid reaches the circuit while the machine is operating, your laptop will be hard to save, so time is the deciding factor.
- To disconnect the power supply, simply unplug the charging cable from the laptop. The jack is usually located on the left or right side of the computer chassis.
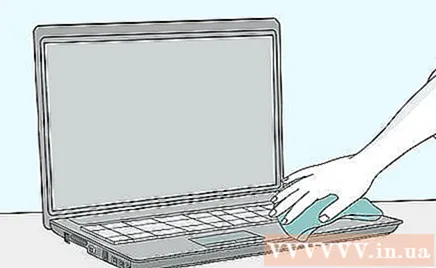
Eliminate any remaining liquid residue on laptop. This will minimize the computer's exposure to liquids and the risk of electric shock.
Turn the computer upside down and remove the battery if possible. Do this by flipping the laptop over, sliding the slider underneath, and gently removing the battery.
- As for MacBooks, you need to open the screws to remove the bottom shield from the chassis.

Remove all jacks of external hardware, including the following:- USB (flash drive, wireless adapter, charging device, etc.)
- Memory Stick
- Control device (eg mouse)
- Laptop charger

Lay the towel on the flat surface. Choose a warm, dry, and discreet place where you can let your laptop dry for a few days.
Open the laptop to its full size and place it face down on a towel. Depending on the flexibility, the laptop can be turned into a tent, even completely flat.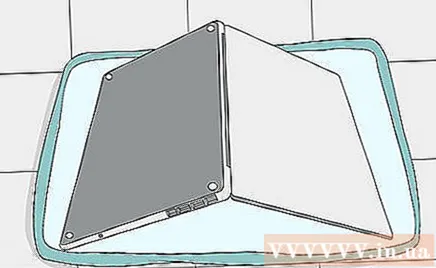
Pat dry any visible liquid. The places that can be cleaned are the front and back of the monitor, the computer chassis, and the keyboard.
- Make sure the computer is still somewhat facing down while cleaning so that any liquid (if any) will continue to drain.
Your body needs to ground before touching the laptop's internal components. Grounding will also remove static electricity from clothing or body. Static electricity can damage the electrical circuits in the device, so you must do this before touching the RAM card or hard drive.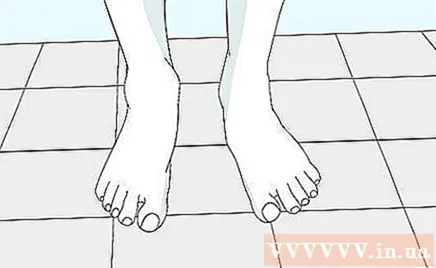
Disassemble any removable hardware. If you feel uncomfortable or unfamiliar with removing RAM, hard drives, and other removable components inside your laptop, you should consider bringing your computer to a professional repair center.
- You can find online instructions specific to your computer and refer to hardware replacement and disassembly details. Just look for the keyword "RAM removal" or "how to remove RAM" (or whatever components you need to remove) along with system information and computer number.
- On the MacBook, you first have to open the ten screws that secure the bottom shield to the chassis.
Pat dry the components that got wet inside the computer. Use a very thin cloth (or a lint-free cloth) to pat dry the laptop.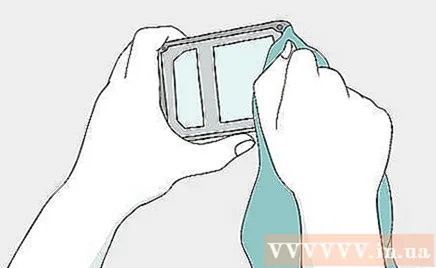
- If the area inside is still watery, you must drain the computer all the water first.
- All manipulations must be extremely gentle.
Removes sediment. Use a lint-free cloth to gently remove non-water stains, or you can use compressed air to blow away dirt, grit, and any other deposits.
Let the laptop dry. Let the computer dry for at least a day.
- You should consider leaving your laptop in a warm and dry place. Keeping close to a dehumidifier, for example, can speed up the drying process of your computer.
- Never use a dryer to help a laptop dry quickly, as the dryer's heat collects in one place and is hot enough to damage the internal components of the computer.
Assemble the laptop and turn on the power. If the computer won't start or if there is any discrepancy in sound or picture, you need to bring your laptop to a professional repair service right away (Phong Vu, Drlaptop, etc.).
Remove residue if necessary. Even if the computer is "saved" and working again, you can still run into problems with the greasy residue or fat in the beverage. You can remove these impurities by gently wiping the soiled areas with a lint-free cloth or cloth you previously used to dry your laptop. advertisement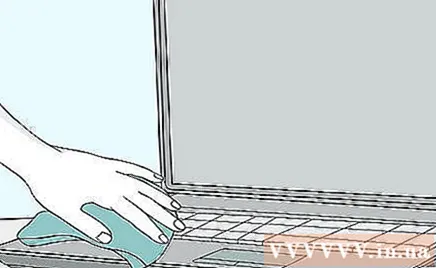
Advice
- When your laptop is working again after it dries out, doesn't mean everything is settled. The key thing to do is to back up your data and have your computer tested completely.
- YouTube has comprehensive and advanced tutorials on disassembling broken laptops.
- Some companies have warranties for wetting your computer; check this before proceeding with disassembling your computer at home; any self-repair operation may result in the product void of warranty.
- If possible, you should record a video of the entire disassembly process so that you don't have the trouble of reassembling the laptop.
- Many companies sell keyboard covers or membranes for laptops. While the way the keyboard responds to input may be altered, these cover materials also prevent liquid from spilling directly, affecting the computer.
- Consider getting an "accidental spill" warranty if you know you are constantly in contact with liquids. Although it has to spend a few million more than the price of the laptop, but that amount is still cheaper than having to buy a new machine.
- It helps if you point the fan towards the keyboard for many hours, which will evaporate the remaining liquid inside the keys.
Warning
- Do not combine electricity and water! Make sure that all plugs and electrical current contacts are completely dry before reconnecting the computer to a power source.
- Do not open the laptop in the middle of the drying process.
What you need
- Towels
- Small screwdrivers of various types
- Ball bag for small parts and screws
- Fabric is lint-free


