Author:
Laura McKinney
Date Of Creation:
7 August 2021
Update Date:
22 June 2024
Content
VirtualBox allows creating virtual computers capable of running multiple operating systems without the need for dual boot mode or hardware configuration. Installing VirtualBox is not too complicated, much of the time is spent on installing the standard operating system. See Step 1 below for how to install VirtualBox and operating system.
Steps
Part 1 of 3: Installing VirtualBox
Download VirtualBox. You can download Oracle's VirtualBox completely free from the developer's website. Need to download the version compatible with the operating system.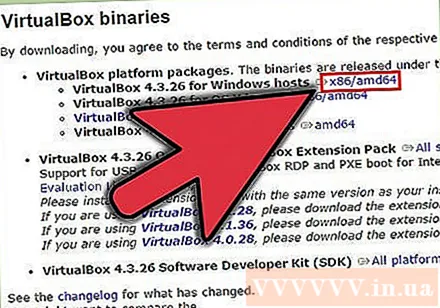
- There are many options for Linux operating system. Select the package suitable for Linux or use the "All Distributions" option if you do not see Linux in the list.

Install the VirtualBox program. If you're on Windows, double-click the setup file and follow the prompts. If using a Mac, open the DMG file you just downloaded and drag the VirtualBox file into the Applications folder.- During the installation of Windows, keep the default settings.

Start the program. VirtualBox allows you to manage several virtual machines and easily create new ones. You can run VirtualBox directly on the setup program or boot from an icon on your desktop. advertisement
Part 2 of 3: Creating Virtual Machine
Gather the installation disc. When creating a virtual machine, you need to install the operating system as you normally would. This means that you need an operating system installation disc if you want to install it on a virtual machine.
- If you download the ISO file for the installation disc, you can burn the contents to a blank DVD or install directly from the ISO file.

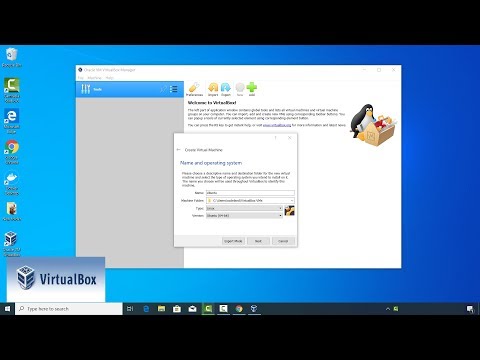
Select the "New" button. This allows the wizard to open the virtual machine creation process.
Determine the operating system. On the first screen of the wizard, you are asked to name the new virtual machine and select the operating system you want to install. Select the operating system from the Type menu, and then select the compatible version in the Version menu.
- For example, if you are installing Windows 7, you must select "Microsoft Windows" in the Type menu and then select "Windows 7" in the Version menu.
- If you are installing a 64-bit version of your operating system, be sure to select the 64-bit option in the Version menu.
RAM setting. You need to specify the amount of RAM for the virtual machine. VirtualBox will automatically choose the minimum size for the operating system, but you can increase or decrease it arbitrarily.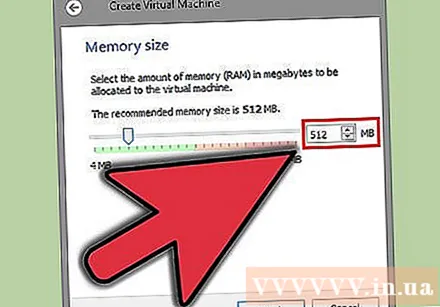
- You can choose the amount of RAM that is equivalent to the amount used to install the operating system.
- Do not choose the maximum as this will no longer be available for the normal operating system when running the virtual machine.
Create virtual hardware. A virtual machine needs a virtual hard drive to install the operating system and programs. This virtual hard drive is created on free space on the machine. VirtualBox will set the appropriate size depending on the operating system, you can adjust it yourself.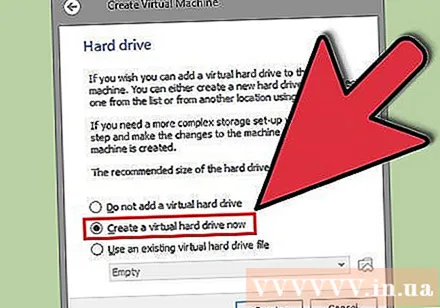
- Make sure the virtual hard drive has enough free space to install the operating system. Check the operating system specifications to determine the minimum amount of space needed.
- Bear in mind that any programs installed will write to the virtual hard drive's memory, so plan it accordingly.
- The most common virtual hard drive format is VDI (VirtualBox Image Disk).
Start installing the operating system. After configuring the virtual machine, the wizard will close and go to the main VirtualBox screen. Double-click a new device in the left menu to start it up for the first time.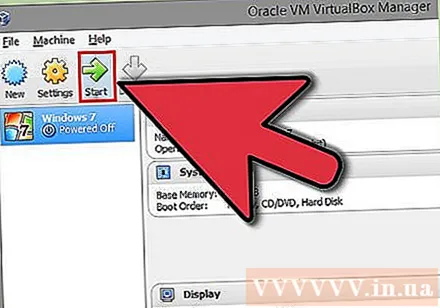
- A new wizard will appear to help start the installation of the operating system.
- If you are installing from a disc, insert the disc into your computer and select "Host drive" and then select the corresponding drive letter from the pull-down menu.
- If you are installing from an image file, click on the folder icon to access it on your computer and start the installation.
Install the operating system. After choosing the installation method, the process will begin. The installation is similar to installing the operating system on a normal computer. Read the instructions corresponding to the operating system used for more details:
- Windows 8
- Windows 7
- Windows Vista
- Windows XP
- OS X
- Linux Mint
- Ubuntu Linux
Part 3 of 3: Using a Virtual Machine
Start the virtual machine. After installing the operating system, the virtual machine is ready to operate. Double-click the machine on the left menu of the VirtualBox home page to start the virtual machine. The virtual machine will start and load the installed operating system.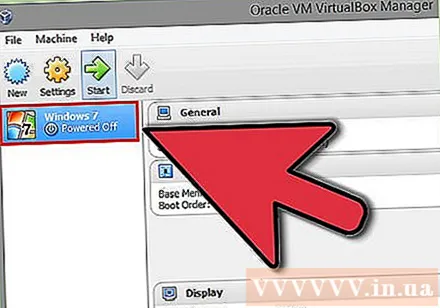
- The virtual machine runs on one window. No matter where the virtual machine window is focused, any typing or clicking action will affect the virtual machine, but not the real machine.
- You can create a desktop shortcut by right-clicking on the machine in the VirtualBox window and selecting "Create Shortcut on Desktop".
Turn off the virtual machine. You have several options for shutting down and they affect the virtual machine differently. When you click on the "X" in the top right corner of the screen, you'll see a few options: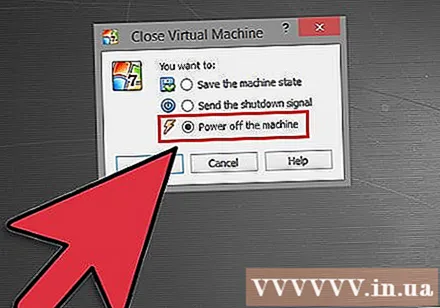
- Save machine state - This allows you to save the virtual machine state at shutdown. Programs will be saved in their current state and everything will be restored when you turn on the machine.
- Signal Off - This option allows you to power off the virtual machine signal, which will turn off when you press the power button on the real computer.
- Power Off - This option allows the machine to be powered off when the machine's power is turned off. Content will not be saved.
Capture the virtual machine. VirtualBox allows you to copy the exact state of the machine and return to that state at any time. This is extremely useful when trying to check the software or reconfigure the machine.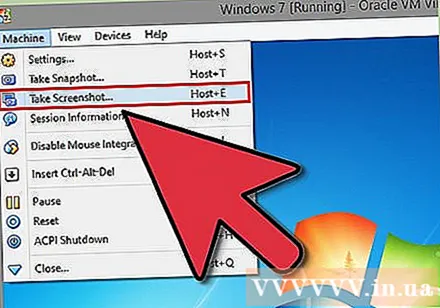
- You can take a picture by clicking the Machine menu and selecting "Take snapshot". The snapshot will be added to the virtual machine book on the left side of the VirtualBox menu.
- You can restore a snapshot by right-clicking it and then selecting "Restore". The virtual hard drive changes made from the time of taking the picture will no longer be restored.

")

