Author:
Laura McKinney
Date Of Creation:
10 August 2021
Update Date:
1 July 2024

Content
Do you have a lot of photos stored on your iPod and want to transfer to your computer? Backing up photos to your computer allows you to delete them in your iPod, freeing up precious storage memory. Whether you have an original iPod with a click of a wheel, or a new iPod touch, transferring images only takes a few minutes.
Steps
Method 1 of 2: Use an original iPod
Set up iPod in Disk Mode. To connect iPod to computer and manipulate files, iPod needs to be in Drive Mode. You can perform this step using iTunes, or install the iPod yourself in Drive Mode.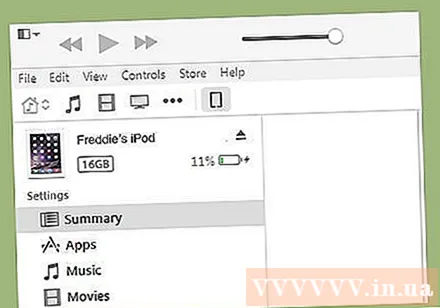
- To set up your iPod in Drive Mode using iTunes, plug your iPod into your computer, open iTunes and select from the Devices bar. In the Summary window, select "Enable disk usage" in Options.
- To set your iPod to Manual Drive Mode, you need to press and hold the Menu and Select keys for at least six seconds. Continue holding the buttons until the Apple logo appears. As soon as the logo appears, release the Menu and Select buttons, and press and hold the Select and Play buttons. Hold the buttons until the Drive Mode screen appears.
- See this guide for more details on how to set up your iPod to Drive Mode.
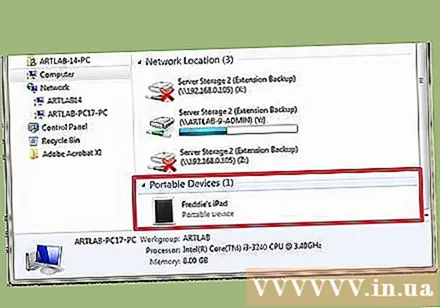
Open iPod on computer. If you turn on Drive Mode manually, you'll need to connect your iPod to your computer. If you're using a Mac, your iPod will appear on your computer as a USB drive. If using Windows, the iPod will be listed with another drive in the Computer / My Computer / This PC window.- If using Windows, you can quickly access this Computer / My Computer / This PC path by pressing Windows key + Pause.

Locate the image file you want to copy. Usually they are in the image folder, but since the iPod is used as a USB drive, the image can be placed anywhere. Navigate through folders to find an image to move.
Transfer photos from iPod to computer. You can select the images you want to copy to your computer and then copy them by selecting Edit (Edit) → Copy (Copy), right-click and select Copy, or by pressing Ctrl + C (windows) or Command + C (Mac).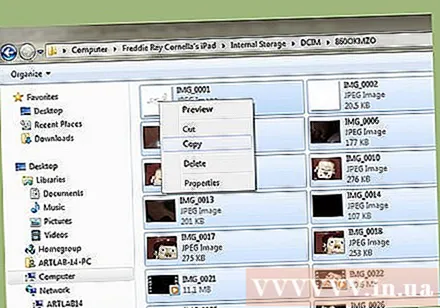
- Select the location where you want to transfer pictures and paste the copied image. You can do so by clicking Edit → Paste (Paste), right-click in an empty space and select Paste, or press Ctrl + V (Windows) or Command + V (Mac).
- If you don't want to keep the photos on your iPod, you can cut, rather than copy, delete the original file after copying to the new location. You can cut by pressing Ctrl + X (Windows) or Command + X. Then paste in the same way as described above.
- You can also transfer files to your iPod if you want.

Wait for the migration to complete. If you transfer a lot of images, copying may take a long time. The progress bar shows you estimated time remaining.
Remove the iPod. After the copying process is complete, you need to remove your iPod before removing it from your computer. This step helps prevent data corruption.
- On Mac, right-click on iPod on Desktop and select Remove (Eject). Now you can disconnect iPod.
- In Windows, click the "Safely remove hardware" button in the System Tray, and then select the iPod. Now you can disconnect iPod.
Method 2 of 2: Use iPod Touch
Windows
Connect iPod Touch to the computer. If this is your first time connecting the device to the computer, you will need to wait a few minutes while Windows installs the necessary drivers.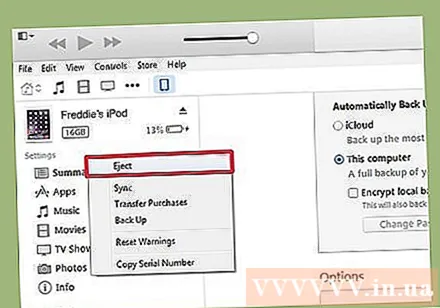
Start the import tutorial. If the Autoplay window appears, select "Import pictures and videos". If the Autoplay window is not displayed, open the Computer / My Computer / This PC window, right-click on your iPod Touch, and select Import images and videos.
Select the image you want to move. Windows will scan the iPod Touch for image recognition. Then a window showing the number of found images with a few options appears. To choose the images you want to copy, you need to select "Review, organize, and group files to import" (review, organize, and group items to import) and click the Next button.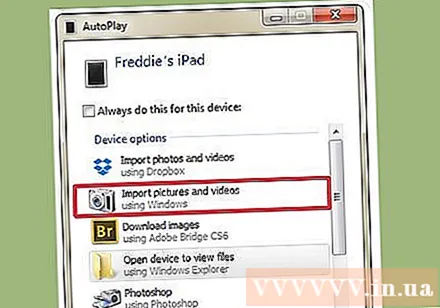
- The images will be sorted by shooting date. By default, all images are selected. You can either deselect the box next to the images you don't want to keep, or uncheck "Select all" at the top of the list to deselect all images.
- You can change the way images are grouped by dragging the slider in the lower right corner.
Organize the image you want to keep. You can tag images passed through by clicking the "Add tags" button, allowing for easier searching. You can also name a custom folder for each group of photos by pressing the "Enter a name" button with the folder icon.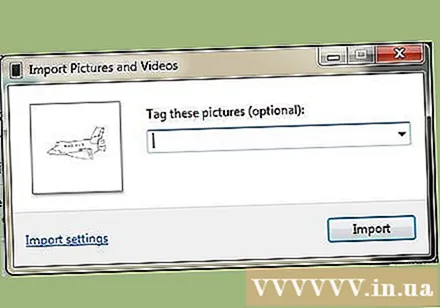
Set import options. Click the "More options" link in the lower left corner of the window. This step will allow you to set up a new image storage directory, and name the file. Click the OK button when done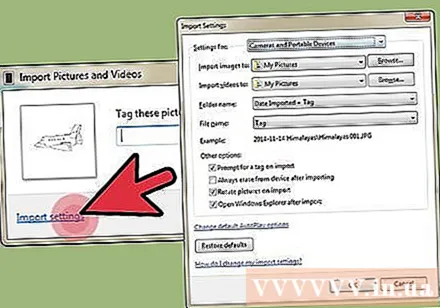
- Select "Delete files from device after importing" if you want to free up memory in your iPod after moving the picture.
Move files. Click the Import button to start the image copying process. When the process is complete, you will be redirected to the library of "Imported Pictures and Videos". Pictures can also be saved in the default "Pictures" folder. advertisement
Mac OS X
Connect iPod Touch to the computer. When you connect your iPod, iPhoto will automatically open. If iPhoto is not activated, you can open it in the folder "Applications" (Applications).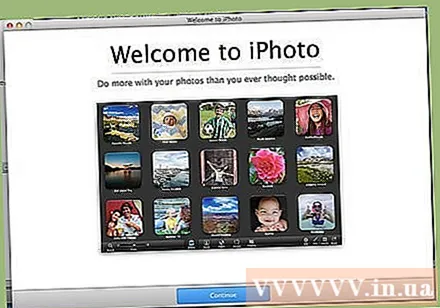
Select the images you want to import. You can import all photos on iPod by clicking "Import # Photos ". If you only want to import a few photos, you can click each photo you want to transfer to select it. Click the" Import Selected Photos "button to copy the image selected photo.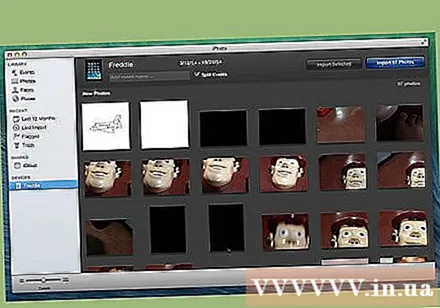
- If iPhoto does not show the content of the iPod, you need to make sure it is selected from the "Devices" section in the left pane.
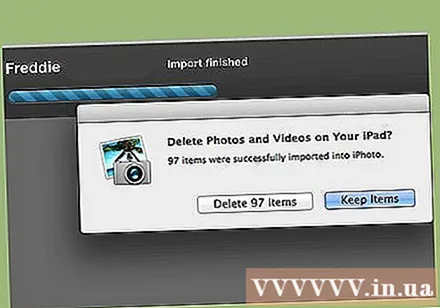
Choose whether to delete or keep imported images. After performing the import option, the program will ask if you want to keep the image file imported on your iPod, or delete it to save memory. If you intend to transfer photos to another computer, you should keep them in the iPod. advertisement