Author:
Peter Berry
Date Of Creation:
18 February 2021
Update Date:
1 July 2024

Content
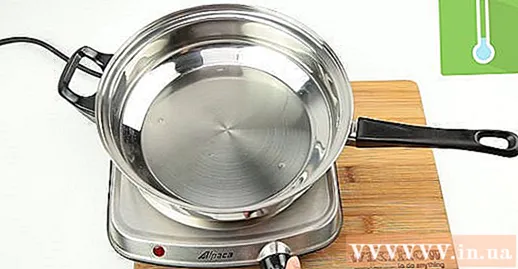
- You can also i pan in the oven. Place the pan in the oven and set it to 177 degrees Celsius. Leave the pan in the oven for about 1 hour.
Pour the oil in the pan down the drain pipe in the kitchen. There will still be some oil in the pan; It is also okay. You can absorb the oil and throw it away with your food waste if you don't want to pour the oil down the drain. Don't worry if the oil is still in the pan.
Part 2 of 3: Anti-sticking pan during cooking
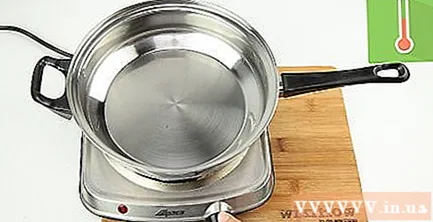
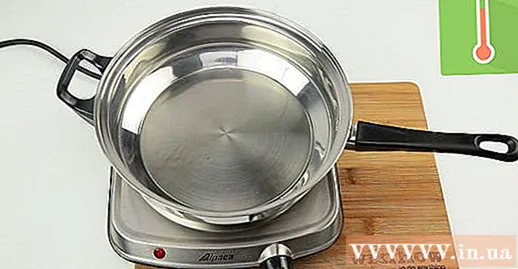
Monitor the heat level of the stove while cooking. Avoid placing the pan on the stove on high heat - especially with an oiled pan. The higher the temperature, the easier it will stick to the pan when cooking.
Only cook acidic dishes with plenty of water and sauces in stainless steel frying pans. Fruits, vegetables, ketchup, gravies and broths are all suitable foods for cooking in an oiled pan. Alternatively, you can use a pan to fry an egg for breakfast or fry a piece of salmon for dinner. Using stainless steel pan to process these foods is the best. advertisement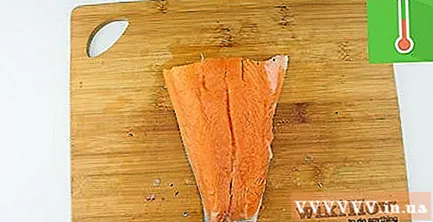
Part 3 of 3: Preserving and cleaning the oiled pan
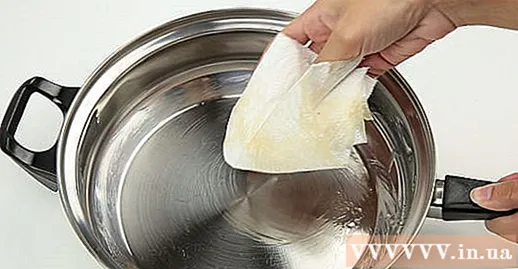
Put a few sheets of tissue in the pan before you stack the pans. Stacking saucepans on top of each other is a common and useful way of storing kitchen items, but this can make the pan more susceptible to scratches and difficult to effectively stick. You should place a few sheets of paper towels inside the pan to protect the oiled pan.
Wipe the pan with a paper towel after cooking is finished. If you wash the oiled pan with soap and water after each cooking, you will lose the oil and will have to re-oil it. The oil in the pan will prevent the pan from sticking to the food, and so you do not need to wash the pan with soap and water if the pan is not too smudged.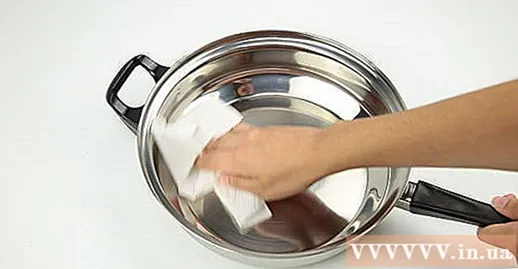
Rinse the dirty pan with soap and water. At last, the time will come when your oiled pan starts to stick to the food. Now you can rinse the pan. Use warm water and a soft sponge or non-rough dish soap to wash it.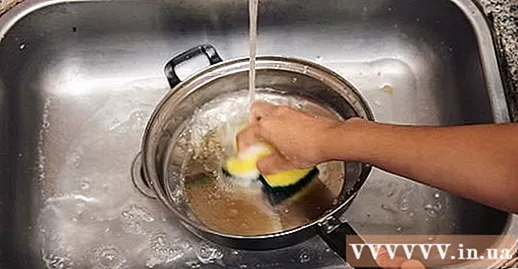
- Do not wash the pan until it has cooled down completely.
- Use a paper towel to dry the pan right after washing to avoid stains of water in the pan.
Remove any sticky food marks by boiling water in a pan for 5 minutes. If there are still traces of food in the pan, add detergent and pour water into the pan. Place the pan on the stove and turn on high heat. Boil for 5 minutes, then pour out the hot water. The rest of the pan comes off easily!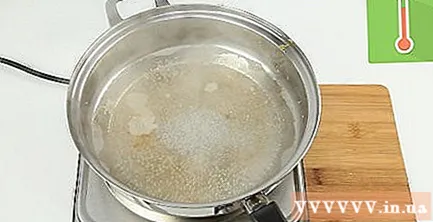
Use new non-stick oil for pan after washing. Once the pan has been washed with soap and water, the pan has no more non-stick coating. For the pan to remain non-sticking well, you need to repeat the process of oiling the pan! advertisement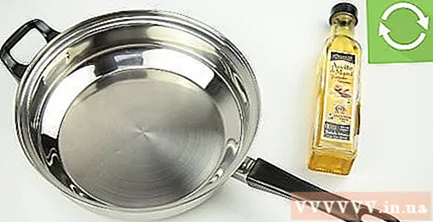
Advice
- Brush the sticky pan with salt and oil to remove any lingering streaks.
- Do not spray non-stick cooking oil on the oiled pan. You will only leave excess oil in the pan and make it easier for the food to stick.


