Author:
Louise Ward
Date Of Creation:
9 February 2021
Update Date:
28 June 2024
Content
This wikiHow teaches you how to insert your own pictures into any PDF file using an online PDF editor, Adobe Acrobat or Preview for macOS.
Steps
Method 1 of 3: Using an online PDF editor on PC or Mac
Access https://smallpdf.com/edit-pdf. If you want to insert an image into an existing PDF file, you can do it for free with an online PDF editor like Smallpdf.com.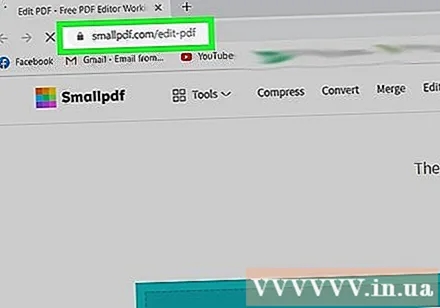
- This method will help us to paste images into PDF content, however, you will not be able to edit text or formatting already in the file.
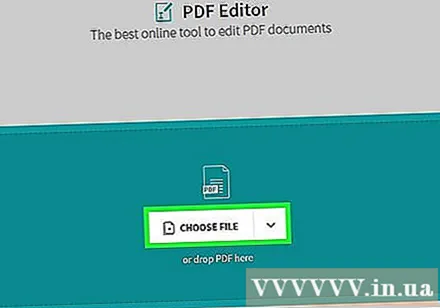
Click Choose file (Select file). Your options are in the green box at the top of the screen.
Select the PDF file and click Open (Open). The PDF file will open in a browser.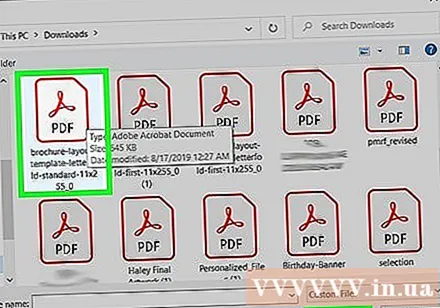

Scroll down to the section where you want to insert the picture in the PDF.
Click ADD IMAGE (Add photo). This is the second link at the top of the page.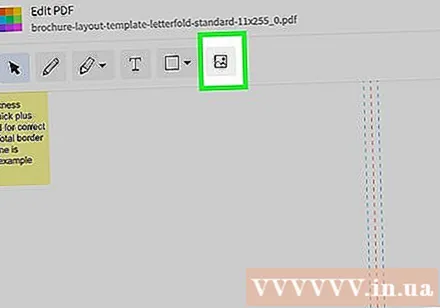
Select the photo and click Open. The image will be inserted into the file.- If you need to move the picture, you can click and drag it to the desired position.
Drag the corners of the image to resize it. When you drag any of the corners outward, the image will be enlarged, while as you drag it inside, the image size decreases.
Click Apply (Apply). This button is in the lower right corner of the page. The photo is saved in the file, and a new version is created for you to download.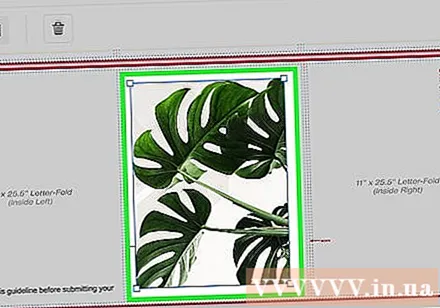
Click Download File (Download file). This option is below the "Success!" (Success) is near the top of the page. The new version of the PDF file will be downloaded to your computer.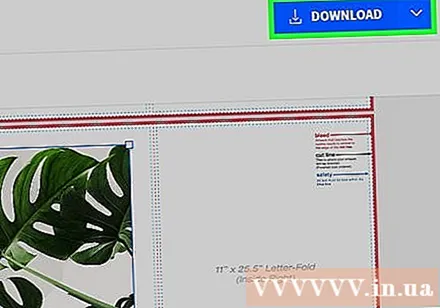
- You may need to choose a save location and then click Save (Save) to download the file.
Method 2 of 3: Using Preview on Mac
Open the PDF file you want to edit in Preview. Find and double-click the PDF file you want to edit on your computer.
- If the default PDF reader is not Preview, you need to right-click on the file and move your cursor over Open With (Open with) and select Preview.
- This method will help us to paste images into PDF content, however, you will not be able to edit text or formatting already in the file.
Click the card File (File) in the menu bar. This button is located in the upper left corner of the screen. The file options will open in a drop-down menu.
Choose Export (Export) from the File menu. This option allows you to convert the PDF to another format.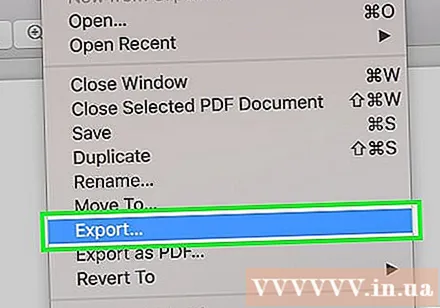
- You need to export a PDF file to an image format to insert an image.
Choose PNG as file format. Click the drop-down box Format at the bottom of the Export window and select PNG.
Click Save in the Export window. The new file will be created from the original PDF. This file has the same name as the original file, but with the extension .PDF will be replaced with .PNG.
Click the mark x Red in the upper left corner to close the file. The original PDF file remains intact.
Use Preview to open the picture you want to insert. Find the image to insert on your computer and double-click the file's icon to open it in Preview.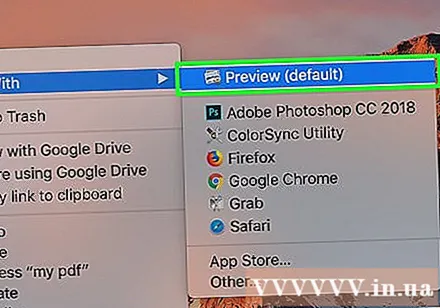
- If the default image preview software is not Preview, you need to right-click on the file, hover your cursor over Open With and choose Preview.
Press the key combination ⌘ Command+A to select all photos. A dashed border will appear around the selection.
- If you do not want to insert the entire image, you can click and drag the blue dots on the dashed border around the selection to select the part of the image to be copied to PDF.
Press the key combination ⌘ Command+C to copy the selected image area to the buffer. Now you can paste the image into your converted PNG file.
Open the PNG publication of PDF in Preview. This is the "PNG" file that you created when you exported your original PDF to an image format.
- Preview doesn't support pasting images to PDF files, so make sure you are opening files with the "PNG" extension instead of "PDF."
Press ⌘ Command+V. The image you copied will be pasted into the PNG file.
Click and drag the pasted photo to reposition it. You can move images anywhere on the PNG version of the PDF file.
Click and drag the blue dots to resize the image. These blue dots are around the border of the pasted image. When you click and drag one of these blue dots, the image becomes bigger or smaller.
- If you don't see a border or blue dot, click the photo to select it. The outline will automatically appear.
Click the card File in the menu bar. Once you've finished editing, click the menu File in the upper left corner of the screen.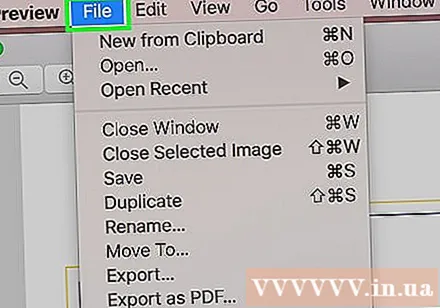
Click Export as PDF (Export to PDF) from the File menu. This option allows you to save the edited PNG file as a PDF.
Enter a name for the PDF file. Click the field Save As (Save As) at the top of the dialog box and enter a name for the new PDF file here.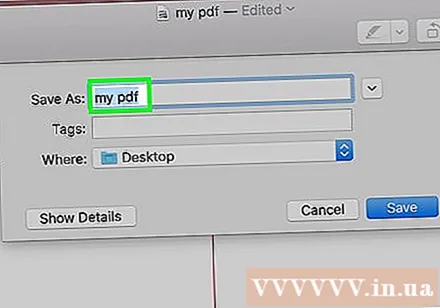
- Or you can leave the name and replace the old PDF file with the newly edited version of PDF. To proceed, click Save then choose Replace (Replace) in the confirmation box that appears.
Click Save in the Export window. This button is in the lower right corner of the dialog box. New and separate PDF files will be created from the edited PNG image and in the same location as the original PNG file. advertisement
Method 3 of 3: By Adobe Acrobat Pro DC
Open the PDF file in Adobe Acrobat DC. Find and double-click the PDF file you want to edit on your computer.
- If we want to add images to PDF files using Acrobat, we need a premium account. If you have never installed and registered for Acrobat Pro DC then you can click here to sign up for a 7-day trial now.
- If Acrobat isn't the default reader for PDF files, right-click on the file, select Open With then click Adobe Acrobat.
Click the item Tools (Tools) is located in the menu bar at the top of the screen. A toolbar will open.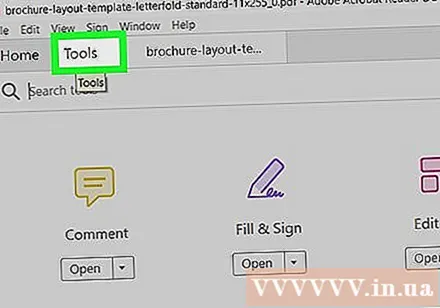
Click Edit PDF (Edit PDF) in the toolbar. This option allows you to add text and images to the PDF file.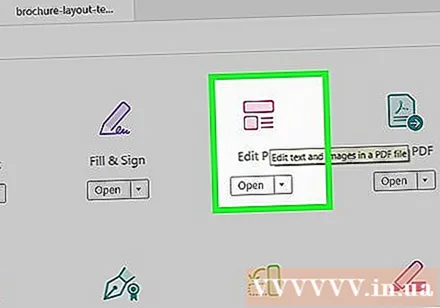
Click an option Add Image on the right side of the toolbar. A dialog box will open allowing you to select the picture to insert.
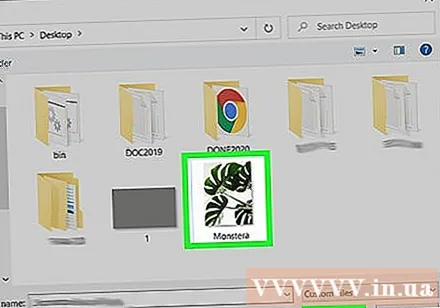
Select the picture you want to insert. Click a file name to select the image.
Click Open. The photo will be imported to the file.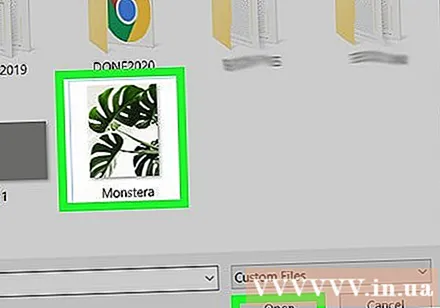
Click where you want to insert the picture. The image will appear in the file. To move, you can click and drag the photo to another location.
Drag the handle on the corner of the image to resize it. Click and drag the corners of the image outward or inward to enlarge or reduce the size.
- You can also use the photo editing tools in the right pane, below the "Objects" heading. These options allow us to flip (Flip), rotate (Rotate) and trimming (Crop) Picture.
Press ⌘ Command+S (Mac) or Control+S (PC) to save. The image will be saved to a PDF file. advertisement


