Author:
Roger Morrison
Date Of Creation:
17 September 2021
Update Date:
1 July 2024
Content
- To step
- Part 1 of 3: Finding the parts
- Part 2 of 3: Putting it all together
- Part 3 of 3: Starting up
Buying a laptop from the store is usually an exercise in patience and frustration management. The specifications you are looking for are usually not available in one computer, and the prices can be exorbitant. Not to forget: all the software that companies install on the laptop without being asked to do so. You can get around that if you don't mind rolling up your sleeves. Building your own laptop is tough, but the end result is absolutely impressive. Follow this guide to learn how.
To step
Part 1 of 3: Finding the parts
 Decide what the main purpose of your laptop is. A laptop that you want to use for word processing and checking your e-mail will have very different specifications than a laptop for playing the latest games. Battery life is also an important weighting factor; if you plan to travel around without being able to charge the computer. , you need a laptop that does not require too much energy.
 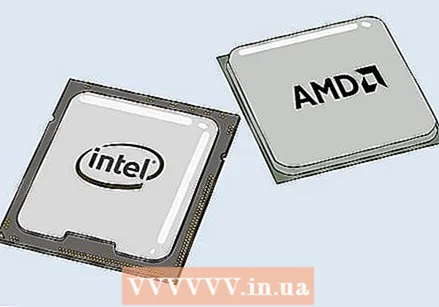 Choose a processor that matches what your computer needs. The cabinet you purchase depends on the type of processor you want to install, so choose the processor first. Compare processor models to determine which ones offer the fastest speed versus cooling and energy consumption. Most online retailers offer the option to compare processors side by side.
 - Make sure you buy a mobile processor and not a desktop processor.
- There are two major manufacturers: Intel and AMD. There are plenty of arguments for and against each brand, but in general AMD is a bit less expensive. Do as much research as you can on the processors you are interested in to make sure you are getting value for money.
 Choose the cabinet for your notebook. The case of your notebook determines which parts you can use in your laptop. The case will come with the motherboard built in, which dictates what memory you can use.
 - Also consider screen size and keyboard layout. Because the case is not exactly adjustable, you are stuck with the screen and keyboard that you choose. A larger laptop is more difficult to carry and will probably be a lot more expensive.
- Finding a cabinet for sale can be tricky. Enter “barebones notebook” or “whitebook shell” in your favorite search engine to find retailers stocking cabinets. MSI is one of the manufacturers that still make barebone laptops.
 Buy memory. Your laptop needs memory to run and the format is different than that for a desktop. Look for SO-DIMM memory that is suitable for the motherboard in your cabinet. Faster memory provides better performance, but can shorten battery life.
 - Try to put between 2-4 GB of memory for optimal performance in daily use.
 Choose a hard drive. Laptop usually use 2.5 ”drives, as opposed to the 3.5” drives found in desktop computers. You can choose between a standard 5400 RPM or 7200 RPM drive, or choose a solid state drive with no moving parts. The solid-state drive is usually faster, but can be trickier to use in the long run.
 - Choose a hard drive with enough space to do what you want to do with the laptop. Most cabinets don't have enough space for more than 1 drive, so upgrading at a later stage can be tricky. Make sure there is enough space on the hard drive after installing the operating system (usually between 15-20 GB).
 Decide if you need a dedicated graphics card. Not all cabinets have space for a dedicated mobile graphics card. Instead, the graphics are handled by the motherboard. If it is possible to install one, consider whether you will need it. They are most important to gamers and graphic designers.
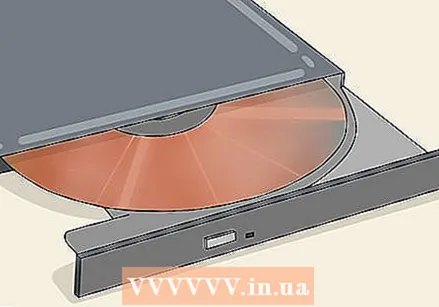
  Find an optical disc. This is increasingly becoming an optional step as computers improve, as you can install operating systems from USB sticks and download most software today.
 - Some cabinets come with a hard drive. Not all hard drives fit in all cabinets, so make sure the drive fits the cabinet you have chosen.
Part 2 of 3: Putting it all together
 Gather your tools. You have a set of jeweler's screwdrivers, preferably magnetic. The screws in a laptop are much smaller and more difficult to work with than desktop screws. Use needle nose pliers to reach screws that have fallen somewhere in between.
 - Keep the screws in plastic bags until you need them. This prevents them from rolling away or getting lost.
 Ground yourself. Electrostatic discharge can destroy your computer's components in an instant, so make sure you are grounded before assembling the laptop. An anti-static wrist strap will keep you grounded and its inexpensive.
  Turn the cabinet over, bottom side up. You can now access the motherboard through various removable panels.
  Remove the panel covering the hard drive enclosure. This panel covers the 2.5 ”housing where your hard drive is mounted. The location varies depending on the case, but the case is usually located on the side and front of the laptop.
 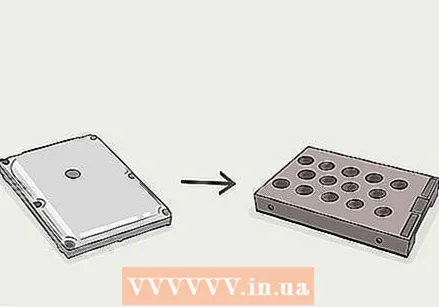 Attach the hard drive to the chassis. Most notebook computers require the hard drive to be attached to a chassis that fits around the drive. Use 4 screws to make sure that the hard drive is attached to the chassis. The holes for the screws will usually ensure that you have installed it in the correct orientation.
  Slide the chassis with the hard drive into the enclosure. Use the grip tape to apply enough pressure to get the disc in the right place. Most chassis will align with 2 screw holes once the drive is in place. Tighten the screws to anchor the drive.
 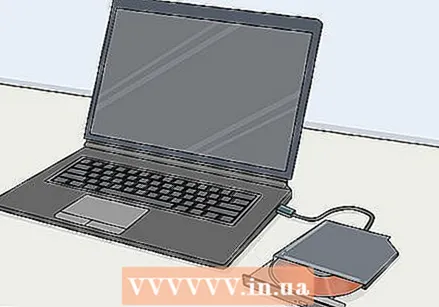 Install the optical drive. The method will vary depending on your case, but usually they are placed in the front of the opening in the case, and they slide into SATA connectors.
 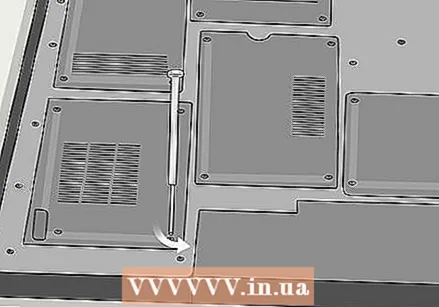 Remove the panel covering the motherboard. This panel will usually be more difficult to remove than the one from the hard drive. You may need to break it open after removing all screws.
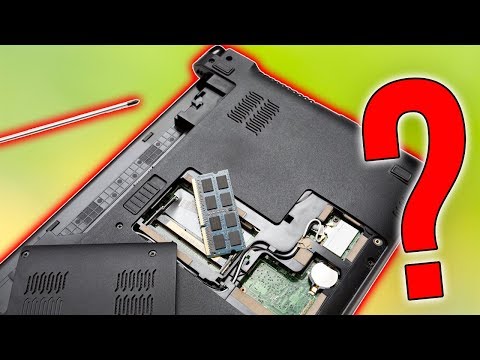
  Install the memory. Once the panel is open, you have access to the motherboard and the memory slot for the memory. Insert the SO-DIMM memory cards into their slots at an angle, then push them down to snap them into place. The memory cards can only be installed in 1 direction, so don't force anything.
  Install the CPU. There may be a CPU slot around the socket / processor base in which the CPU is installed. You may need a flat-head screwdriver to get it in the “open” position.
 - Turn the CPU over so you can see the pins. You should see a corner where there are no pins. This notch matches the notch of the processor base.
- The CPU only fits in the processor socket in one way. If the CPU doesn't snap into position on its own, don't force it or you might bend the pins and destroy the processor.
- Once the CPU is in place, return the CPU lock to the “closed” position.
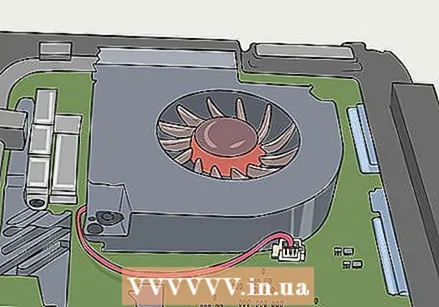 Install the cooling for the CPU. The CPU should come with a matching fan. Most fans will put a thermal paste on the bottom where it attaches to the CPU. If the cooler has no paste, you will need to apply this before installing the cooler.
 - Once the paste has been applied, you can install the fan. The outlet should line up with the air holes in your closet. It can be tricky to get everything aligned properly. Don't try to stuff the cooling clip and fan in, but wiggle it in gently.
- Hold the cooling clamp at an angle until you find the correct position. This will help prevent the thermal paste from smearing on the rest of your components.
- Attach the fan power cable to the motherboard after installing it. If you forget to plug in the fan, the laptop will overheat and turn off after a few minutes of use.
 Close all panels again. Once you have installed all components, you can screw the panels back on. Your laptop is complete!
Part 3 of 3: Starting up
 Make sure the battery is connected. It's easy to forget about the battery in the process, just make sure it's plugged in and charged before turning on the computer.
 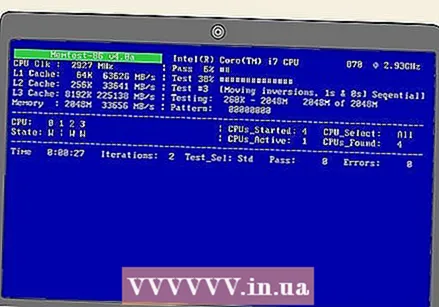 Check the memory. Before installing an operating system, it is wise to run Memtest86 + to make sure that the memory is functioning correctly and that your computer is also running normally. Memtest86 + can be downloaded for free online and can be booted from a CD or USB stick.
 - You can also check whether the installed memory is recognized through the BIOS. Look for the Hardware or Monitor item to see if the memory is shown.
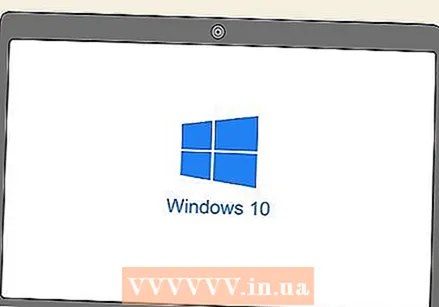 Install an operating system. For self-built laptops you can choose from Microsoft Windows or a Linux distribution. Windows costs money and is vulnerable to malware, but offers a wide variety of programs and hardware compatibility. Linux is free, safe and supported by a large group of volunteer developers.
 - There are many different versions of Linux to choose from, but a few of the more popular ones are Ubuntu, Mint, and Debian.
- It is recommended that you install the latest version of Windows, as older versions will not be supported for as long.
- If you don't have an optical disc installed, you will need to use a bootable USB stick with the operating system files.
 Install the drivers. Once your operating system is installed, you will need to install the hardware drivers. Most modern operating systems will do this automatically, but you may need to install one or two components manually.
 - Most components come with the drivers on a disk. Use the disc if the operating system cannot find the correct drivers.


