Author:
John Pratt
Date Of Creation:
16 April 2021
Update Date:
1 July 2024

Content
- To step
- Method 1 of 3: Normal wooden bins
- Method 2 of 3: Recycled metal boxes
- Method 3 of 3: Brick garden containers
- Tips
- Warnings
Building a raised garden container to grow food for your family is a fun project and a healthy way to provide for crops. It will save you money and time and takes less effort than digging out a plot in your yard. This is a great venture for any age. Children can learn how food is grown from seed. Get started!
To step
Method 1 of 3: Normal wooden bins
 Find a place where you want to place the bin. When you have chosen a place, place the bin there and dig holes for the corner posts. These posts can simply be placed on the ground or they can be set ten inches or deeper into the ground. This depends on your preference, but plan in advance! Question and answer V.
 To the question "When is the best time to put up a bed?"
 Prepare the wooden posts. Use pieces of lumber measuring 10 by 10 cm. These will serve as the corners for the bins. Cut them at the same height or a few centimeters deeper than the tray. If your bins are going to be higher than 20 cm, you will need to have posts in the middle along the longest sides.
  Saw off the sides. Use 5 by 10 cm planks for the two longest sides, keeping an equal distance between the outer edge of one corner to the outer corner of the other. Make sure that the short boards are the same distance between the outer edges of the posts and the ends of the long boards on the side.
 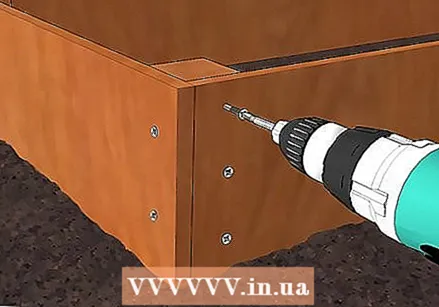 Drill the boards in place. Use screws suitable for outdoor use. Decking screws of 2.5 - 3.7 cm are suitable for this. Drill directly through the planks into the posts.
 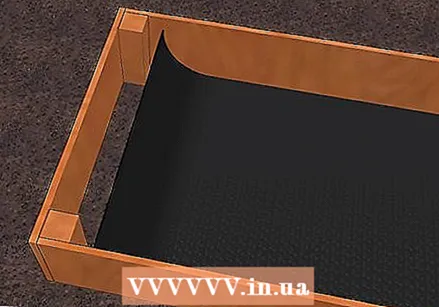 Place a screening mesh. Once the cupboard is in place, you must frame it with 1.5 cm iron mesh to keep pests and rodents away. Stack or screw the iron mesh to the sides.
  Place the weed cloth. Then place the weed cloth on the iron mesh. Stack it against the sides of the bin. This will prevent weeds from growing in it from below.
  Add soil. Buy a potting mix mixture. This is usually measured in cubic meters. Use a wheelbarrow or park near the bin and start filling it up. Walk on it to stamp it on. Leave about 5 cm at the top.
 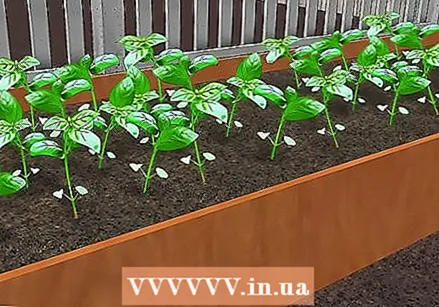 Enjoy watching your garden grow! Make sure to fertilize the soil or opt for rotating plant varieties to keep the soil rich. Try to grow plants according to the seasons.
Method 2 of 3: Recycled metal boxes
 Find an old filing cabinet. You need an older filing cabinet with a solid bottom. Do not use a one that is rusty or in poor condition.
 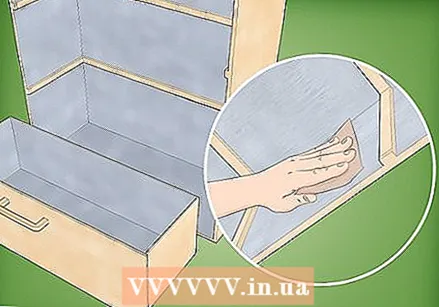 Prepare the filing cabinet. Remove the drawers. Sand the inside and remove as much paint as possible (if there is one). Tilt the file cabinet so that the back is now the base and place the cabinet where you want your new vegetable bin.
  Repaint the outside. Use outdoor spray paint and paint the outside a pleasant color to bring the cabinet back to life. Look for spray paint that sticks well to smooth metal or enamel.
 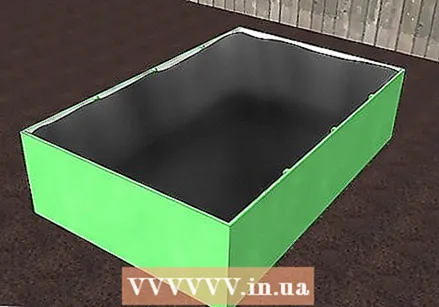 Provide lining for the closet. Buy a lining material and apply lining to the inside of your closet. Weed feeding is very suitable for this. This will help keep the metal from getting damaged too quickly.
 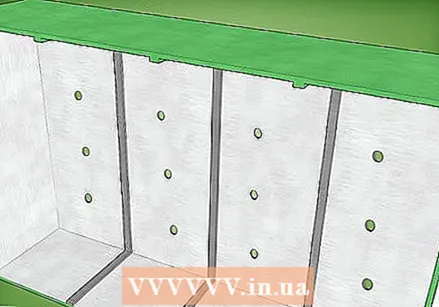 Add your drainage material. Unless you are drilling holes in the new cabinet bottom, you will need to put a few inches of filler material on the bottom of the cabinet for drainage. Start with a single base layer of river pebbles, add a 3 inch layer of gravel and then a 3 inch layer of sand.
  Fill up with potting compost. Now fill the filing cabinet with potting compost. Leave about 5 cm at the top. If necessary, more soil can be added once your plants are in it.
 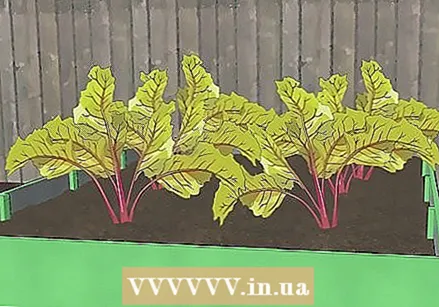 Grow your vegetables! Grow or transplant your vegetables. Enjoy your colorful and modern garden container!
Method 3 of 3: Brick garden containers
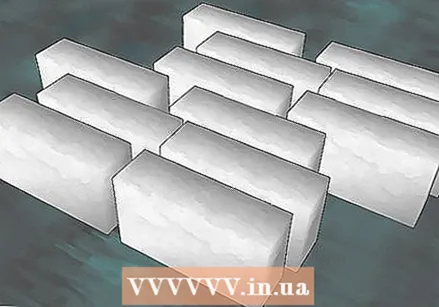 Buy the necessary bricks. Consider the dimensions and desired height of your garden box, then buy the amount of garden bricks you consider appropriate for those dimensions. If necessary, you can buy more later, so don't buy too many.
 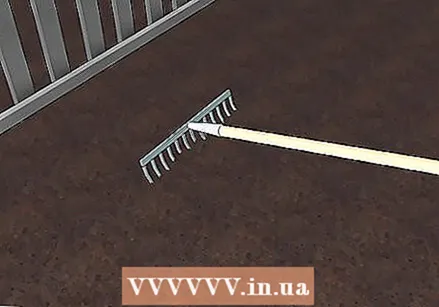 Level the soil. Level the soil you are planning to place the tray.
 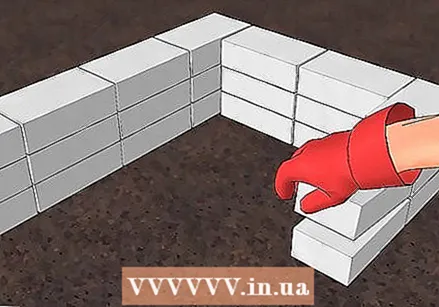 Lay the bricks layer by layer. Lay the first layer of garden bricks according to the dimensions and make sure that the bricks fit well. Then move on to the next layer of bricks until the wall is the desired height. Stack the bricks in a way that looks good to you.
  Provide liner in the garden container. Add a thick liner or a heavy weed liner to the inside of the bin. Let the unnecessary material hang over the edges. The superfluous can be trimmed back later.
  Fill the garden container. Fill the container with high-quality soil and, if desired, with fertilizers. Leave a little extra space at the top (about 5 cm).
 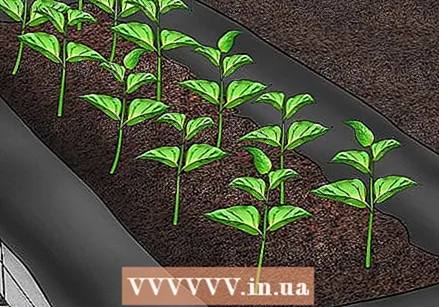 Grow your vegetables! Enjoy your garden containers!
Tips
- Teach children how, through some labor, they can grow and cook their own food. They will likely continue to eat this way for the rest of their lives.
- Iron gauze and a tarpaulin will be necessary to keep out weeds and goffers.
- If possible, use redwood or cedar wood.
- Use screws to hold everything together better.
- Installing low volume drippers or sprinklers will save you time and worry in terms of irrigation.
Warnings
- Make sure to water regularly.
- You can garden all year round. If you expect snow you can build hothouses.
- If possible, keep it organic and natural.
- Avoid chemicals in your garden.


