Author:
Roger Morrison
Date Of Creation:
22 September 2021
Update Date:
21 June 2024
Content
- To step
- Method 1 of 2: Connecting to a Wi-Fi network
- Method 2 of 2: Connecting to a cellular data network
- Necessities
Your iPad can connect to the internet in two ways: via the mobile data network or via WiFi. In this article we explain both methods.
To step
Method 1 of 2: Connecting to a Wi-Fi network
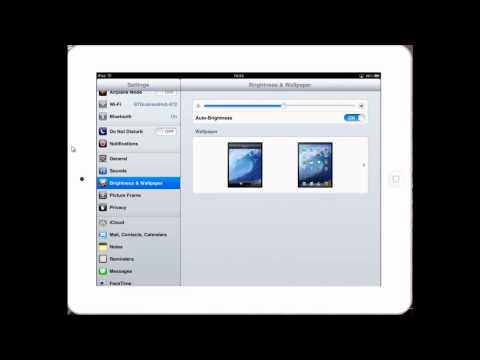
 Open the settings by tapping Settings.
 Tap "WiFi". Make sure the slider is set to "On".
 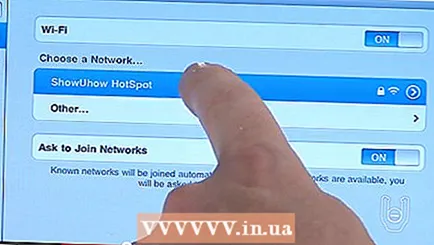 Connect to a network. Choose a network from the list of networks and tap that network to connect.
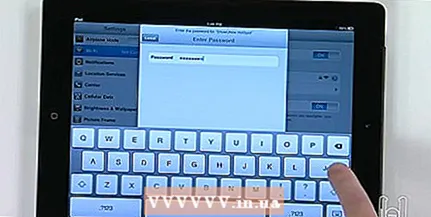
 - If you see a lock next to the name of the network, it means that you have to enter a password. Enter the password and tap Connect.
- Note: you have to pay for some WiFi networks.
- If you see a lock next to the name of the network, it means that you have to enter a password. Enter the password and tap Connect.
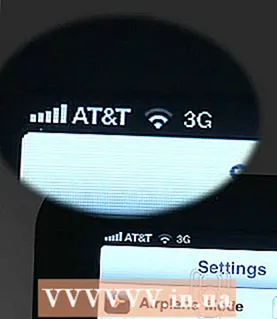
 Look at the Wi-Fi icon in the status bar of the iPad. This will appear when you are connected to a network. The more bars you see, the better the connection.
Method 2 of 2: Connecting to a cellular data network
- Insert a micro SIM card with mobile internet into the appropriate SIM card holder. For this, take a mobile internet subscription from a provider of your choice or buy a prepaid (micro) SIM card with which you can also use the internet.
- You can check on the status bar whether you already have a working SIM card installed; then it says 4G, 3G, E or °.
- You can check on the status bar whether you already have a working SIM card installed; then it says 4G, 3G, E or °.
- Set up the SIM card if you have not already done so.
- Tap Settings.
- Turn on Mobile data.

- A screen will now appear where you can set up your mobile data account.

- Tap Settings.
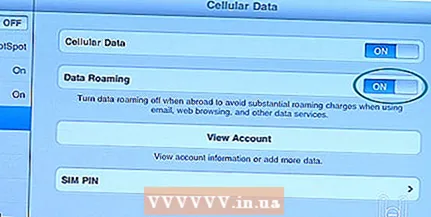 Understand what data roaming is. If you are not within range of your provider's network, you can probably use the network of another provider. You do this by turning on Data roaming.
 - Turn on Data roaming by moving the slider next to Data roaming to the right.
Necessities
- iPad
- Wifi
- Micro SIM card with mobile internet


