Author:
Judy Howell
Date Of Creation:
28 July 2021
Update Date:
1 July 2024

Content
Adobe Photoshop is mainly used for illustrations and photo editing. You can also add text in Photoshop and adjust properties such as text font, size, and color to create ads, images, and titles. Keep in mind that the main reason people create text in Photoshop is to add a visual element to their Photoshop image with short messages, instead of typing out long paragraphs or creating text documents.
To step
Method 1 of 2: Add text
 Select the Type tool from the toolbox. It looks like a "T". Click on the icon, or simply press "T" on your keyboard to open the text tool. Now you can start adding text wherever you click in your image.
 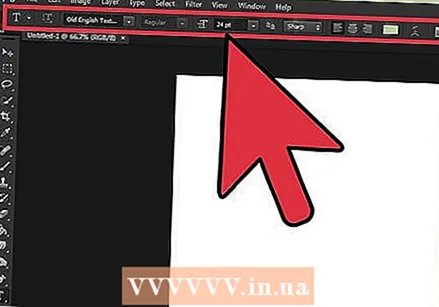 Set your text settings using the menu at the top of the screen. Once you've clicked on the text tool, a number of options appear in Photoshop's main menu where you can choose a color, font, size, and alignment. You can also use "Draw" or "Paragraph" that correspond to the text editing windows in programs such as Microsoft Word. You can find these windows by clicking "Window" in the main menu and ticking "Point Text" or "Paragraph".
 - Font style: This allows you to choose different fonts, such as Arial and Times New Roman.
- Font size: Adjust the number of points in the font size to make the text larger or smaller.
- Align: Choose whether you want the text to be centered or shifted to the right or left.
- Color: By clicking on the font color box you can choose different colors for the text.
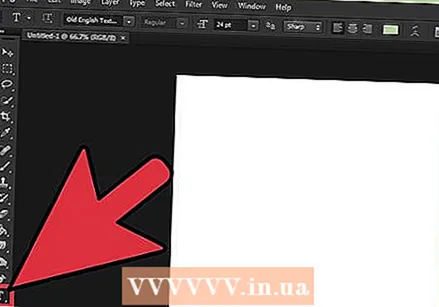
 Click on the part of the image where you want to add text in Photoshop. If you click anywhere on the image, a cursor will appear where the first letter will be. You can just start typing and Photoshop will use that as a starting point for adding words.
 - If you're just adding plain text, this may be all you need to do.
- If you know how to use the pen tool, click on a path to write text along that line.
 Before typing, click and drag on the text tool to keep the length of the text within a box. If you want the text to stay within a certain frame, you can click and drag the frame before you start typing. Text that doesn't fit will not show unless you reduce the font size.
  Click outside the text box or press Ctrl + Enter on your keyboard to see how the text will eventually appear in the image in Photoshop. If a new text frame is created every time you try to click outside the first frame, just click another tool to exit the text tool and continue. You can double-click the text at any time, or simply click it again with the Text tool selected, to edit the font and text.
 - You can no longer edit the text once it has been converted to pixels. If you see this option, ignore it first.
- With the text layer selected, press Ctrl-T or Cmd-T to manually enlarge or shrink the text, instead of choosing a different font size.
Method 2 of 2: Create text effects
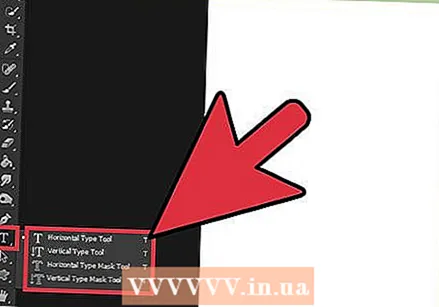 Click and hold the Test icon in the tool bar for other text options. This is the icon of a "T". Click on it and hold down the mouse button to see the following other text options.
 - Horizontal text: This option is most commonly used when typing solid letters horizontally from left to right. This is how you will use the text tool if you just click on it.
- Vertical text: This allows you to write words vertically, instead of left to right.
- Mask for Horizontal Text: This converts text into a mask, which can be used for some fun Photoshop tricks. Used for example, it will take over the layer below the text layer and "colorize" the text.
- Mask for Vertical Text: Works like the Horizontal Text Mask, but writes the letters vertically instead of left to right.
 Use the "Paragraph" and "Character" menus to change line spacing, line spacing, and more advanced options. If you want full control over your text, you can do this with the Character and Paragraph menus. The logo of the Character menus is an A followed by a vertical line. Paragraph is represented by a P with a double vertical line and a filled circle, but you can also click "Window →" Paragraph "if you don't see it.
 - Click and drag the icons in each menu to test it. You can actually view the changes in real time. Most options have to do with line spacing.
- The Character menu usually has more to do with the actual font, while Paragraph adjusts the block of text and its alignment.
- If you don't see the Paragraph options, right-click on the text and select "Convert to Paragraph Text".
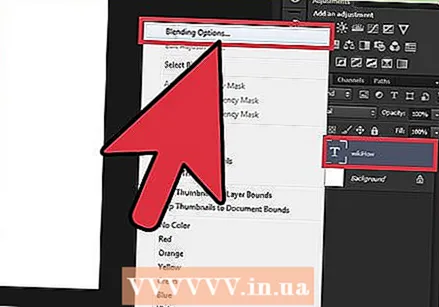 Right click on the text and choose "Blending Options" for some effects to create a professional looking typeface. With "Blending Options" you can add shadows, outlines, glow effects and even 3D, each of which is fully customizable. While you should experiment freely with the "Blending Options", there are some effects that can give you a nice text image:
 - Bevel and Emboss: This will create 3D text. It almost looks like you convert the lines of the text into 3D cylinders, like tubes.
- Edge: This will outline the text with a color, thickness and texture of your choice.
- Cover: These change the color of your font, placing a color gradient, pattern or a new color over the shape or text. You can even control the opacity of the overlay so you can do fun things with color and mixing.
- Drop shadow: Place an adjustable, short shadow behind your text - as if there were a wall about two feet behind it. You can set the angle, softness and size of the shadow.
 Find new fonts online. Adding fonts to Photoshop is very easy. You download the fonts and drag them into the program to link them. You can search online for "Free Fonts" to find everything you need.
 - Fonts are usually .ttf files.
Tips
- To add text to Adobe Photoshop, briefly press the "T" on your keyboard to select the text tool.
- If for some reason the text tool doesn't work, create a new layer and try again. If this doesn't work, open the text tool. Click on the T with the down arrow in the top left corner, then click on the small gear. Choose "reset tool" or "restore" to reopen the text tool.
Warnings
- Keyboard shortcuts don't work when using the text tool. This is because Photoshop only recognizes your keyboard as being intended for typing text at that time.


