Author:
Robert Simon
Date Of Creation:
22 June 2021
Update Date:
24 June 2024

Content
This wikiHow teaches you how to print a delivery and return address on an envelope using Microsoft Word. You can do this on both Windows and Mac versions of Microsoft Word.
To step
Method 1 of 2: On Windows
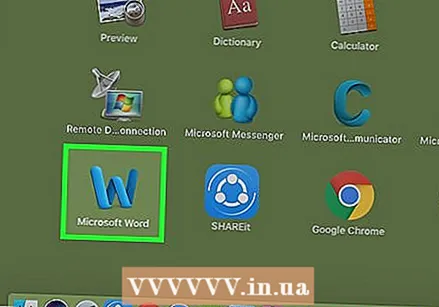
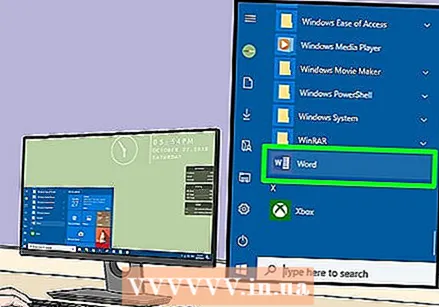 Open Microsoft Word. The app icon resembles a white "W" on a dark blue background.
  click on Blank document. It's in the top left corner of the window. This will open a new Word document.
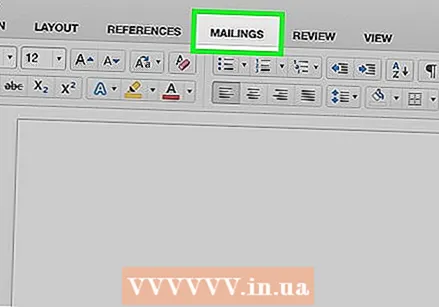
 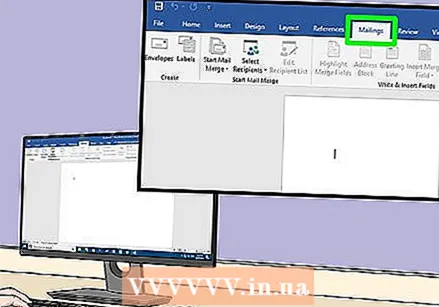 Click on the tab Mailings. This tab is located in the blue ribbon located at the top of the Word window. This will open the Mailings toolbar below the blue ribbon.
 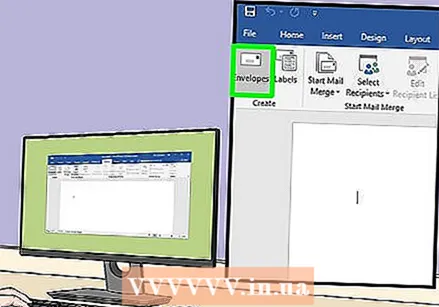 click on Envelopes. This is located in the "Create" section of the toolbar, which is on the far left side of the window.
 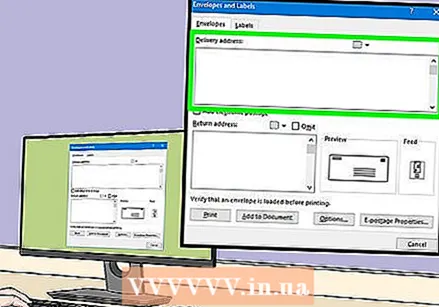 Enter a delivery address. Click the text box under the heading "Delivery Address" and then enter the address you want to ship your envelope to.
 - Make sure to enter the address exactly as you want it to appear here.
 Enter a return address. Click the text box under the heading "Return Address" and then type your return address. Again, this must be typed exactly the way you want the address to appear on the envelope.
  click on Options .... This is near the bottom of the window. A new window will open.
  Click on the tab Envelope options. This option is at the top of the window.
  Click the "Envelope Size" drop-down list. It's at the top of the window. A drop-down menu will appear.
 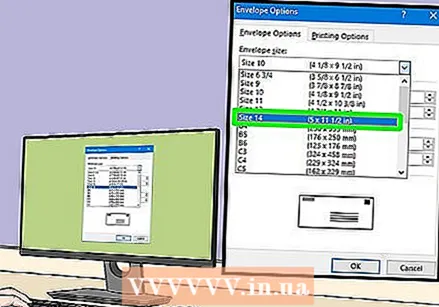 Select an envelope size. Click on the size of your envelope from the drop-down menu.
 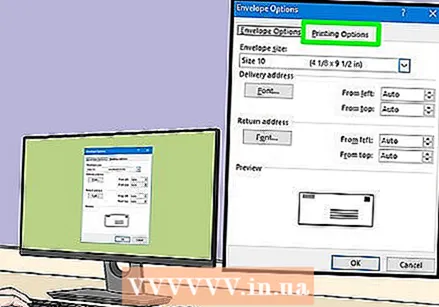 Click on the tab Print options. This is at the top of the window.
 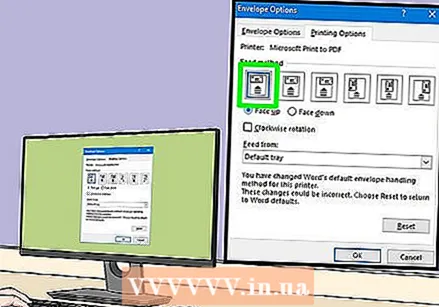 Select an envelope size. Click on one of the visual representations of an envelope feeding into a printer. This is how you should load the envelope into the printer.
  click on OK. This is at the bottom of the window.
  Make sure your printer is turned on and connected to your computer. If you haven't already, connect to your printer before continuing.
 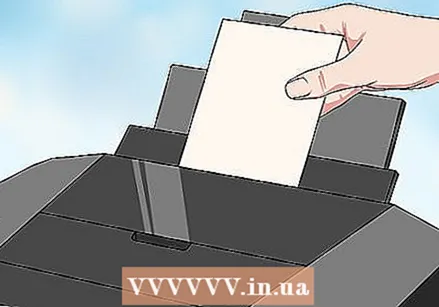 Place the envelope in your printer. Make sure to do this according to your chosen format.
  click on Print. This is in the lower left of the Envelopes window. Your envelope will start printing.
 - If you are having trouble printing the envelope, try resetting the layout to Word's default.
Method 2 of 2: On a Mac
 Open Microsoft Word. The app icon resembles a white "W" on a dark blue background.
  click on Blank document. This will start a new Word document.
 - If you don't see the template window when Word starts, you can click File in the top menu bar and then New document to create a new blank document.
 Click on the tab Mailings. This is at the top of the Word window.
 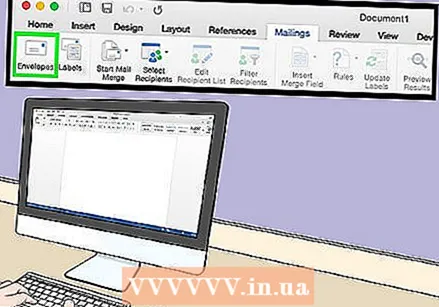 click on Envelopes. This option is on the far left of the Mailings toolbar.
  Enter a delivery address. Click the text box under the heading "Delivery Address" and then enter the address you want to ship your envelope to.
 - Make sure to enter the address exactly as you want it to appear here.
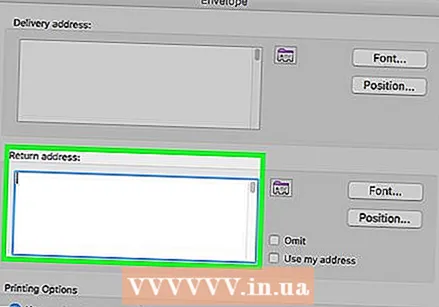 Enter a return address. Click the text box under the heading "Return Address" and then type your return address. Again, this must be typed exactly the way you want the address to appear on the envelope.
  Check the box "Use your printer's settings". This ensures that the ideal settings of your printer are used.
 - Skip this step if the check box is already checked.
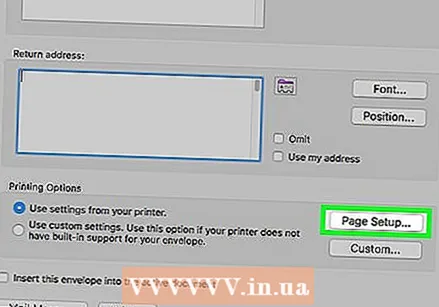 click on Page Settings…. This is on the right side of the window. A new window will open.
 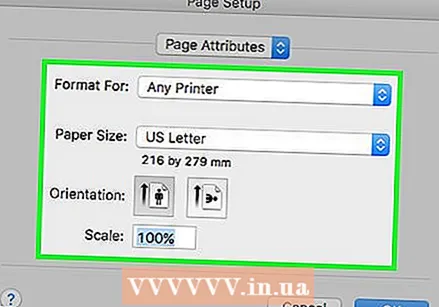 Select a print option, and click OK. You can choose a print size for your envelope, which determines how you place the envelope in the printer.
 - You can also select the size of your envelope here.
 click on OK. This is at the bottom of the window.
  click on OK. This button is located at the bottom of the "Envelope" window. A preview window will open.
 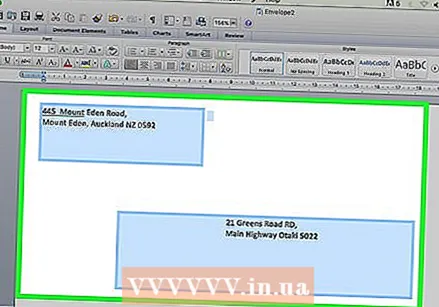 Check the envelope layout. You can make last minute changes to the size and shape of your envelope here.
 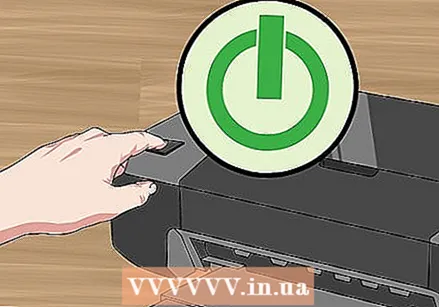 Make sure your printer is turned on and connected to your computer. If you haven't already, connect to your printer before proceeding.
 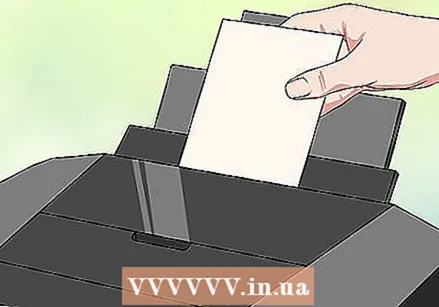 Place the envelope in your printer. Make sure to do this according to your chosen feed format.
  Print the envelope. Click on the menu item File in the top left corner of the screen, then click Print... from the drop-down menu. Your envelope will start printing.
Tips
- You can leave one of the address fields (for example, the "Delivery" field) blank when printing envelopes to be printed to other addresses.
- It's best to print one envelope as a test first to make sure your settings are correct.
Warnings
- Printing your envelope correctly will probably take some trial and error. Pay attention to the behavior of your printer and adjust your envelopes accordingly.


