Author:
Marcus Baldwin
Date Of Creation:
13 June 2021
Update Date:
1 July 2024

Content
- To step
- Part 1 of 4: Growing from seed
- Part 2 of 4: Growing with cuttings
- Part 3 of 4: Transplanting seedlings
- Part 4 of 4: Daily grooming and long-term care
- Necessities
If you have a sheltered place in your garden, and because we don't have harsh winters in the Netherlands, you can grow tropical passion flowers at home. The plant can be a little fussy and needs room to grow, but with enough attention and care it will give you a steady yield of delicious fruit.
To step
Part 1 of 4: Growing from seed
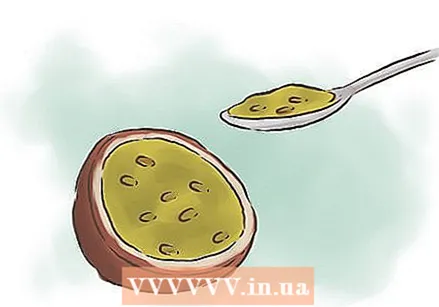 Use fresh seeds. Freshly harvested passion fruit seeds germinate quickly, but older, dry seeds can take months to germinate, if at all.
 - Buy ripe passion fruit from the store a few days before you decide to plant the seed. Open them up and collect at least half a dozen seeds.
- Spread the seeds on burlap and rub until the juice pouches burst.
- Wash the seeds in water and let them dry for three to four days before washing and drying them again in the shade.
- If you plant the seeds directly, they will germinate in 10 to 20 days.
- If you want to store the seeds, put them in airtight plastic bags and then refrigerate them for up to 6 months.
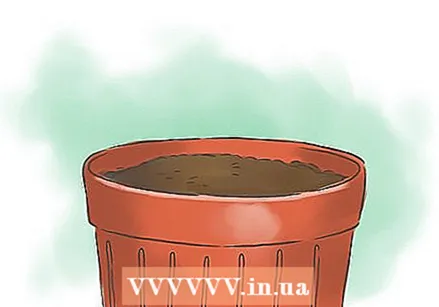
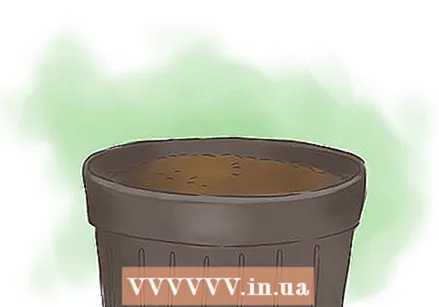 Prepare a container for germination. It is best to germinate passion fruit in a separate, protected container, and plant them later in the area you have prepared in the garden. Choose a container that is no larger than 90 cm.
 - Fill the tray with a soil mix made from equal parts compost, top soil and coarse sand. Fill the container with 10 cm of this mixture.
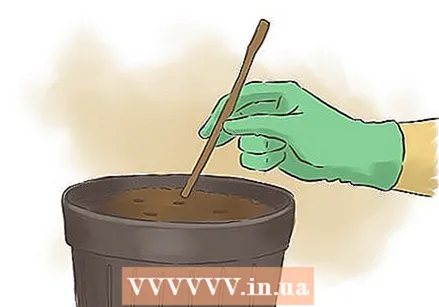 Dig shallow grooves. Scrape through the soil in your container with a stick, making sure there is 5 cm of space between the grooves.
 - These grooves will serve as shallow drains, preventing moisture from drowning the seeds or budding roots.
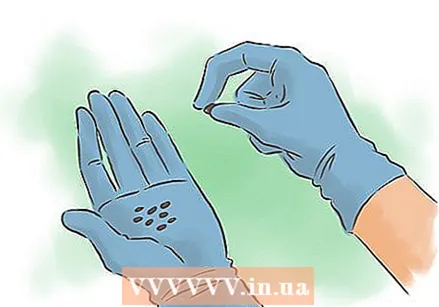 Sow the seeds. Place the seeds 1 cm apart in each groove. Protect the seeds by covering them with a very thin layer of your soil mix.
 - Water immediately after planting the seeds. Moisten the soil, but don't water it.
- After planting the seeds, all you need to do is sprinkle some water every now and then when the soil dries out.
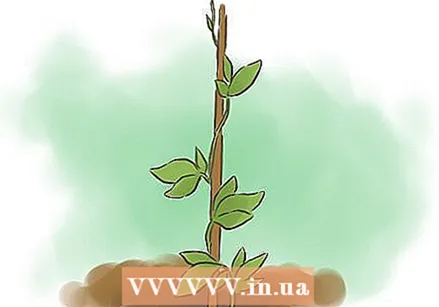
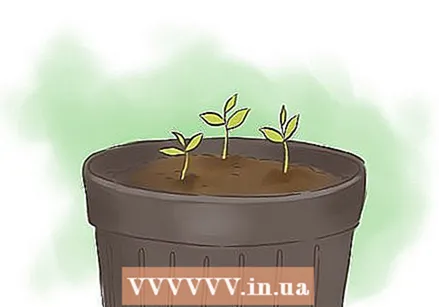 Transplant the seedlings. When the seedlings are 8 to 10 inches high, they are ready to be transplanted to a permanent spot in your garden.
Part 2 of 4: Growing with cuttings
 Prepare a sand bed. Fill a plastic flower pot with a mixture made of three parts agricultural sand and one part top soil. Mix the parts well together so that they are evenly distributed throughout the pot.
 - Cuttings get most of the moisture they need to grow from humidity, as they don't have roots at this time. For that reason, it is better not to use soil that retains a lot of moisture.
 Take a cutting. Choose a mature, healthy passion flower to take a cutting from. Cut a piece of the vine with at least three buds on it, and cut directly below the bottom bud.
 - Newer growth is more active, so it is recommended that you take a newer piece of rank.
- Plant this cutting directly in your sand bed.
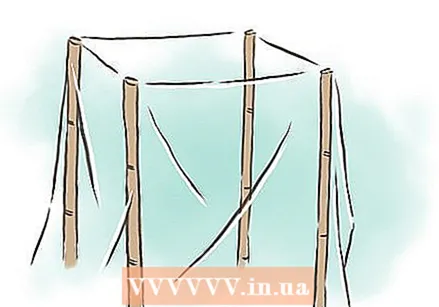 Keep the cutting in moist conditions. The best place for a vine cutting is a greenhouse. However, if you don't have a greenhouse, you can make your own by pulling clear plastic over a square bamboo frame.
 - Make sure your greenhouse stays moist. Keep it in full sun and place it where the air is most humid.
- If you need to add more humidity, you can do it by running a humidifier or by placing saucers of pebbles under water around the base of the cutting.
 Transplant when roots have formed. Your cuttings will form new roots in one to two weeks. At this point they are ready to be treated as developed seedlings and can be transplanted to a permanent spot in your garden.
Part 3 of 4: Transplanting seedlings
 Choose the right place. The best place would be where they get full sun and where there are no competing roots, such as tree roots, nearby.
 - "Full sun" means at least six hours of sunshine a day, but preferably more.
- The area should also be free of weeds. If there are any weeds, make sure to remove them before planting them.
- The tendrils need space to climb and spread. It is best if you are looking for climbing structures that are already there, such as a fence, balcony or pergola. But if this is not available, you can install a slatted frame instead.
 Improve the soil. Passion flowers need light, deep soil that contains a lot of organic matter. The stuff in your garden is probably not good enough quality to get it done yourself, so you will need to improve it a bit before you can plant seeds or cuttings.
 - Mix the soil with compost before planting. Compost improves both the structure and the nutritional value of the soil. You can also use organic rotting manure, rotting foliage, or other green plant waste.
- If the ground is particularly dense, you can try to lighten it up a bit by mixing in a handful of coarse sand.
- Also pay attention to the pH of the soil. The pH should be between 6.5 and 7.5. If the soil is too acidic, mix in ground dolomite or agricultural lime.
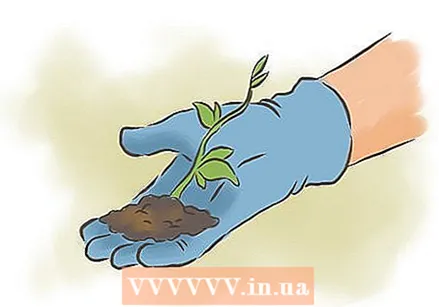
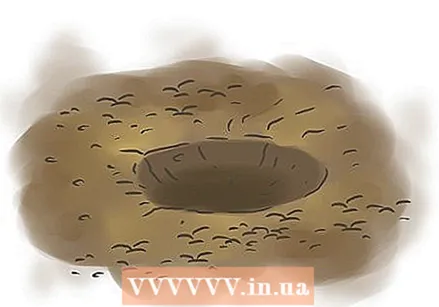 Transplant each seedling into a large hole. Dig a separate hole for each seedling. Each hole should be twice as wide as the current diameter of your plant, and the depth should be at least as deep as the pot your seedling is now in.
 - Gently dig or slide the seedling and roots out of the pot.
- Place the root ball in the center of the hole, then loosely fill the rest of the hole with soil until the plant is firm to the touch.
- Take the roots in your hands as little as you can during repotting. The roots are very fragile and if you damage them in the process you can kill the plant.
 Mulch and fertilize around the plant. Sprinkle granules of chicken manure or another organic slow-release fertilizer around the base of the plant. Also put a layer of organic mulch, such as straw or wood chips, around the base of the plant.
 - The entire root ball needs access to the fertilizer and mulch. Gently push or dig some of the cover into the top layer of the soil after spreading the fertilizer and mulch around the base of your plant.
 Water well. Use a watering can or garden hose to gently water the seedlings after you plant them. Make sure the soil is very moist, but don't allow puddles to form. This may mean that you have given more water than the soil can absorb and drain.
Part 4 of 4: Daily grooming and long-term care
 Provide regular nutrition. Passionflowers are big eaters, so you will need plenty of water and fertilizers throughout the growing season.
 - You should provide fertilizers in the spring and every four weeks during the summer season. A final feeding should be done in the middle of autumn. Use organic, slow-release fertilizers that are low in nitrogen. Chicken manure pellets are a good option.
- If it rains a lot, you don't have to water the plant too often. If it has been dry for a while, however, you will need to water the vines at least once a week. Never let the surface of the soil dry out completely.
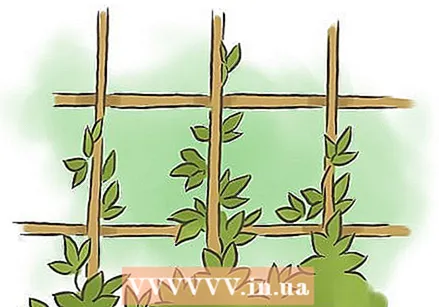 Lead the tendrils. When the tendrils are spreading, you may have to guide them to climb up your fence, slatted frame, or other support. The plant will be healthiest if the tendrils are encouraged to climb, and a healthy plant will produce the greatest yield.
 - Leading the rankings is a fairly simple process once you understand how it works. When new tendrils or feelers begin to stretch, tie the tendril around its base and around the wire of your frame, using thin wire. Make a loose knot to make sure you don't choke the tendril.
- When the plant is new, side branches of the main stem should be pinched to the level of the wire. The two side branches of the main stem should then be bent around the top thread of your structure and then forced in opposite directions.
- Once the side branches are spread apart, side branches can grow out of them and hang down loosely.
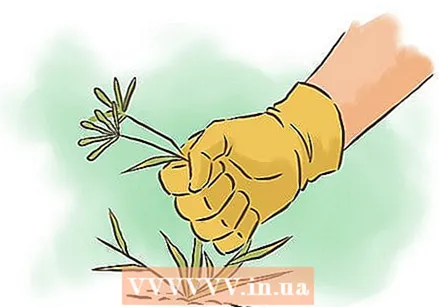 Weed around the plants. Because passion flowers need so much nutrition and water, the enriched soil often becomes a target for unwanted weeds. You need to remove as much of the weeds that grow nearby as possible so that the resources are not stripped away from the passion fruit.
 - Keep 2 to 3 feet weed free around each tendril. Use organic methods to remove weeds, not chemicals. Mulch can help prevent weeds from sprouting, and removing the weeds that do sprout by hand is also a good idea.
- Other plants and weeds can grow in the rest of the garden, but you should keep away plants that can spread disease or attract pests. Vegetable plants, in particular, are dangerous to plant near passion flowers.
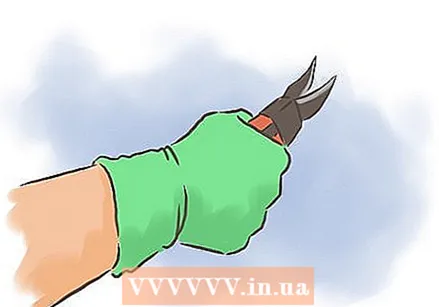 Prune it if necessary. The main reasons for pruning the plant are simply to keep the tendrils under control and to have enough sunlight available on the lower parts of the plant.
 - Prune every other year in the spring. Make sure to do it before the plant blooms. Pruning after the plant has started flowering can weaken the plant and limit its yield.
- Use pruning shears to trim branches that grow below two feet. By doing this, you get rid of weak old growth, while improving air circulation around the bottom of the plant.
- When pruning, make sure you don't cut away an important branch by following the branch to where it starts before cutting it away.
- Leave a piece of three to five knots at the beginning of the branch you are cutting. This can lead to new growth.
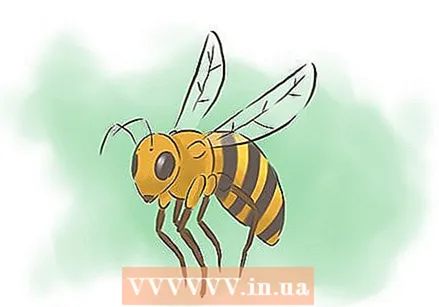 Support in the pollination process if needed. Usually bees will take care of the pollination process without any help from you. But if there are no bees around, you may need to do some work yourself.
 - To pollinate the plants by hand, take a small, clean paintbrush and collect the pollen from male flowers. Wipe the collected pollen on female flowers with the same brush.
- You can also touch the stamens and pistils of each flower with your thumb and forefinger as you walk along the rows.
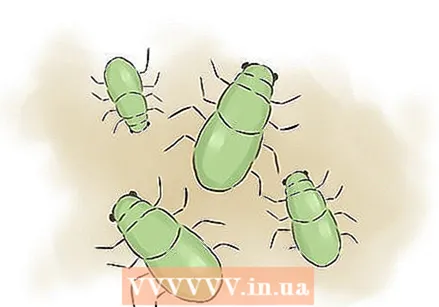 Protect the passion flowers from insects. You shouldn't use insecticides until you really spot the early stages of a pest problem. If you do use insecticides, opt for organic options as chemicals can destroy the fruit produced and make it unhealthy for consumption.
 - The pests that cause the biggest problems are aphids, spider mites and mildew.
- Aphids can usually be discouraged by sprinkling red peppers around the base of the plant.
- You can remove spider mites by spraying with water. If the contamination is persistent, you can fill an aerosol can with a mixture of soapy water and methylated spirits (10 liters of water, 200 grams of green soap, 1/3 liter of methylated spirits) and spray the leaves with it.
- To get rid of mildew, you can get a sulfate-containing agent from garden centers. Follow the directions on the package.
- The pests that cause the biggest problems are aphids, spider mites and mildew.
 Protect the plant from disease. There are a handful of illnesses you should try to prevent. When you see signs of a plant disease, do what you can to get rid of it and keep it from spreading.
 - The vines of the passion flower can become victims of rot and viral diseases.
- Cell and root rot must be prevented by ensuring good soil drainage.
- You can try to treat virus-infected plants with a commercial agent, but usually you will have to cut and burn the affected tendrils to give the remaining plants another chance. The passion fruit mottle virus, passion fruit ringspot virus and cucumber mosaic virus (CFMMV) are the most common threats.
- The vines of the passion flower can become victims of rot and viral diseases.
 Harvest the fruit. It may take a year to a year and a half for your plant to produce fruit, but once it does, you can harvest and eat its fruit.
 - Usually a ripe passion fruit will fall from the vine as soon as it is ready for consumption. The fall itself will not damage the fruit, but you should pick it up within a few days to ensure quality.
- If you have a variety that won't shed its fruit, just pick off any fruit that you see starting to wrinkle the skin.
Necessities
- Ripe passion flowers (if you want to collect seeds)
- Mature passion fruit plant (if you want to collect cuttings)
- Tray for seedlings or sand layer
- Knife or garden shears
- Jute
- Plastic foil
- Cultivation soil
- Sand
- Compost
- Shovel or trowel
- Granular organic fertilizer
- Watering can or garden hose
- Slatted frame or other support
- Small brush (for pollination)
- Insecticide (if needed)


