Author:
Roger Morrison
Date Of Creation:
5 September 2021
Update Date:
1 July 2024

Content
- To step
- Method 1 of 5: Method one: Stem pruning on Oncidium orchids
- Method 2 of 5: Method two: Stem pruning on Phalaenopsis Orchids
- Method 3 of 5: Method three: Prune stem on Cattleya Orchids
- Method 4 of 5: Method four: Prune stem for Dendrobium Orchids
- Method 5 of 5: Method five: Pruning roots and leaves
- Tips
- Necessities
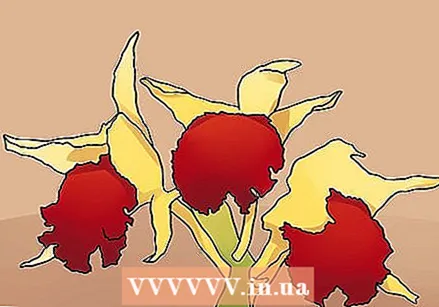
The correct way to prune the stem (on which the flowers grow) of an orchid depends on the type of orchid you have. You may also need to prune the orchid's leaves and roots if these areas become damaged, but the pruning method for these areas will be the same regardless of what kind of orchid you are dealing with.
To step
Method 1 of 5: Method one: Stem pruning on Oncidium orchids
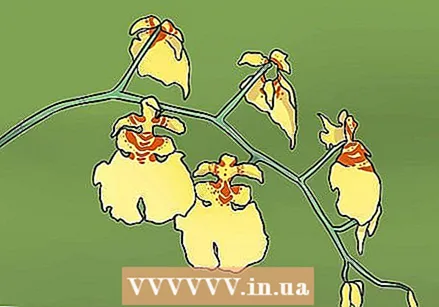 Wait for the flowers to fade. You should not prune the orchid until its flowers have died. Ideally, the stem of the bloom will also show signs of yellowing.
 - Usually the flowers will last roughly eight weeks before they die.
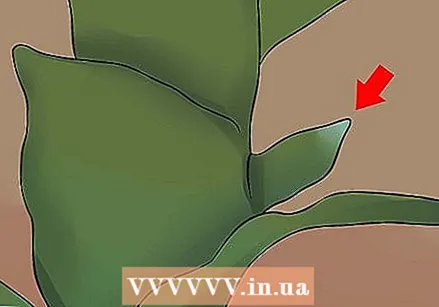 Follow the stem to the base of the pseudobulb. Follow the stem down until you see the point where it emerges from the pseudobulb. This will usually be somewhere between the pseudobulb and a leaf.
 - The pseudobulb is a noticeably thickened part of the stem with an oval or bulbous shape. Usually it is slightly above the ground.
 Cut the stem as close to the pseudobulb as possible. Hold the stem upright and still with your non-dominant hand. Using your dominant hand and a sharp knife, cut the stem as close to the pseudobulb as possible.
 - Be careful not to cut your fingers or cut into the pseudobulb. You can leave about an inch of the old stem.
Method 2 of 5: Method two: Stem pruning on Phalaenopsis Orchids
 Wait for the flower to die. The flowers on your orchid should be dead before pruning the stem. To minimize damage, you should also wait until the top of the stem starts showing signs of yellowing.
 - Note that this type of pruning should only be done to ripen orchids that have reached a minimum leaf height of 12 inches.
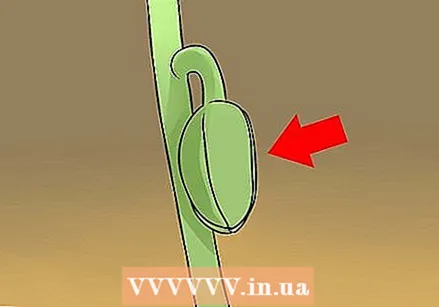 Find the inactive button. Look at the leaves or beige bands on the stem, each about 5 inches apart. The inactive button should be just below the widest band.
 - This bottom leaf should widen in the shape of a shield.
- When you prune the orchid just above this bud, you cut away a portion of the stem that contains hormones that keep the bud from growing. Doing so will allow the bud to regrow, and you will see a new stem emerge in a few weeks. This stem has the potential to bear flowers again.
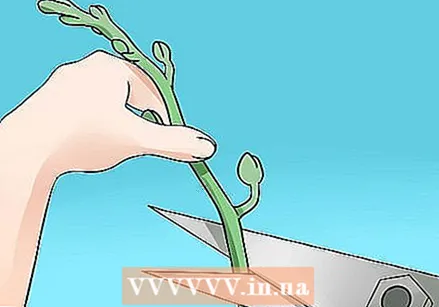 Make the cut. Hold the stem upright and still with your non-dominant hand. Using your dominant hand and a sharp knife, cut the stem 6mm above the wide, shield-shaped bract.
Method 3 of 5: Method three: Prune stem on Cattleya Orchids
 Wait for the flowers to fade. Only prune your orchid when the flowers are wilted and dead. The stem to which the flowers are attached should also begin to yellow.
 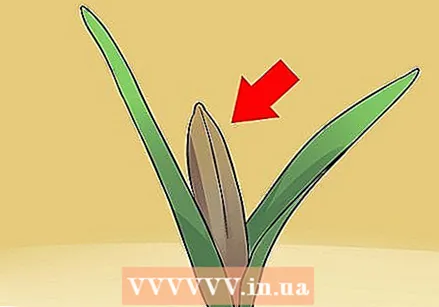 Find the old button shaft. You should see the vertical stem emerge from a wide, green section of plant material known as the bud shaft. When you hold a lamp at the back of this sheath, you should be able to see the bottom part of the stem.
 - Note that a bud shank is either green or papery brown. However, color is not necessarily an indication of the health of the shaft.
- The bud shaft protects stunted buds when they bloom and will not die, even if the flowers and stem die.
- Make sure the shaft is an old one. Ideally you should see flowers or stems. If you can't see anything from the top of the shaft, gently squeeze the shaft to make sure there are no fresh, healthy buds inside.
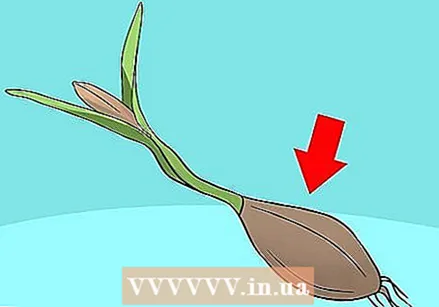 Find the point where the bud shaft is on the stem. Follow the shaft down towards the pseudobulb. The shaft and stem arise from the top of this pseudobulb, usually protected by one or two leaves.
 - Note that the pseudobulb is part of the trunk that originated directly above the ground. It is wider than the rest of the trunk and looks like a sphere.
 Cut through the shank and stem. Hold the top part of the shaft and stalk still with your non-dominant hand. Use a sharp knife to cut through both the shaft and the stem, as close to the base of the protective leaves as possible.
 - Do not cut through the leaves or the pseudobulb.
Method 4 of 5: Method four: Prune stem for Dendrobium Orchids
 Wait for the flowers to fade. Make sure the flowers are gone before pruning the orchid. The flowers should have faded and the stem should be yellowing or turning brown.
  Remove the stem, but not the trunk. The flower stalk starts at the top of the trunk, directly above the top set of leaves. Hold the stem with your non-dominant hand, then use your dominant hand to make a neat cut at the base of the stem with a sharp knife.
 - Do not cut the trunk.
- Although it is not always the case, the trunk is usually green, while the stem is often brown or greenish brown.
- The stem has no leaves, so you should be able to determine where the trunk ends and the stem begins based on that.
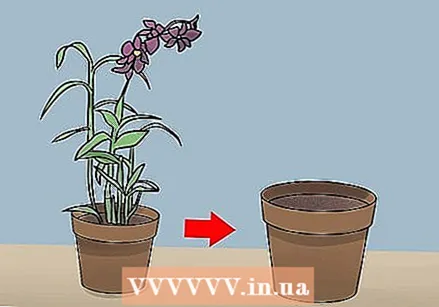 Only cut extra trunks when repotting. A hardy orchid usually has at least three mature stems, even if these stems no longer bear flowers. The best time to remove excess old trunks is when you repot the orchid.
 - The trunks store energy and produce food for the rest of the plant, so it is helpful to leave them until they are completely dead.
- If you do prune trunks, choose trunks that have no leaves and are yellowing. After removing the plant from its current pot, cut the horizontal rhizome - the horizontal rootstock connected to an upright dying trunk. Carefully remove the part associated with any shriveled trunks before placing the orchid in its new pot.
Method 5 of 5: Method five: Pruning roots and leaves
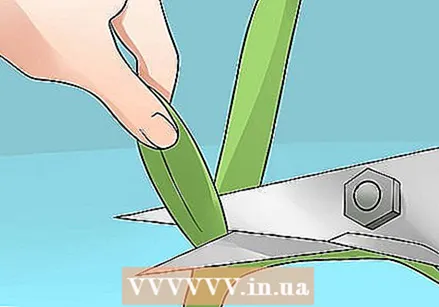
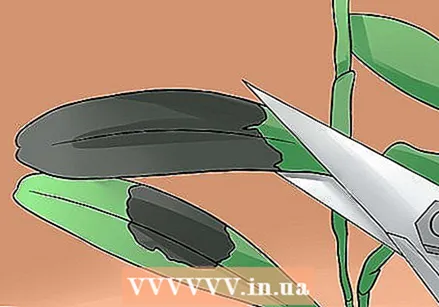 Cut off black leaves. Examine your orchid regularly for black spots or similar signs of damage. Use a sterile, sharp knife to cut only the damaged areas.
 - Do not cut off parts of a blade that are not damaged.
- Leave undamaged leaves intact, no matter how many other leaves are damaged.
- Orchid leaves turn black for a variety of causes, including bacterial disease, fungal disease, too much fertilizer, too much water, and too hard water.
- You can also remove whole leaves that have turned yellow and withered, but only if the leaves are so weak that you can remove them by pulling lightly with your fingers.
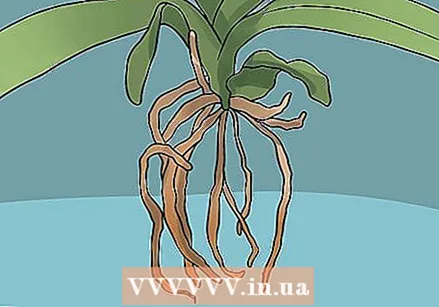 Cut off unhealthy roots when repotting the orchid. When you remove the orchid from its current pot, examine its roots. Look for unhealthy roots and carefully cut them away with sterile sharp scissors or forceps.
 - Unhealthy roots will look brown and feel mushy.
- Make sure to cut only unhealthy roots that are dead and dying. Work carefully to avoid accidentally pruning healthy roots.
- To make sure a root is dead, cut a small piece off first. Examine it closely. If it still looks fresh and white, don't cut any more of that root, as it is still alive. If it looks brown, shriveled, or rotten, continue cutting away the rest of the root.
 Leave healthy growth alone. Regardless of which part of the orchid you prune - stem, leaf or root - you should only prune out unusable or visibly dying parts of the plant. Removing healthy growth can hurt your orchid.
 - The sole purpose of pruning an orchid is to remove unusable parts of the plant so that the rest of the plant can receive a higher concentration of nutrients. Pruning healthy parts of the plant will not improve the way the orchid grows in later seasons.
- Orchids use a process that translocation is called. In this process, dying parts continue to nourish healthy parts by displacing nutrients. Therefore, you should avoid pruning parts of the plant before it shows visible areas of dieback.
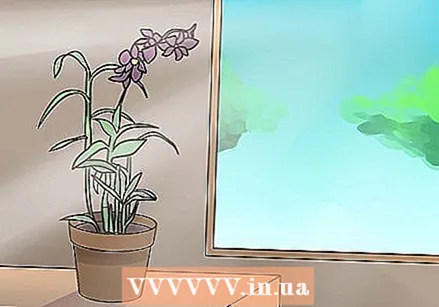 Only prune during the dormancy period of the orchid. Usually an orchid goes into dormancy during the late fall.
 - An orchid pruned during its growing cycle can go into shock and suffer permanent damage.
Tips
- Use a sharp, clean cutting tool. Many people prefer to cut stems with a disposable razor, but you can also use sharp pruning shears or a sharp knife. When cutting roots, scissors or pruning shears are necessary.
- Sterilize your cutting tools after each use. Fungi and bacteria can easily spread between orchids if you are not careful. Sterilize the blades by washing them with hot water and soap after use.
- When reading about orchid pruning, note that the pseudobulb also has the knot of the plant.
- Dispose of used razors safely. Wrap the blades in thick layers of tape to prevent the sharp blade from getting through before throwing them away.
- Note the difference between the stem and the trunk. The stem is the part of the orchid that is directly connected to the flowers, while the trunk is the non-propagating part of the orchid from which the leaves grow. You need to prune the stem, but not the trunk.
Necessities
- Razor or knife
- Scissors or secateurs


