Author:
Eugene Taylor
Date Of Creation:
9 August 2021
Update Date:
1 July 2024

Content
This wikiHow teaches you how to draw lines in a Microsoft Word document. You can do this in both the versions of Word for Windows and the Mac.
To step
 Open Microsoft Word. Double-click the Word icon, a blue "W" on a white background.
 - If you want to draw in an existing document, double-click the document and skip the next step.
 Click Blank document. You can find this in the top left of the window. A new document will open.
 - It is also possible that a new document is opened by default. If so, skip this step.
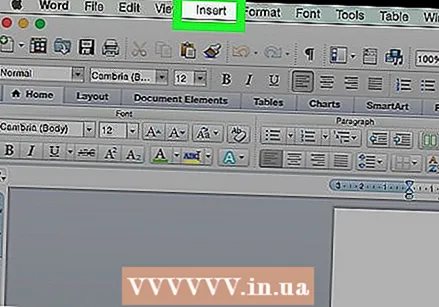 Click on the tab Insert. This option can be found on the left side of the main menu at the top of the Word window. A tab will appear below the ribbon / main menu.
 - If you are using a Mac, click Insert in the blue ribbon and not in the menu bar.
 click on To shape. These can be found in the group "Illustrations" of Insert. A drop-down menu will appear.
  Select a linetype from the drop-down menu. In the "Lines" heading, select a line type from the drop-down menu by clicking on it.
 - You can select a standard line by clicking one of the straight lines, or a "free line" by clicking the squiggly line ("scribble") on the far right under the "Lines" heading.
 Draw a line in your document. Click and drag to draw, then release the mouse button to confirm the shape.
 - You can click and drag the line after the line has been confirmed.
- To remove the line, click on it to select it, then press the button Delete presses.
 Add more lines. To add another line, select a line template from the To shapemenu and repeat the drawing process.
Tips
- If you have a line in your Word document, you can type around it or over it.
Warnings
- Make sure to save your work before closing Word.


