
Content
- To step
- Method 1 of 4: Cleaning the leather
- Method 2 of 4: Restore the surface of the leather
- Method 3 of 4: Fix a minor scratch in leather
- Method 4 of 4: Repairing a crack in leather furniture
- Tips
- Necessities
Leather is a durable material that is used for furniture and accessories. With normal wear and tear, cracks usually occur in the leather and the leather discolours. You can purchase a special leather repair kit that contains materials and tools for repairing leather. With this you can repair cracked and split leather surfaces. To do this, clean the leather, apply filler and colorant to it, and treat the leather with a maintenance product. To mend minor scratches in your favorite leather accessories, you can use household products like vinegar and oil, while you can use glue and scraps of fabric to mend small cracks in your leather furniture. As a last resort, you can always seek professional help, but it's worth trying to fix the damage yourself first.
To step
Method 1 of 4: Cleaning the leather
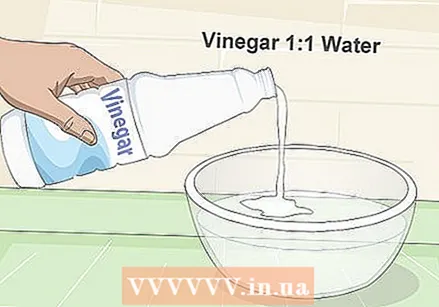
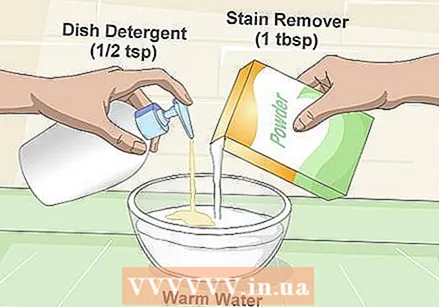 Prepare the cleaning supplies. Prepare a cleaning mixture in a bucket or basin by mixing one part dishwashing liquid with eight parts warm water. You can also buy saddle soap at a shoe store, department store or webshop. Saddle soap contains ingredients such as beeswax that make the leather supple during cleaning. However, wax and oil can prevent a filler or repair compound from adhering properly to the leather. Use a small amount of soap (a small dollop on a wet cloth) to prevent soap residue from building up on the leather.
 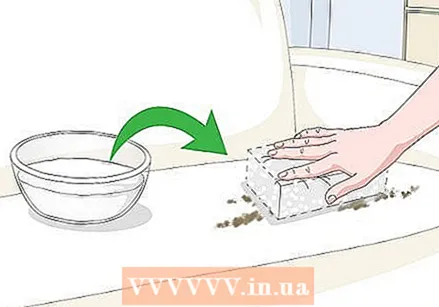 Soap the surface. Dip a soft, lint-free cloth in the mixture or dip the cloth in warm water before adding a dollop of saddle soap. Lightly squeeze the cloth and then wipe the entire damaged surface of the leather with it, making firm, circular motions. Rinse the cloth and repeat the process.
 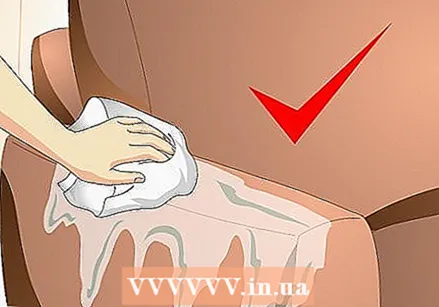 Rinse the leather thoroughly. Rinse the cloth and dip it in cool, clean water. Wring out the cloth lightly and go over the leather again. Make sure to remove any soap residue from the leather.
  Let the leather dry. When you have rinsed the leather thoroughly, let it air dry. Do not use the heater, a hair dryer or any other heat source to make the leather dry faster. Heat can change the chemical structure of the leather, making it stiff and distorted.
Method 2 of 4: Restore the surface of the leather
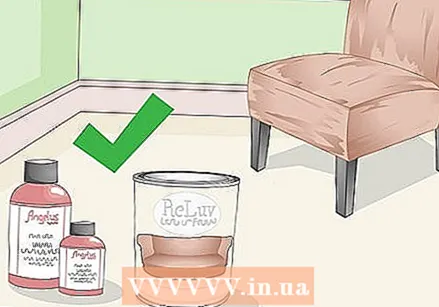 Buy a leather repair kit. You can buy a leather repair kit at hardware stores, department stores and web shops. In principle, such a set should contain all the tools and materials needed to repair leather surfaces. To find a high-quality set, read user reviews on the internet before buying. If it is a well-known brand you should be able to find a lot of reviews.
 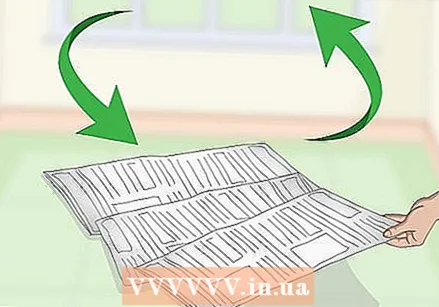 Avoid junk. To avoid staining the ingredients you use to treat the leather, place newspaper, plastic wrap, or towels underneath the leather item. Wear protective gloves and old clothing when you get started. To avoid inhaling the fumes from the products you use, open the windows or restore the item outside.
 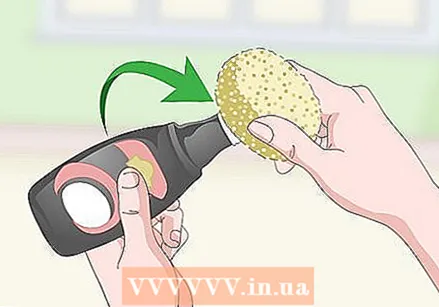 Apply a leather repair compound. Using a sponge, gently apply a thin layer of leather binder (a liquid that penetrates the fibers of the leather and makes them bond together) to the entire surface of the worn leather. Let everything air dry. Repeat the process 3 to 5 times, or until you are satisfied with the result. Remove the excess leather binder that builds up along the seams.
  Apply a thin layer of colorant. Apply a small amount of water-based leather colorant to a sponge or foam applicator. Apply a thin coat to the leather, focusing on hard-to-reach areas such as creases, cracks, and seams. Wait half an hour for the colorant to dry.
 - Shake the colorant well so that it is mixed well before use.
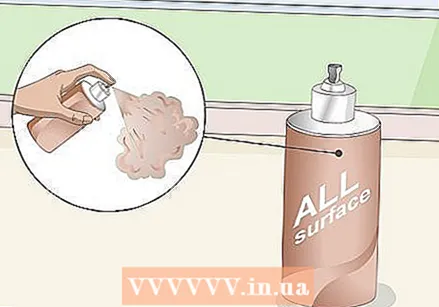 Spray more colorant on the leather. Fill a paint gun or an airbrush with colorant. To prevent outgrowths and spots with too thick a layer of dye, spray very thin layers of dye on the leather. Allow the surface to dry (water-based colorants will dry in minutes) and repeat the process until enough colorant appears to be on the surface.
 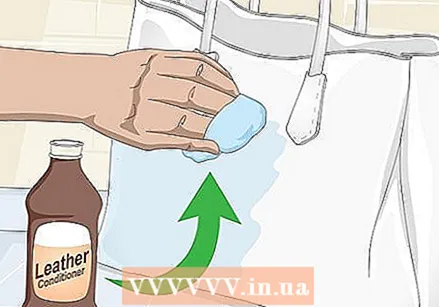 Apply a leather care product. When the leather is dry, use a soft, lint-free cloth to apply a leather care product to the surface. Make sure to apply an even layer of care product that covers the entire surface. Gently polish and polish the leather to make it supple and shine.
Method 3 of 4: Fix a minor scratch in leather
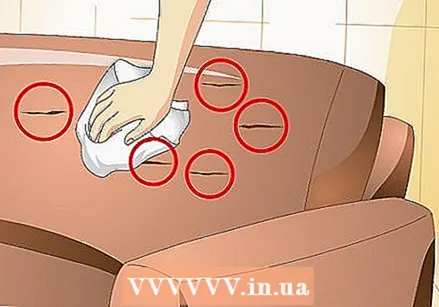
 Treat the scratch with vinegar. Apply a small amount of distilled white vinegar to the scratch with a cotton swab or small cloth. The vinegar will swell the area with the scratch, just as it does with collagen. Let the area dry, then gently polish the area with colorless shoe polish.
 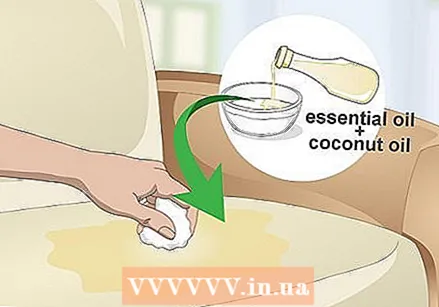 Rub oil on the scratch. Treat a scratch in a leather surface with orange or olive oil. Rub the oil with a damp cloth into the scratch and the area around it, making polishing movements. This treatment also has the advantage that the leather is nourished and hydrated.
 - Only use a small amount of oil, as the condition of the leather can deteriorate over time if you use too much oil.
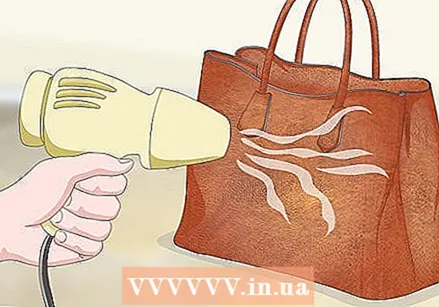 Use a hair dryer. Heat can be bad for leather, but it can be good for the leather to warm it a little bit. Set a hair dryer to a medium setting and treat the scratched area of the leather with it. Gently rub the scratch with your free hand. Due to the heat, the dyes that have been applied to the leather at the tannery should come back to the surface, making the scratch less visible.
 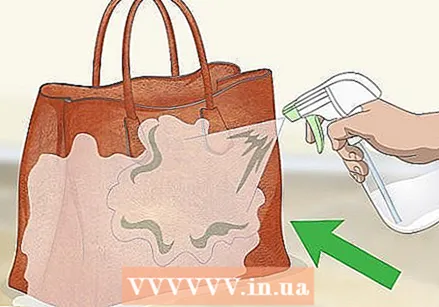 Maintain the leather. Treat your leather items with a weatherproof protective spray and reapply every three months. Keep the leather away from water as much as possible and be sure to gently dry the leather if it does get wet (avoid direct heat and let the leather air dry). Treat the leather every few months with a special care product to moisturize it, or do this when the leather starts to feel too dry.
Method 4 of 4: Repairing a crack in leather furniture
 Place a piece of cloth under the tear. Cut a piece of thin but sturdy material (for example, a piece of an old T-shirt). Make the patch slightly larger and wider than the tear you are repairing. Round the corners to make it easier to place the patch under the tear. Use tweezers to slide the patch under the tear. Smooth the patch underneath the leather, being careful not to damage the leather even more.
  Glue the crack closed. Apply flexible craft glue to a large needle, palette knife, or plastic knife. Apply the hobby glue to the underside of the leather and the patch underneath. Spread the glue around the crack until the crack is glued shut. Smooth the repaired surface and wipe off the excess glue with a wet cloth. Stronger glue may need to be removed with rubbing alcohol.
 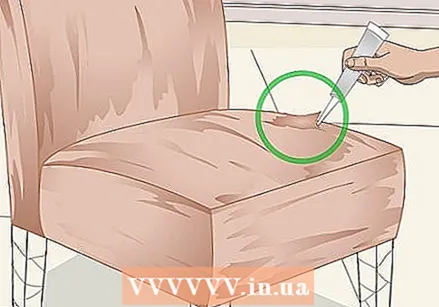 Apply a filler. Apply a thin layer of filler to the crack. Some fillers can be dried faster with the help of a heat gun or a hair dryer. You just have to leave other fillers alone to let them dry. Repeat the process until the surface is even. Apply a final thin coat and texture the filler layer with a gloved hand or cling film. Let the agent dry. If necessary, gently treat any rough spots with 500 grit wet or dry sandpaper.
  Apply a thin coat of leather dye. Start with the spot you repaired. Dab or dot a thin layer of paint on the area with a sponge, brush, or foam applicator. Let the paint dry. If necessary, treat the areas around the crack.
Tips
- Keep the leather in good condition by applying a protective cream to the leather 3 to 4 times a year.
- Make sure you work in a well-ventilated area when using chemicals and dyes.
Necessities
- Vinegar
- Orange oil or olive oil
- Hairdryer
- Hobby glue
- Small paintbrush
- Small spatula
- Fabric patch
- Saddle soap or a mixture of dish soap and warm water
- Lint-free cloths
- Fine sandpaper
- Palette knife
- Leather binder
- Filler for leather
- Colorant for leather
- Airbrush or paint gun
- Care product for leather
- Protective cream for leather


