Author:
Roger Morrison
Date Of Creation:
26 September 2021
Update Date:
1 July 2024
Content
- To step
- Method 1 of 4: Hide superficial scratches with an upholstery marker
- Method 2 of 4: Fix superficial scratches
- Method 3 of 4: Repair superficial scratches by sanding
- Method 4 of 4: Repairing deep scratches and grooves
- Tips
- Warnings
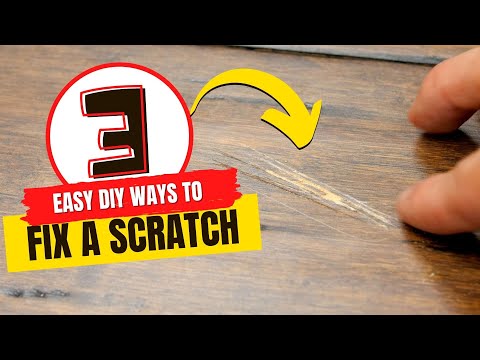
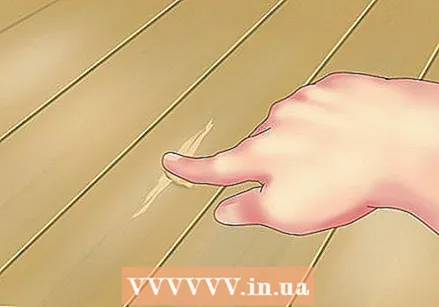
If you have a hardwood floor, it will definitely scratch, even if you are so careful. Most of the scratches are caused by the shifting of furniture, pets and small stones from the outside that are walked in. It can be relatively easy to repair a scratched hardwood floor and return it to its old look, depending on how bad the scratch is. With a few simple steps you can repair and hide dents and scratches in your hardwood floor, so that your floor lasts as long as possible.
To step
Method 1 of 4: Hide superficial scratches with an upholstery marker
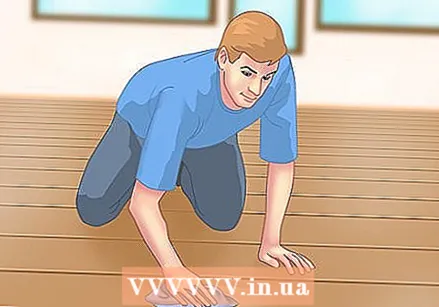
 Wipe the scratched area. Use a soft cloth dampened with water to gently clean the surface of the hardwood floor to remove dirt and dust.
  Do a sample. Before applying the wood stain to the scratch, test the marker on an inconspicuous area of the wood to see how well it matches. If it is a good match, you can use it on your scratch.
 - Furniture markers are available in many colors and can be purchased at department stores, hardware stores and paint stores.
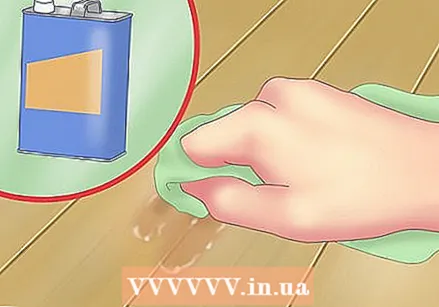
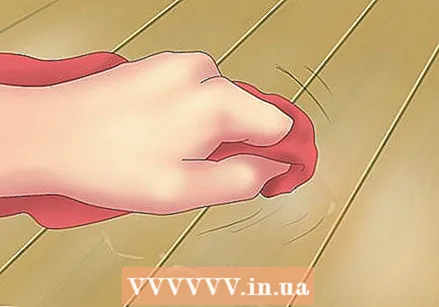
 Dampen a cloth with dye from a furniture marker. Find a furniture marker in the color of your hardwood floor. Fold a clean cloth or paper towel into a square so that several layers of the material are on top of each other. Shake the furniture marker before removing the cap and push the tip of the marker into a corner of the folded cloth. Push the marker against the cloth about 10 to 15 times to thoroughly moisten the cloth with the dye.
 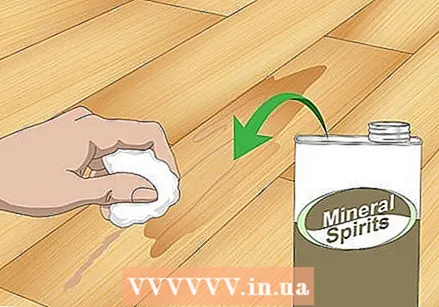 Rub the dye into the scratch. Gently press the cloth onto the wood, focusing on the scratched area. Rub the dye into the scratch, following the grain of the wood.
 - This is the best method of applying the colorant (instead of drawing on the scratch with the furniture marker) as you can apply it gradually.
- If you draw on the scratch yourself with the furniture marker and fill it with colorant, you may be applying too much colorant to the scratch. The scratch will then become darker than the wood around it. By drawing directly on the scratch like this, the scratch can become even more obvious.
Method 2 of 4: Fix superficial scratches
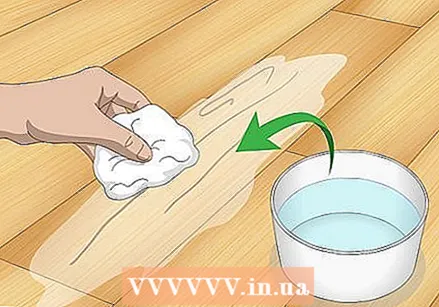
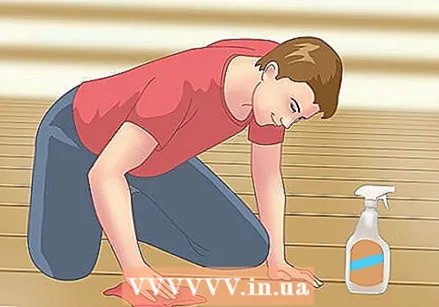
 Clean the scratched area. If scratches have appeared in the protective layer of the hardwood floor, use a soft cloth (such as a microfiber cloth) and a small amount of parquet cleaner to remove all dirt from the scratched area.
 - Make sure all small dust particles are wiped away from the scratched area so that they do not remain on the floor when you treat it with lacquer.
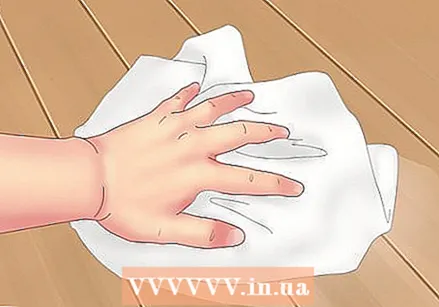 Rinse off the cleaner. After you've cleaned the scratched area on the floor, dampen another cloth with water and wipe the area with it to remove the cleaner residue.
 - Let the scratched area dry before proceeding.
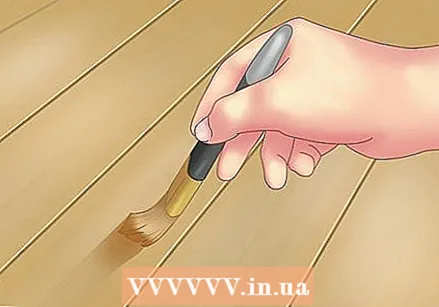
 Apply a protective layer. When the scratched area is completely dry, use a small brush with a narrow tip to apply a thin layer of protective lacquer to the scratched area in the floor. You can use wood lacquer, shellac or another type of polyurethane lacquer for this. Ideally, you use the same type of lacquer that your hardwood floor is finished with.
 - Ask a local hardware store representative for advice on what type of varnish to use on your floor.
- If you don't have much experience with woodworking or your hardwood floor has a special finish (such as a high gloss polyurethane lacquer), consider hiring a professional to repair and finish the floor.
- Because hiring a professional costs more money, it is probably cheaper to wait for more scratches to appear, rather than hiring a company to fix a minor scratch.
Method 3 of 4: Repair superficial scratches by sanding
 Clean the scratched area. Use a soft cloth and a small amount of parquet cleaner to clean the scratched area on the floor. In this way you remove small dirt and dust particles and ensure that you are working with a clean surface.
 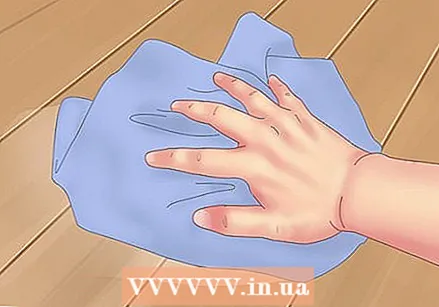 Rinse the scratched area. Wipe the scratched area with a cloth dampened with water. This will remove the residue of cleaner, so that the place you are going to work with becomes even cleaner.
 - Let the damp area dry completely before proceeding.
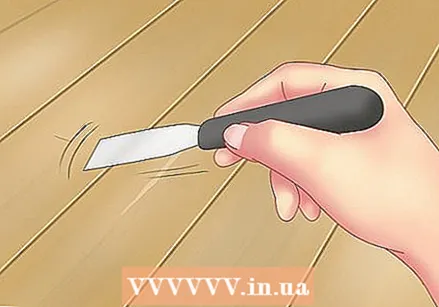
 Sand the scratch. Rub the scratch gently with fine steel wool. Make sure to follow the grain of the wood when rubbing. Lightly sand the scratch away until it is indistinguishable from the wood around it. When the scratch is no longer visible, it may be necessary to sand the edges of the scratch lightly to make it look even again.
 - Use a clean cloth to wipe the floor and wipe away the sanding dust.
 Fill in the scratch. Rub the scratched and sanded area with a wax marker to fill it in. Wood wax can be transparent, but it is also available in common wood colors such as honey yellow, as well as various shades of brown. Let the wood wax dry and harden for at least 10 minutes.
 - You can buy wax markers at department stores, paint stores or hardware stores.
 Brush the scratch. Use a clean, soft cloth to rub back and forth over the scratched area and polish the wax. Polishing the wax will smooth out the scratched area, remove excess wax and restore shine to the floor.
Method 4 of 4: Repairing deep scratches and grooves
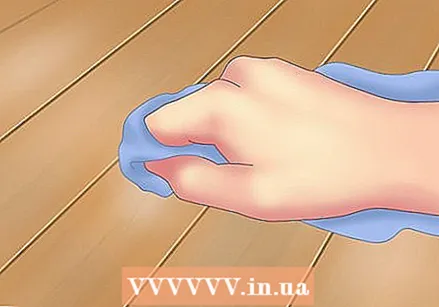
 Clean the scratched area. Use a soft cloth dampened with a small amount of parquet cleaner to clean the scratched area in the wood.
 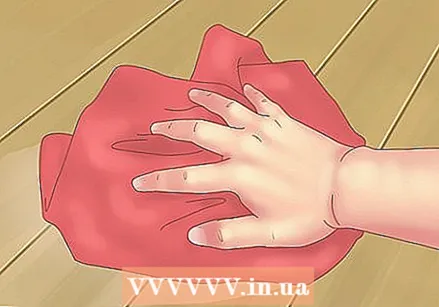 Rinse off the parquet cleaner. Dampen a new cloth with water and use it to wipe the scratched area on the floor. In this way you ensure that your workplace is completely clean and that there is no longer any dust or dirt on the spot in question.
 - Let the scratched area dry completely before proceeding.
 Rub turpentine on the scratch. If your hardwood floor is finished with a protective layer of polyurethane lacquer, you will have to remove this layer before you can repair the scratch. If your floor does not have this protective layer, then of course you do not have to remove the top layer. Dampen a scouring pad with turpentine and gently rub the scratched area on the floor. Wipe the area with a clean cloth and let it dry completely.
 - If you do not have much experience with woodworking and lacquering, it is recommended to hire a professional to repair the floor.
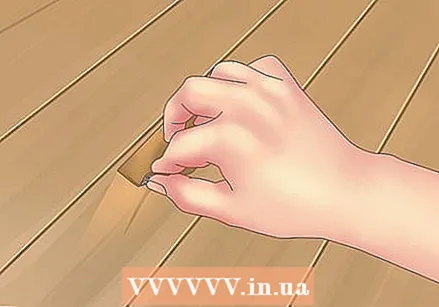
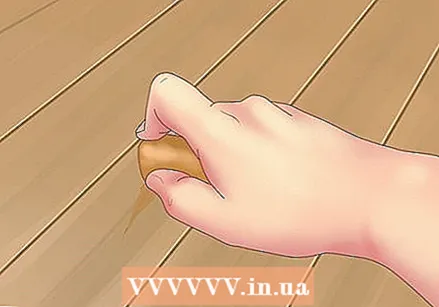
 Fill in the scratch. Apply a small amount of wood filler to your index finger in a color similar to the color of your hardwood floor. Use your finger to apply the wood filler to the scratch or groove. Spread the product well in all directions to remove air bubbles. You can use a generous amount of wood filler as you will remove the excess later.
 - Make sure to use a wood filler and not a wood filler. These are two different products, and if you use wood putty to fill in the scratch, it may be that the color is clearly different from the floor itself. It is also possible that the filler does not get the right color if you work the spot with a furniture marker.
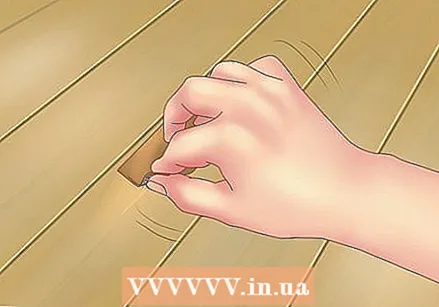
 Wipe off the excess wood filler. Smooth the surface with a putty knife over the wood filler to help push the compound into the scratch. Using the putty knife, brush across the scratch in different directions to make sure the edges of the scratch and wood filler are flat and even.
 - Let the wood filler dry completely. This can take from a few hours to a whole day, so check the product packaging to see how long it takes to dry.
 Sand off the excess wood filler. Use a small piece of fine sandpaper (e.g. 180 grit) and sand the area around the scratch where you spread wood filler.
 - You can sand with the grain of the wood or sand in small circles. Whichever way you choose, make sure you sand the floor very lightly.
 Wipe off the excess wood filler. Dampen a cloth with water and wring it out. The cloth should be damp but feel relatively dry. Use your finger to carefully wipe away the wood filler around the scratch.
 - Wipe down any areas you applied wood filler to and do not wipe the wood filler-filled scratch itself.
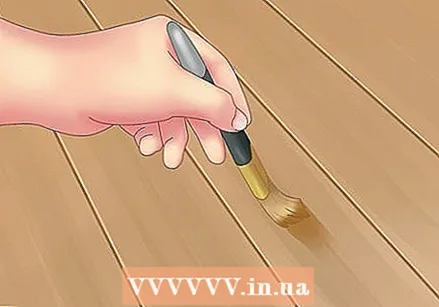
 Paint the repaired area. Apply a thin coat of the same type of varnish to the repaired area as the rest of the hardwood floor. Use a small brush with natural bristles or a lambskin roller to apply a coat of polyurethane lacquer, varnish or wood lacquer. Let it dry for 24 hours before walking over the area again.
 - If you use a foam roller, you run the risk of air bubbles forming in the paint.
Tips
- Sometimes you can fill small scratches in a floor with a normal wax crayon. If you have crayons in the same color as your wood floor, consider experimenting with them before heading out to buy a wood wax marker.
Warnings
- Make sure to wear protective clothing such as goggles and gloves when working with chemical woodworking agents.


