Author:
Judy Howell
Date Of Creation:
5 July 2021
Update Date:
1 July 2024

Content
- To step
- Part 1 of 4: Preparing to plant
- Part 2 of 4: Growing the seeds
- Part 3 of 4: Planting your gourds
- Part 4 of 4: Harvesting your gourds
- Tips
- Necessities
Gourds have been cultivated for centuries for decoration as well as for their usefulness for utensils and tools. Whether you want the crop for artistic purposes or you just love seeing those colorful pumpkins on your land, growing gourds at home is easy.
To step
Part 1 of 4: Preparing to plant
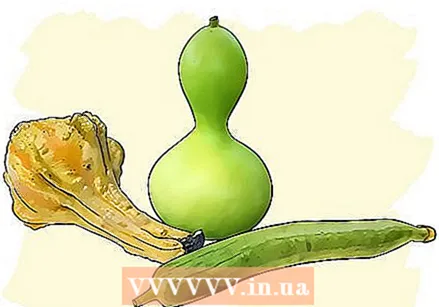 Choose a variety of gourd. Gourds come in dozens of varieties, each with their own unique shape, color, and size. Gourds come in three general types: ornamental gourds (cucurbita), utility gourds (lagenaria), and vegetable sponge gourds (luffa).
 - Ornamental gourds are bright in color and funny in shape, especially intended for decoration. They have orange and yellow flowers.
- Useful gourds are green while growing, then turn brown as they dry. These gourds are most commonly used for tools and consumables, due to their hard shell.
- Vegetable sponge gourds have a peel that can be peeled off, exposing the insides that can be used as a sponge. These have yellow flowers as they grow.
 Decide when to plant. Gourds can grow in most climatic zones, but they do best in warm weather. If it's a cold winter, with sub-zero temperatures most of the winter, you'll need to pre-germinate your gourds indoors before putting them out. Gourds take about 180 days from sowing to ripe fruit. This is due to their extra long germination process. Remember to pre-germinate your seeds 6-8 weeks before the last frost.
 - Gourds grow best in temperatures between 24 and 30 degrees Celsius.
- Pre-sprouting gourds indoors involves planting the seeds in individual containers and watering them daily.
 Decide whether or not to use a slatted frame. Slat frames are structures made of wood or wire, intended to keep plants off the ground, and in the case of the gourds, they are mainly used to create unique shapes. You don't need a slatted frame when growing gourds; they do fine on the ground. However, gourds that grow on the ground will have a flat side they rested on, while gourds that grow on slatted frames will keep their round shapes. If you decide to use a slatted frame, place it before planting your gourds, then run the plants over it over time.
 - Tall, heavy varieties (such as bottle gourds) will require a combination of wood and sturdy wire work to support them without tipping over.
- Small gourd varieties can be grown using a large tomato cage as a slatted frame.
- Luffa (vegetable sponge gourds) almost always need to be supported with a slatted frame.
 Choose a location to plant. Gourds should be planted outdoors in full sunlight, with plenty of room to crawl. Although they can also grow in pots, this will severely limit their size and overall production. If you want to grow your gourds without a slatted frame, choose a spot with plenty of square footage for growth. Otherwise, make sure to set up your slatted frame in a spacious area with plenty of sunlight and little shade.
  Prepare the soil. It is not that difficult to create the right soil for gourds so that they grow well in most places. They like moist soil with a little more clay than sand (meaning they may not do very well in sandy soil). Test the pH of your garden soil to see if it is within the correct range for gourds; they like acidic soil within the range of 5.8 to 6.4. If your pH is too high, mix in peat moss to improve acidity.
Part 2 of 4: Growing the seeds
 Score the seeds. Gourds are notorious for their tough outer seed husk, which is partly responsible for their extra long germination period. To prevent your seeds / gourds from rotting because they took too long to germinate, you can nick them to speed up the process. Use a sanding board (paper nail file) or fine sandpaper to roughen the outside of the seeds. This doesn't have to take long; the rough paper only needs to roughen the layer on both sides of the seed.
 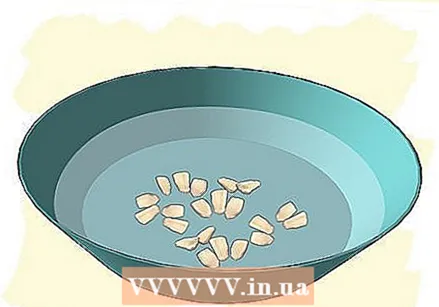 Soak the seeds. After the seeds have been scored, you can place them in a bowl of lukewarm water and let them soak. Leave them in it for a total of 24 hours to speed up the germination process.
 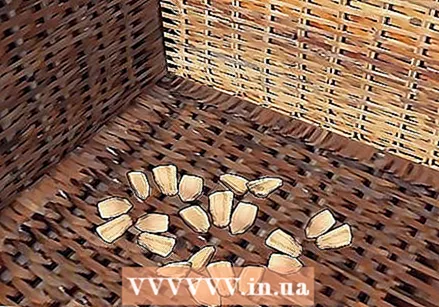 Let the seeds dry. After they have soaked for 24 hours, you can remove the seeds from the water and let them dry on a piece of parchment paper. By giving them time to dry completely, you can prevent them from rotting before they sprout.
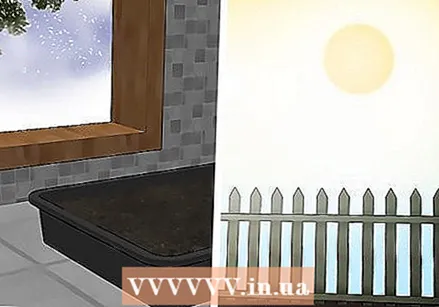
 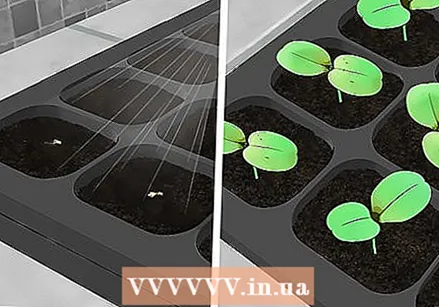 Pre-germinate your seeds. It's a good idea to give your seeds a head start by planting them indoors in pre-seed boxes. Fill small seed trays with your prepared soil, and place one seed in each tray. Water daily until you are ready to plant the seedlings outside, generally after the last frost of winter.
Part 3 of 4: Planting your gourds
 Dig your rows and holes. Use a small shovel to make the holes where you want to plant your seedlings. If you are going to plant many gourds at once, make sure there are at least 1.5 meters between the rows, and 60 centimeters between the plants in the row.
 - Keep your rows close to your slat frame if you're using one.
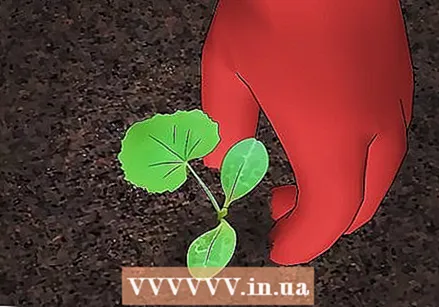 Plant the gourds. Place each small seedling or seed in its own hole; do not put several in the same place at the same time. Cover the seeds with 1.5 cm of soil and cover seedlings up to where new growth begins.
 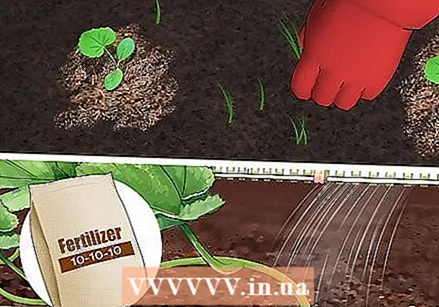 Take care of your newly planted gourds. Water the gourds well after planting to avoid the risk of shock from transplanting. Gourds like ample moisture, so make sure the soil is moist by watering daily as needed. Remove weeds as soon as they emerge as they will take valuable nutrients and growing space from the gourds. If you're using a slatted frame, you can use a bit of string to secure the gourds to the frame as they grow, giving them plenty of room to grow.
 - Add a layer of mulch to the yard area to retain moisture and keep away new weeds.
- Consider mixing an equal part fertilizer (such as a 10-10-10 mixture) into the soil every few months.
- Water your gourds extra when the weather is particularly dry or hot to keep the soil moist.
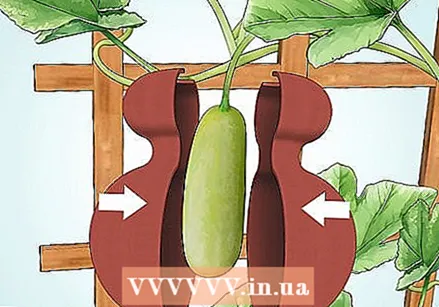 Consider feeding ornamental gourds. When growing ornamental gourds, it is normal for growers to develop interesting shapes and structures. There are two common ways to shape a gourd: bending it gradually, and by giving it a mold. You can bend parts of a gourd slowly as it grows if you want a spiral snake-like gourd. You can also create a mold for your gourd by placing the small fruit in a breakable mold (like a vase). When the gourd has grown, it will fill the mold and have taken over the mold; you just have to break the mold to remove it.
Part 4 of 4: Harvesting your gourds
 Let the gourds dry on the tendrils. When your gourds have reached their full size, the tendril they are growing on will begin to die. At this point, your gourds are ready to be harvested, but leaving them on the vine to dry will make the job a lot easier. Give them a few weeks to a month for the drying process to take place; when you check them, you will notice that they become lighter and lighter. Unless you see animals or insects eating the gourds, don't worry about them rotting or going bad.
 - If you need to trim the gourds early, wait until the tendril on top of the gourd is completely brown and dry.
- Turn the gourds every now and then and move them around to keep them from touching each other.
 Remove the gourds. Drying time varies from gourd to gourd and depends on its size (and thus the amount of water it contains). Check the gourds every week to see if they are ready. Feel the skin and check the consistency of the gourds; if only slightly soft or soggy, they are rotten and should be discarded. When the skin feels hard and slightly waxy, they are probably ready for clipping. As a final test, shake the gourds to see if they are completely dried; when they are ready, there will be a rattling noise from the seeds rattling in the gourd. Use scissors or pruning shears to cut the gourds from the tendrils.
  Treat the skin of the gourd. Although not necessary, you can treat the gourd skin to change its appearance and make it last longer. Wash the gourd with some dish soap and warm water to kill any bacteria. You can then use a piece of sandpaper or steel wool to shine the outside of the gourd, and apply a coat of wax or lacquer to retain the shine. You can also decorate gourds by painting the outside.
 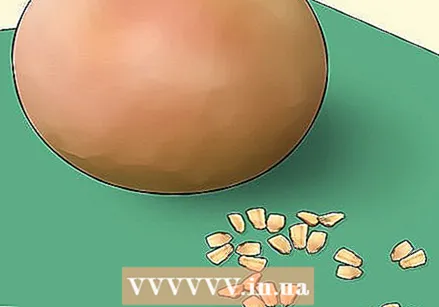 Consider saving the seeds. Your gourd will last many years with the seeds in it, but if you want to save the seeds to plant them next year, you can. Cut open the gourd to extract the seeds. Follow the same process of pre-sprouting the seeds (as described above) to accelerate their growth. You can keep the skin of the old gourd, and you will have the seeds to grow many more new gourds.
Tips
- The process of treating a luffa (vegetable sponge) is slightly different from that of the ornamental gourd and beneficial gourd. To remove the peel, let it soak for 24 hours after drying. When the shell has peeled off, you will find a flexible sponge in it.
Necessities
- Gourd seeds
- Nail file or sanding board
- Come on
- Water
- Peat pots or empty toilet paper rolls
- Seed-germ mix
- Hand scoop
- Compost
- Watering can and water
- Wooden slatted frame
- Dishwashing liquid


