Author:
Frank Hunt
Date Of Creation:
13 March 2021
Update Date:
1 July 2024

Content
With beautifully manicured nails you look well-groomed. But a professional manicure can be expensive and time consuming. Why go to a nail salon when you can do it yourself at home? Read on to learn how.
To step
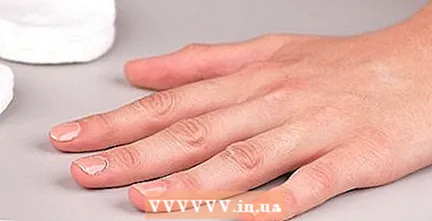
Part 1 of 3: Preparing your nails
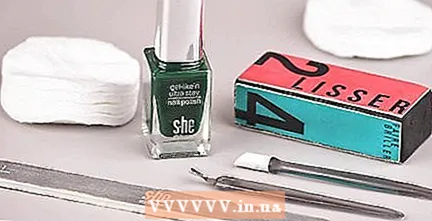 Gather all supplies. To give yourself a beautiful manicure, make sure you have the right supplies at home. You may need to invest a bit, but the next time you want to take care of your nails, you won't need anything more. Buy the following products:
 - Nail polish remover
- Cotton balls or cotton pads
- Cuticle pusher
- Nail buffer
- Nail scissors
- Nail file
- Cuticle or hand cream
- Nail polish
- Basecoat
- Topcoat
 Prepare your workspace. Nail polish and remover can damage carpets, wood and plastic. Wear an old T-shirt and take off all valuable accessories. Sit at a desk or table and cover it with old paper for protection (not old newspaper, as the ink will transfer to your skin). Make sure the table or desk is not very valuable or important to you, because you can always spill something. Do not sit too close to a computer, for example.
 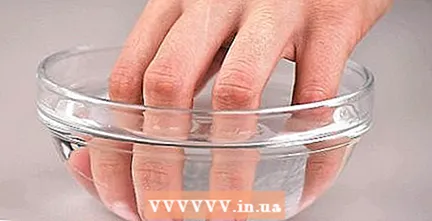 Soak your nails. Take a bowl or put the stopper in the sink and fill it with warm (not hot!) Water and a few drops of soap. The water with the soap loosens dirt, dead skin and dust from the filing and buffing process, and it softens your cuticles. Use a nail brush to gently scrub your nails and the surrounding skin. Also scrub a little under your nails if necessary to loosen dirt.
 - If you have dry skin or fragile nails, do not soak them; then just rinse them.
- Don't overdo it with scrubbing, as you can damage your nails.
 Let your nails dry. Try not to move your nails too much as this can cause it to run. Let the nail polish dry for 10 to 15 minutes. Applying the second coat too early may damage the first coat. You can speed up the drying process by using a fan, but be careful: because the fan blows away the odor, you may forget that your nails are still wet.
 - When the first coat is completely dry, you can apply a second coat if you want. The color will then become more even and rich.
- When the nail polish is completely dry, you can add a design, stone or other decoration.
- If you skip the base coat or just apply one coat of nail polish, you can still get quite acceptable results. But extra layers are often nicer.
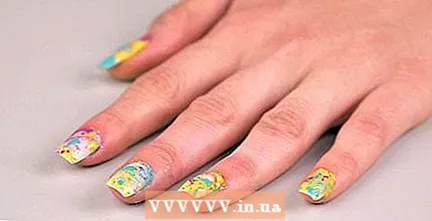 Make splash nails. This fun variation consists of multicolored paint splashes on a surface color.
 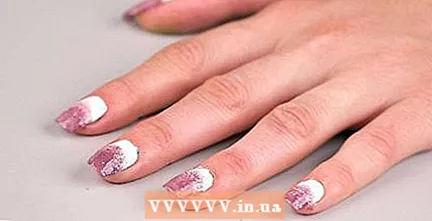 Make ombré nails. Go from a light color to a dark color to make your nails look intriguing and fashionable.
 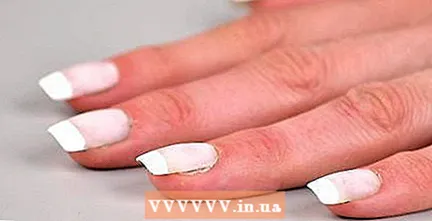 Give yourself a French manicure. This classic style emphasizes the white ends of your nail while preserving the natural color of your nail bed.
 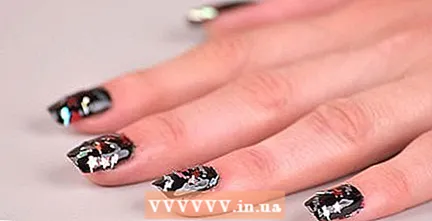 Create nail art. Paint a coat of glitter, crack polish, shimmer, or another beautiful polish to make your manicure stand out even more.
 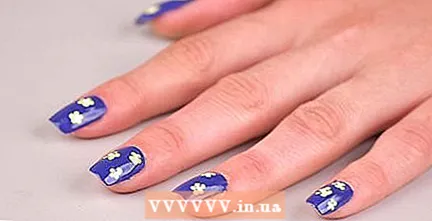 Paint small flowers on your nails. You will need different colors in addition to your base coat to create this lovely little design.
 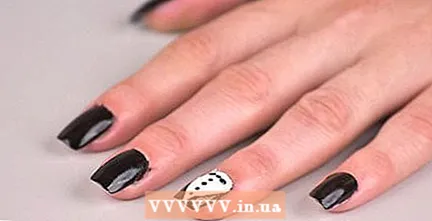 Make the tuxedo. This eye-catching design uses two colors, giving the effect of a tuxedo the look of a white shirt.
 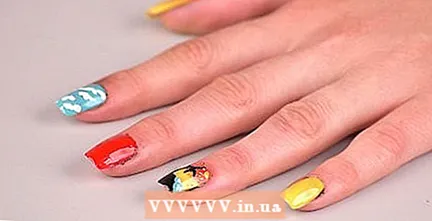 Make beach nails. This adorable design is a fun way to celebrate the summer months.
 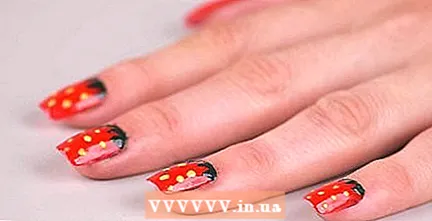 Make small raspberries. You will love the effect of these little red berries on your nails.
Tips
- If you have a lot of time or are very creative you can try complicated designs. But for most of us, the simpler the better!
- If you put your nail polish in the fridge 5 minutes before use, it will polish more easily.
- Buy a small beauty case or tool box to keep your things in. Make sure you keep anything that you can spill away from valuables. Make sure the caps are properly tightened.
- You can also do a "manicure" on your feet: it is called a "pedicure". It is best to do all the steps in succession for one foot first, and only then the other. Have everything ready so you don't have to walk around with your polished toenails or you could ruin your floor.
- You can touch up spots on your nails if the polish starts to peel off, but if you really want it to look nice, you better do it all over again.
- If you have to type a lot, keep your nails short, otherwise the nail polish will damage the tips very quickly.
Warnings
- Do not inhale the vapor of nail polish or remover.
- Don't buff your nails too much. This weakens the nail and can cause pain or inflammation. You just want to make the surface a bit smoother, it doesn't have to be completely flat or shiny - you do that with the nail polish.
- Do not store nail polish too close to a heat source or open flame (including a burning cigarette) because it is very flammable.
- You don't have your cuticles for nothing: they keep your nails from getting infected. So don't take them away! If any pieces are torn or loose, cut them very carefully so that they don't tear further.
Necessities
- Old paper
- Nail polish remover
- Cotton balls or pads
- Nail scissors
- Nail file
- Nail buffer
- Bowl or sink
- Warm water
- Soap
- Nail brush
- Towel
- Cuticle oil or cream
- Cuticle pusher
- Hand cream or lotion
- Cotton gloves
- Basecoat
- Nail polish
- Topcoat
- Fan
- Toothpicks
- Cotton swabs
- Pen with nail polish remover


