Author:
Tamara Smith
Date Of Creation:
26 January 2021
Update Date:
1 July 2024

Content
- To step
- Method 1 of 5: Make a duster
- Method 2 of 5: Make a warm compress
- Method 3 of 5: Make a cup warmer
- Method 4 of 5: Making a draft stopper
- Method 5 of 5: Make a dog toy
- Tips
- Warnings
- Necessities
- Making a duster
- Make a warm compress
- Making a warming container for a cup
- Crafting a draft stopper
- Making a dog toy
You cleaned up your sock drawer or took the laundry out of the dryer and found a lot of old, crappy socks that don't match. Instead of wasting the material by throwing the socks away, use them for household items such as dusting or covering drafty areas in your home. To recycle your own socks, wash the socks in the washing machine, put your hand in when you are cold, wrap them around your cup to keep it warm or fill them with heat-absorbing material and decorate finally as you wish.
To step
Method 1 of 5: Make a duster
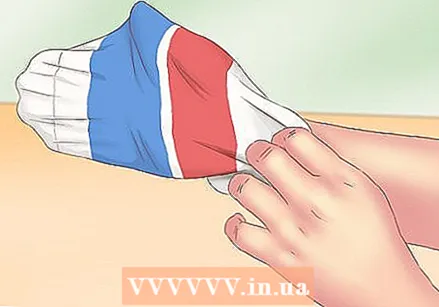 Pull the sock over your hand. It is best to use fluffy socks, because the texture of these socks allows you to remove dust and hair better than smooth socks. Just put your hand in the sock.
  Wet the sock. Fluffy socks can remove a lot of dust when they are dry, but other socks cannot. Hold the sock under the tap and apply furniture polish. You don't need much; only enough to cover the outside of the sock.
 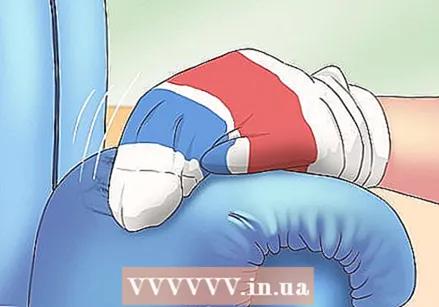 Wipe dust from surfaces. The sock is ready for use. Wipe all surfaces where dust has accumulated. If the sock is too cluttered with hair and dust to wipe away more, shake it out over the trash can then turn it inside out and resume fabric.
 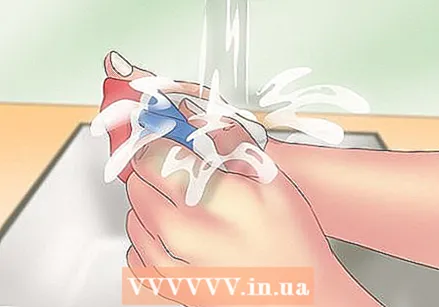 Wash the sock. Put the sock in the washing machine and dryer along with the rest of your laundry. The sock comes out clean and you can use it again.
Method 2 of 5: Make a warm compress
 Fill the sock with rice. To make a warm compress, it is best to use a long sock without holes. Place 800 grams of uncooked white rice in the sock. You can also use other foods that you can reheat, such as dried corn kernels and flax seeds.
 - You can know exactly how much filling material you use. Using less will soften the compress and allow you to treat smaller areas of your body.
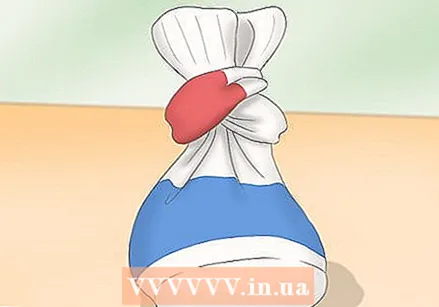 Button the sock at the top. Wrap the end of the sock around so you can tie it into a knot. This prevents the filling material from falling out of the sock and keeps the compress warm.
  Heat the sock in the microwave. Do not heat the sock in the microwave for more than one minute at a time, and no more than three minutes in total. The sock can get too hot and the filling material can burn. The sock should feel warm but not hurt you.
 - Putting a cup of water in the microwave will heat up the sock faster.
 Place the sock on your body. Now that the sock is warm you can use it to treat cold, sensitive and painful areas. Place the sock on the sore muscle or area, or hold it against the area you want to treat.
Method 3 of 5: Make a cup warmer
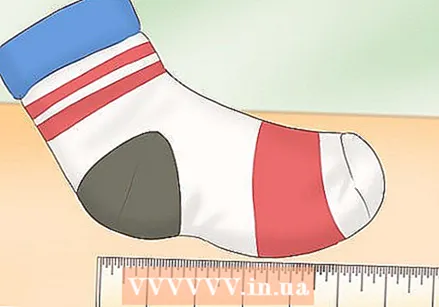 Measure how long the sock you need should be. If you need a certain size, for example for your favorite coffee cup, get your tape measure. Hold him by the cup. Measure only the area to be covered by the warming container and add two to three centimeters. With from the toe part of the sock.
 - If the sock is allowed to wrinkle, add some extra centimeters.
 Cut off the top of the sock. When you get to the end of the section you need, cut everything above it with scissors. You can already use the sock as a warmer without decorating it.
  Turn the sock inside out. Turn the sock over. By using the less attractive inside of the sock now, you will have a nicer warmer later.
 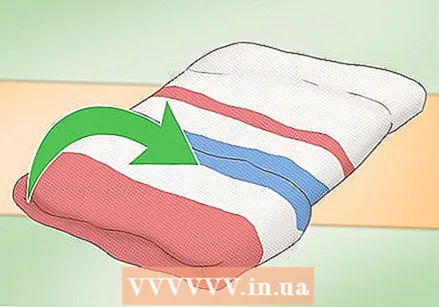 Fold the sock down. Find the end that will become the top of the warming container. Fold the top down about two to three inches.
 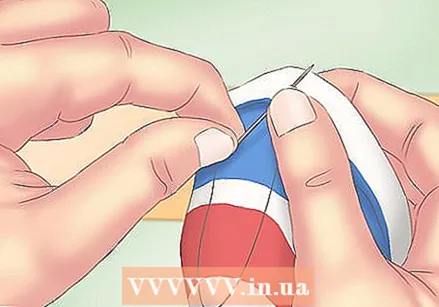 Sew the hem. Sew the bottom edge of the folded section to the rest of the sock underneath with a needle and thread. If you don't want to sew, you can also place an ironing tape between the parts of the sock and iron the sock in place. Another option is to use textile glue.
 - If you are using fabric glue, put a heavy object like a book on top of the sock and let the glue dry for an hour.
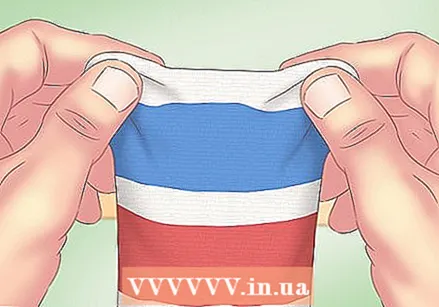 Turn the sock inside out. Turn the sock over again. Now the sewing thread or glue is on the inside of the warmer where you can't see it. You can now use the warmer for most cups.
 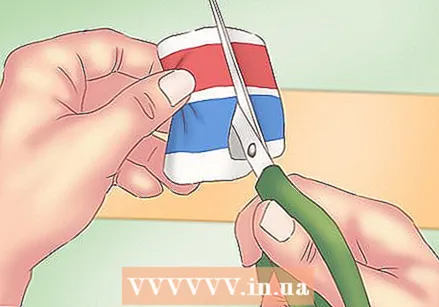 Cut a hole for the handle. If you're making a coffee cup warmer, find the place you want to use for the handle. Cut a vertical opening in the center of the sock with scissors. Trim any frayed edges.
 - It's a good idea to put some fabric glue on the edges of the hole to keep the threads from fraying.
Method 4 of 5: Making a draft stopper
 Put the corn kernels in a sock. Put 160 grams of dried corn kernels in the sock. You can also use other foods that absorb heat, such as dried beans or peas. Put everything in the bottom of the sock.
 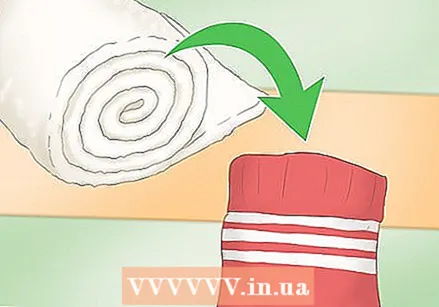 Stuff quilt batting into the sock. Put as much filling material as corn kernels in the sock. Quilting batting is a heat-absorbing filling material that you can buy at craft stores. You can also use other filling material, such as old pillow stuffing.
  Alternate between the different materials. Add another 160 grams of corn kernels and then another amount of quilting batting. Alternate between the different layers until the sock is completely full.
  Stuff a second sock. This is not required, but can be done to cover a large crack, such as a crack under a door. You may need to make another draft or two, depending on how long the first sock is. Repeat the steps to fill the socks half with corn kernels and half with filling material.
  Pull the ends of the socks together. Slip the open end of one sock over the bottom end of the other sock to make a larger draft stopper. Pull the open end over the bottom portion of the next sock. Do the same with the other socks you want to use.
  Sew the socks together. Sew the socks together where they overlap. Sew the hem of the outer sock to the sock underneath. You can also use fabric glue and let the glue dry for an hour. Decorate the socks as desired, for example by sewing on eyelets and a tongue to make a snake.
Method 5 of 5: Make a dog toy
 Put a tennis ball in the sock. Push the dog's ball into the toe area of the sock. You can also put other items in the sock, such as dog treats or an empty plastic water bottle. The dog likes to play with these objects, but because of the sock they last longer than toys from the store.
  Make a knot above the ball. Wrap the sock around itself to tie it. Do this right above the ball so that the dog can pick up the toy more easily and not chew the ends directly.
 - You can also have the dog try to get an object out of the sock, such as a dog toy. In that case, do not tie the sock but roll it up into a ball.
 Test the toy with your dog. Discard the toy. The dog will likely see the toy shaped like a ball, or smell the treat or hear the water bottle. If your dog has seen the item in the sock, he will not chew on your good socks.
  Check the toy for damage. The sock will eventually start to wear out as you play. Cut all frayed threads and ream off any torn pieces. If the sock is too damaged, make a new toy.
 - Some dogs can eat parts of the sock, which can clog their bowels. So be careful and opt for smoother socks.
Tips
- Use your imagination. There are a lot of other ways you can give your socks a second life.
- Always wash your socks before using them for anything.
- If you have socks that are still good and can be worn, look for organizations near you to which you can donate the socks.
Warnings
- Be careful when heating the sock in the microwave. Only heat the sock for a minute or it will burn or catch fire.
- Cut loose threads from dog toys and don't let your dog play with dog toys made from socks if he likes to eat socks.
Necessities
Making a duster
- Water or furniture polish
Make a warm compress
- Dry white rice or other filling material
- Microwave
Making a warming container for a cup
- Tape measure or ruler
- Cup or bottle
- Scissors
- Sewing thread or textile glue
Crafting a draft stopper
- Dried corn kernels or other filling material
- Quilt stuffing
- Sewing thread or textile glue
Making a dog toy
- Ball, dog treat or plastic bottle


