Author:
Frank Hunt
Date Of Creation:
17 March 2021
Update Date:
2 July 2024
Content
- To step
- Method 1 of 5: Firefox
- Method 2 of 5: Chrome
- Method 3 of 5: Internet Explorer
- Method 4 of 5: Safari
- Method 5 of 5: Opera
Do you feel the need to hide your Internet activities from prying eyes? Has access to certain websites you need been blocked by your school, office or your government? Proxies can bypass a block on your connection and mask your IP address, making your actions more difficult to track. If you have found a proxy server that you want to connect to, you only have to enter that information in your web browser. Read this guide to find out how.
To step
Method 1 of 5: Firefox
 Click on the Firefox menu. You can find this in the top right corner of the Firefox window. Click on Options.
  Selected the advanced options. This can be found at the top of the Options window on the right side of the screen.
  Select the Network tab. Click Settings at the top of the Network page, in the Connection group.
 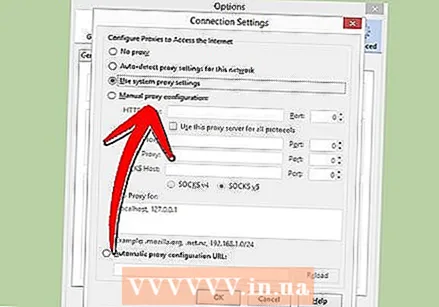 Choose “Manual proxy configuration”. This allows you to enter the proxy data in the text fields.
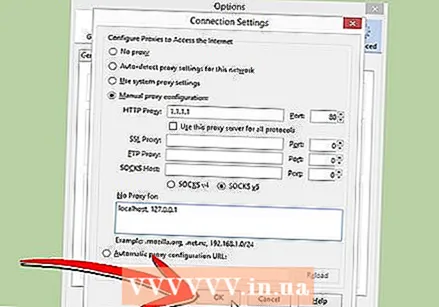
  Enter your proxy information. In the HTTP proxy field, enter the address or domain of your proxy, and optionally set a port. If you want to connect to another proxy for FTP or SSL, enter the details in the bottom fields. Check “Use this proxy server for all protocols” to activate the proxy for all traffic via Firefox.
 - The proxy settings in Firefox only affect internet traffic through your Firefox browser. Other applications use the direct connection.
 Press OK to save your changes. You may need to restart Firefox for the changes to take effect.
Method 2 of 5: Chrome
 Click the Chrome menu button. It's located in the top right corner of Chrome's window, and looks like three horizontal bars.
  Select Settings. This will open a new tab in your browser. Click on the link “Show advanced settings…” at the bottom of the page.
 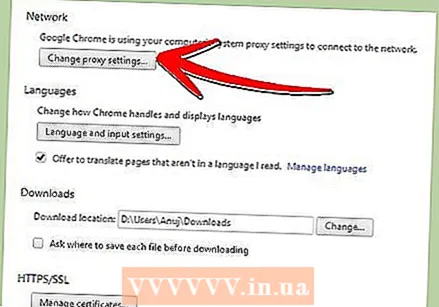 Click on the “Change proxy settings” button. These can be found in the Network section of the advanced settings. This will open the Internet Properties window.
 - Note: Chrome proxy settings are tied to your operating system and as such affect all programs connected to the internet. If you don't want these settings to be changed, use a Chrome extension such as ProxySwitchSharp or Proxy Helper.
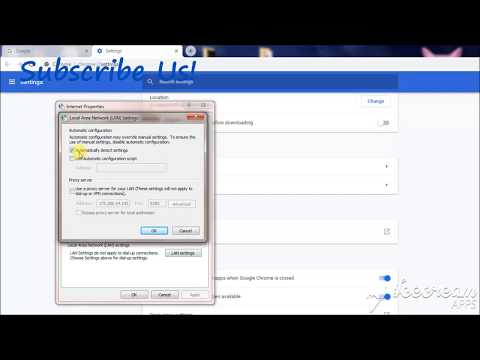
 Click on the “LAN settings” button. This will open a new window. Check the box in the “Proxy server” section, and uncheck “Automatically detect settings”.
 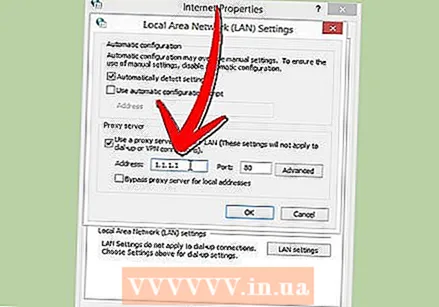 Provide your proxy information. Enter the IP address or domain of the port you are connecting to. Click OK when you are done.
 - If you are done with the proxy and want to switch back to a direct connection, open the LAN settings again and check “Automatically detect settings” again, and uncheck “Proxy server”.
- If you are done with the proxy and want to switch back to a direct connection, open the LAN settings again and check “Automatically detect settings” again, and uncheck “Proxy server”.
Method 3 of 5: Internet Explorer
 Click on the Tools menu. Depending on your version of Internet Explorer, this could be the default menu bar or it might be the gear icon in the top right corner.
  Select “Internet options”. Regardless of which menu you use, this option will be found at the bottom of the drop-down menu.
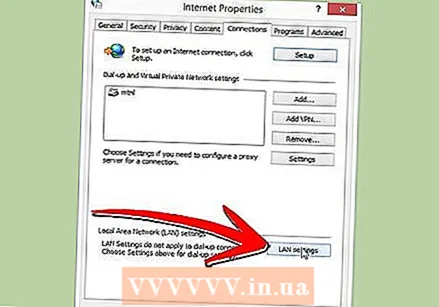
  Click on Connections. In “Local Area Network (LAN) settings”, click on the “LAN settings” button. This will open a new window.
 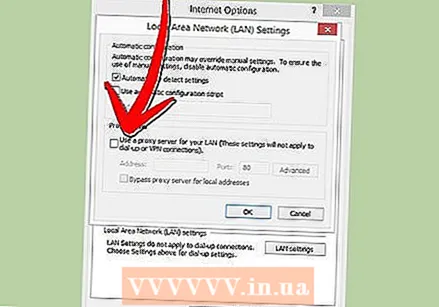 Enable the proxy settings. Check the box in the section “Proxy server” and uncheck “Automatically detect settings”.
  Provide your proxy information. Enter the IP address or domain of the port you are connecting to. Click OK when you are done. You may need to restart Internet Explorer for the changes to take effect.
 - Connecting to a proxy server will affect all internet traffic on your computer.
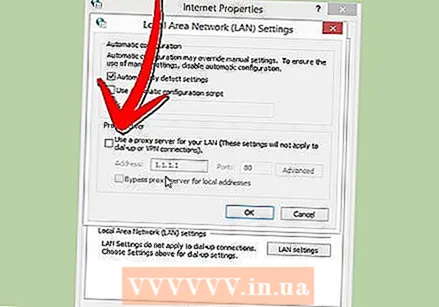
- When you have finished using the proxy and want to continue with a direct connection, open the LAN settings, check “Automatically detect settings” and check the box “Proxy server”.
Method 4 of 5: Safari
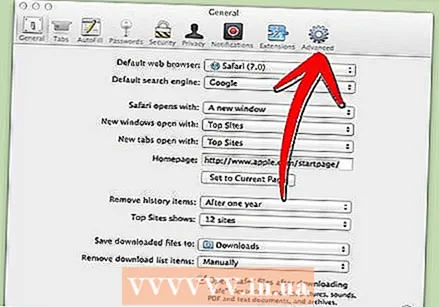 Click on the Safari menu. Select Preferences, then the Advanced option on the far right of the menu bar.
 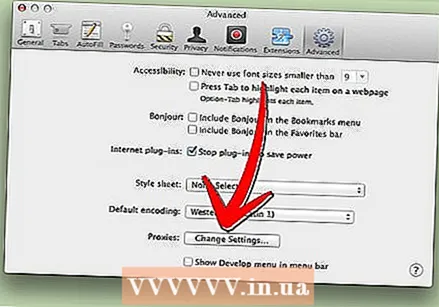 Click on the “Change Settings” button next to “Proxies”. This will open the Network section in the System Preferences screen. Changing the Safari proxy server settings will affect all network traffic on your computer.
  Select your active network connection. Available connections are listed in the left frame. Your active connection has a corresponding green icon.
  Click on the “Advanced” button. When the Advanced menu is open, click on the Proxy tab.
 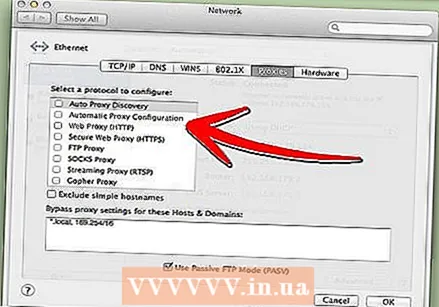 Select your proxy type. Most people will select “Web Proxy” and “Secure Web Proxy”. Make sure “Auto Proxy Discovery” is checked.
 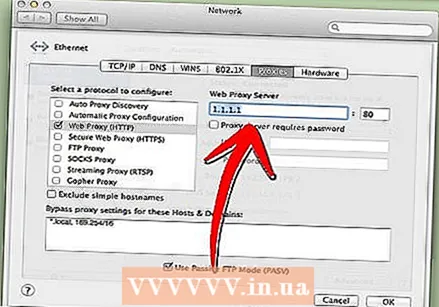 Enter your proxy information. In the box that appears, enter the proxy address or domain. The box next to it is in front of the gate. If your proxy requires a password, check the box so you can enter a password.
 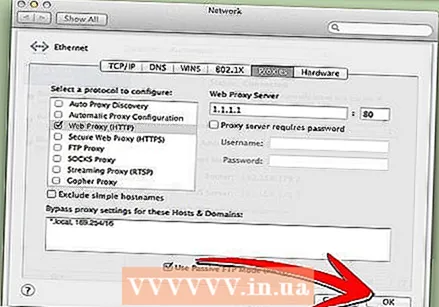 Click OK to save the changes. You may need to restart Safari for the changes to take effect. If you want to return to the direct connection, open the Network menu again and disable “Web Proxy” and “Secure Web Proxy”.
Method 5 of 5: Opera
 Click on the Opera button. From the menu that appears, move your cursor over Settings and then select Preferences.
 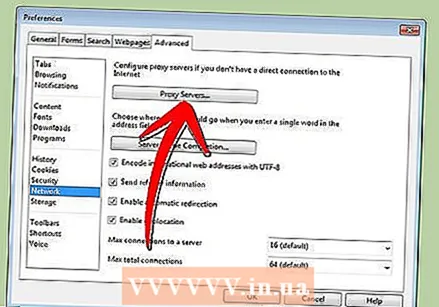 Click the Advanced tab in the Preferences window. Click on the "Proxy Servers" button. This will open the Proxy Control Panel.
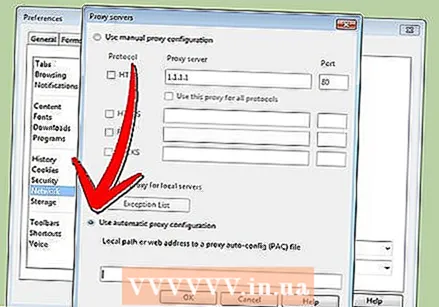
 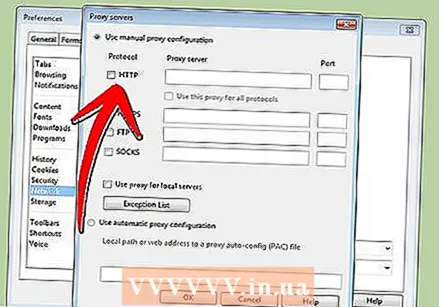 Select “Use manual proxy configuration”. Check the boxes of the protocols you want to use through the proxy. Most users check HTTP and HTTPS. Alternatively, you can also check “Use this proxy for all protocols”.
 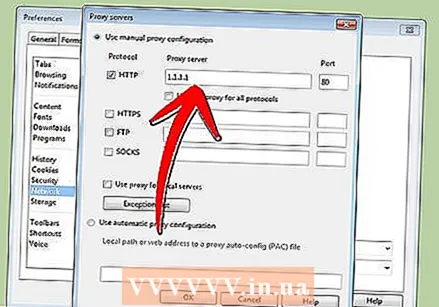 Enter the proxy information. In the field “Proxy server”, enter the IP address or domain of the proxy you are connecting to. Enter the port in the “Port” field. Hit OK when you're done. You may need to restart Opera for the changes to take effect.
 - If you want to restore the direct connection, open the proxy control panel again and select “Use automatic proxy configuration”.
- If you want to restore the direct connection, open the proxy control panel again and select “Use automatic proxy configuration”.


