Author:
Tamara Smith
Date Of Creation:
23 January 2021
Update Date:
1 July 2024
Content
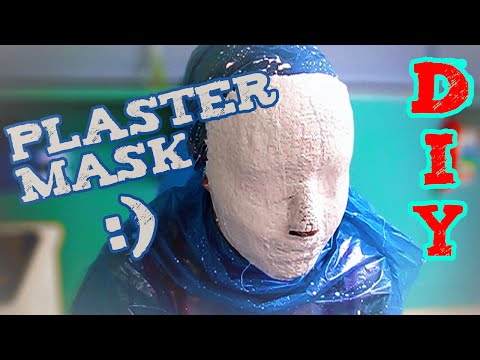
A plaster mask is a fun and inexpensive costume idea, whether you're going to a masquerade party, making a costume for a play, or going through doors dressed up for Halloween. With the right supplies, a helper with whom you can make an impression of the face and a little patience, you can make a plaster mask in a short time. You can then decorate your created plaster mask with paint, feathers, glitter and sequins to really put your own mark on it.
To step
Part 1 of 4: Preparing to make the mask
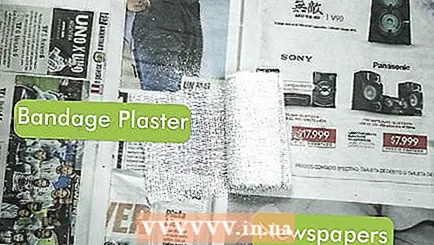 Prepare a workplace with newspaper and a tarpaulin. Choose a room where you have a lot of space to put all your materials, such as your living room, a hobby room or the counter in the kitchen. Place newspaper or a tarpaulin on the floor to protect it. Have paper towels ready in case drops of plaster fall on an uncovered area.
  Find someone to whom you can make a face imprint. You need a helper with whom you can make an impression of the face so that your mask gets the right shape. Choose someone who doesn't mind sitting or lying still for at least 30 minutes to an hour. Ask him or her to lie on the back on the floor or sit in an upright chair with the face up.
 - You can use your own face to make an impression for the mask, although this can be a bit tricky to do the first time you make a plaster mask. It may be a good idea to work in front of a mirror to make it easier to apply the strips to your face.
 Have the person put on an old shirt and a headband. You can also use pins to keep the person's hair out of their face. Have the person wrap a towel around their neck and shoulders so that they do not get a cast.
  Cover the eyes and mouth with strips of plaster, if desired. Let your helper know that you are about to cover these areas so he or she is prepared. Ask your helper to close his or her eyes, then cover them completely with smaller strips. Push the strips into the contours of the eyes. Then ask your helper to close his or her mouth and cover the mouth with a strip.
 - You don't necessarily have to cover the eyes and mouth. This depends on the person's preferences.
- You can leave the mouth part open if you want to make sure that the person can speak clearly to others when wearing the mask.
- You can leave the areas near the eyes open so the person can see when he or she is wearing the mask.
 Wait 12 to 15 minutes. Ask your helper to lie or sit still so the mask can air dry. The mask may feel harsh and itchy when it dries. That is to be expected.
 - Do not use a hair dryer or fan to speed up the drying of the mask, as this can cause it to crack. It's also not good for your helper's skin.
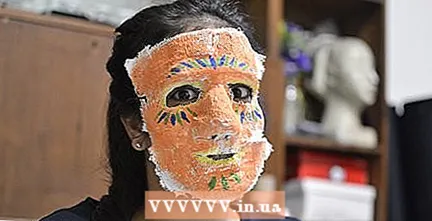 Let the decorated mask dry overnight. Once you've creatively decorated the mask, let it dry overnight on a flat surface. Then wear it at a party, a meeting or just for fun.
Necessities
- Plaster cast
- Water
- Two bowls
- Newsprint or tarpaulin
- Vaseline
- String or ribbon
- Gesso, if you paint the mask
- Paint, feathers, glitter and spangles


