Author:
Robert Simon
Date Of Creation:
23 June 2021
Update Date:
1 July 2024

Content
- To step
- Part 1 of 3: Preparing for piercing
- Part 2 of 3: Getting the piercing
- Part 3 of 3: Taking care of your new piercing
- Tips
- Warnings
While an ear piercing is beautiful, piercing your own ears can be a tough and risky endeavor. However, if you're like the twins in The Parent Trap and want nothing more than piercing your own ears (because you want to pretend to be your twin brother or sister, or just like it looking pretty) then follow these steps to decorate your ears in a safe way. Just ask your parents first if you are a minor.
To step
Part 1 of 3: Preparing for piercing
 Use prepackaged cotton swabs / cotton buds with 70% isopropyl alcohol to clean your ear. You must do this to remove all bacteria on your ear. Wait for the ear to dry completely before piercing.
 - You can also use hydrogen peroxide or rubbing alcohol to sterilize your ear.
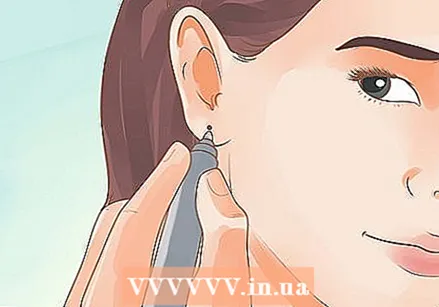 Mark the spot where you want to put the piercing. It is important to determine in advance where you want to put the piercing. Failure to do so may cause the piercing to be crooked, too high, or too low. If you're piercing both ears, look in the mirror to see if the markings are at the same height.
 - If you have other piercings and you are putting on your second or third piercing yourself, make sure there is enough space between the piercings so that you can put studs in all the holes without them getting over each other. Also make sure that the holes are not too far apart - that can look strange.
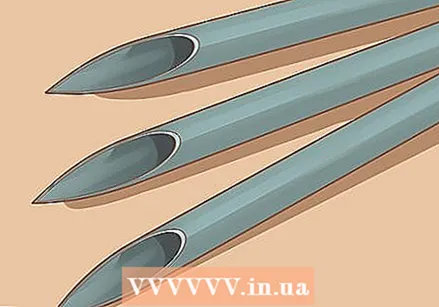 Purchase a sterile piercing needle. Piercing needles have a hollow core, so that you can easily put a ring through your ear after you have made the hole. Do not share your needle with other people as this can cause infections. Piercing needles are available online and in piercing studios and are often not that expensive at all.
 - Make sure the needle you use is a size larger than the earring you plan to put in. So if you want a 0.8mm piercing, use a 1mm needle.
- You can also buy a piercing kit. This usually contains two sterilized earrings and a pistol. These kits are available at most drug stores. Carefully follow the instructions on the packaging.
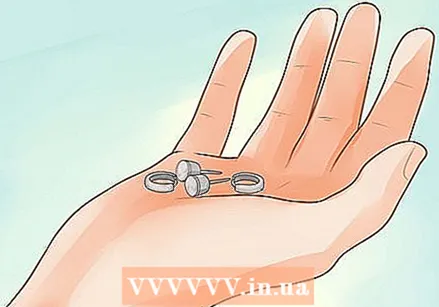 Choose your ear piercing. For newly pierced ears, whether through the earlobe or through the cartilage, it is best to choose a bar. 10mm long and 1.2mm in circumference is a good size. The length of the rod allows for swelling; the swelling can easily make the ear twice as thick.
 - Some jewelers and jewelry stores also sell self-piercing ear piercings - these are earrings with a very sharp point, almost like a needle. These are good to use because they re-pierce the ear when you put the needle through the hole.
- If you can afford that, it is best to opt for a higher quality metal ear piercing, such as silver or titanium. Higher quality metal carries less risk of infection and / or allergic reaction. Note that some people are allergic to lower quality metals, such as gold-plated metal.
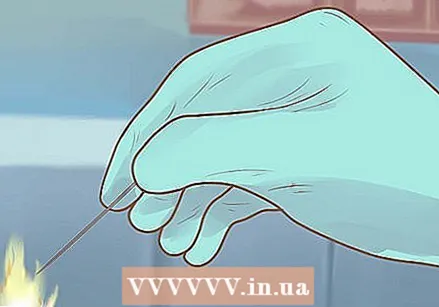 Sterilize the needle with an open flame. Never use a needle that someone else has used before. Only use needles that come in a sterile package. Keep the needle in the flame until the tip starts to glow. Wear sterile latex gloves while doing this to avoid transferring bacteria from your hands to the needle. Make sure to remove any soot and / or leftovers. Wipe the needle with at least 10% rubbing alcohol or hydrogen peroxide. Be warned, this will only partially sterilize the needle and will not kill all microorganisms. The only way to completely sterilize your piercing supplies is with an autoclave.
 - You can also sterilize the needle with boiling water. When the water has brought to a boil, you can put the needle in the boiling water and leave it there for about five, ten minutes. Remove the needle with forceps and handle the needle only with sterile latex gloves. Wipe the needle with hydrogen peroxide or rubbing alcohol.
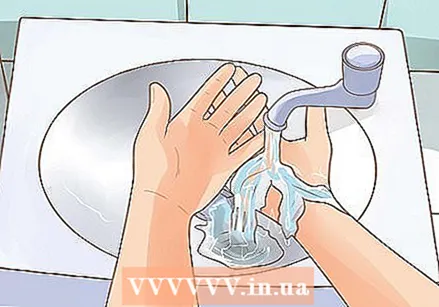 Wash your hands with soap and water. This reduces the risk of bacteria spreading. Immediately after washing your hands, put on sterile latex gloves.
  Make sure your hair doesn't get in the way of the area you want to get pierced. Your hair can end up between your ear and the earring, or it can even be pushed through the hole you are going to stick. If possible, tuck your hair up - make sure it's away from your ear.
Part 2 of 3: Getting the piercing
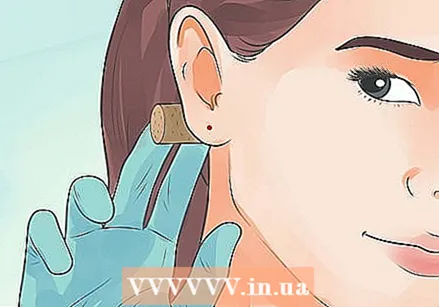 Grab something sturdy to press against your ear. You will need something to press against your ear so that the needle cannot accidentally stick into your neck. A cold, clean bar of soap or a cork are both good options. Do not use apples or potatoes for this as they sometimes do in film. Apples, potatoes, and other foods can contain bacteria that can infect the piercing.
 - If possible, enlist the help of a friend. You can have him / her hold the cork to your ear or, if you really trust him / her blindly, have the piercing done. The whole process is a lot easier when you have someone who can help you.
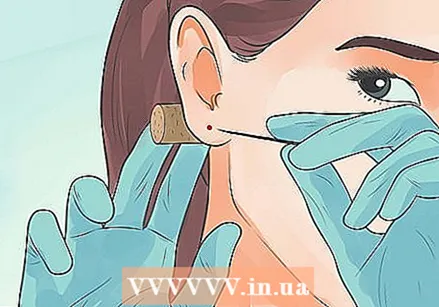 Place the needle properly on the ear. The needle should be perpendicular to the earlobe. This means that you have to place the needle at an angle of 90 degrees to the mark that you have placed on your ear. Positioning the needle makes it easier to pierce the ear.
 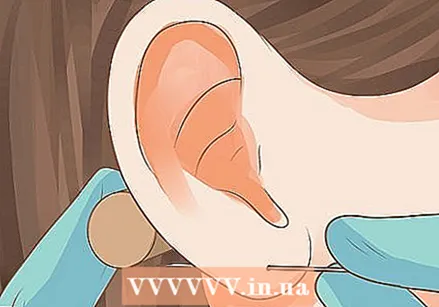 Take a deep breath and insert the piercing needle smoothly through the ear. Make sure the needle is passed through the marker. You can hear a popping sound when the needle goes through your ear - don't flip out! Wiggle the needle a bit and then keep it bent at an angle. If you are using a hollow piercing needle, you can now slide the jewelry through the core of the needle.
 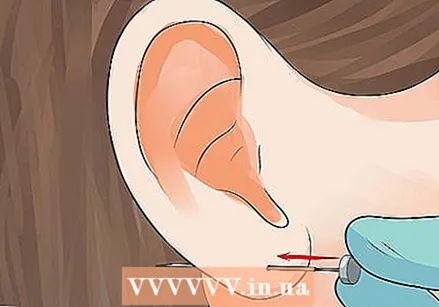 Put in the earring. If you have pierced your ear and the needle is still in your ear, you can slide the bar of the earring into the hollow core of the needle and push it through until it is in the ear. This way the earring will stay comfortably in the new hole.
 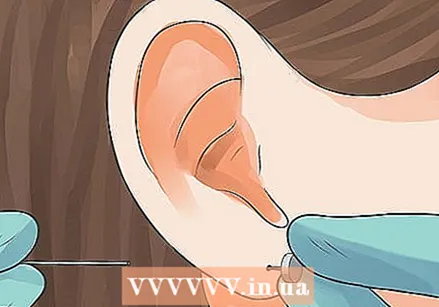 Remove the piercing needle. Gently remove the needle from your ear, making sure to keep the earring in place. This will probably hurt a bit, but try not to rush it - you don't want the earring to fall out. If it does, you will have to start all over again.
 - Know that the hole can close in minutes if you don't put an earring in it. If your earring falls out, re-sterilize it as soon as possible and try to preach it through the hole again. If that doesn't work, you will likely need to pierce your ear again.
Part 3 of 3: Taking care of your new piercing
 Let the earring sit for six weeks. Do not take your earring out under any circumstances. After the six weeks you can remove the earring, but replace it immediately with another one. It will take six months to a year for the hole to take its full shape and will not close if you don't have an earring in it for a while.
 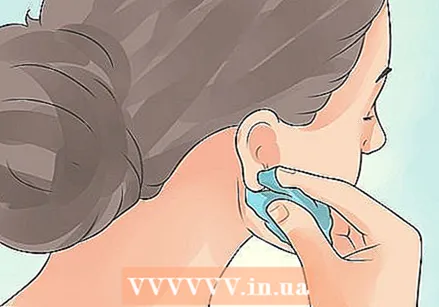 Clean the piercing daily. Wash your ear with a warm salt water solution. Use sea salt or Epsom salt, preferably not normal table salt. The salt cleans the piercing and prevents the hole from becoming infected. Clean the piercing until it has completely healed (after about six weeks). Do not use rubbing alcohol once the ear has been pierced.
 - An easy way to clean your ear is to find a cup that is about the size you buy. Pour in the saline solution. Place a towel under the cup (to catch any overflow), lie down on the couch and gently lower your ear down into the warm, salty water. If you do this for five minutes, your ears will feel like new! 250ml cups generally work fine for this.
- You can also dab a cotton swab in the warm saltwater solution and rub it along and against the piercing.
- There are also disinfectant solutions that have been specially developed for newly pierced ears. You can find these in most drugstores and piercing studios. Dab a cotton swab into the solution and rub it along and against the piercing once a day.
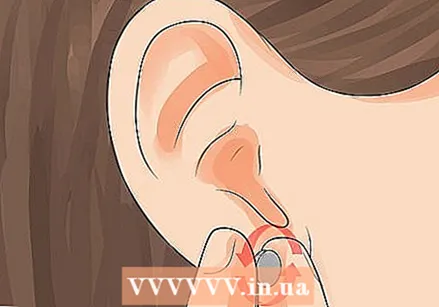 Rotate your earring when you clean it. Hold the stud of the earring (at the front of your ear) and turn it so that the earring rotates in the hole. This will open up the hole you punched a bit - this will prevent the hole from growing too far.
 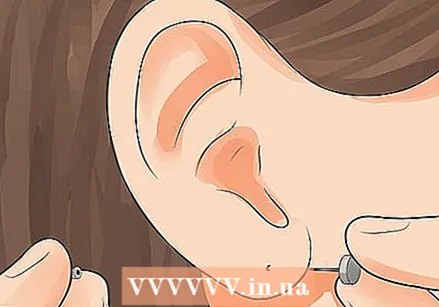 Remove your earring and put in a new piece of jewelry. Do not do this until six weeks have passed. Put in the new earring immediately after taking out the first earring and cleaning the hole.
 - Earrings made of 100% surgical steel, titanium, or niobium are best. These materials are much less likely to cause infection than the cheaper materials.
Tips
- Make sure to use a pillow that has no loose pieces. If the fabric is loose, your earring can catch on it - this can hurt a lot.
- Take an Advil or another pain reliever half an hour before piercing your ear. This way you limit the pain you will feel afterwards. Some people claim that such painkillers prevent the blood in the pierced area from clotting. So take them at your own risk.
- Rotate the piercing at least twice a day from day one. Failure to do so may cause the skin to fuse with the earring - this may cause discomfort when removing the earring.
Warnings
- Don't let your piercing get infected! If it does, don't take the piercing out! If you do, the infection can settle in the ear - and you are further away from home. Rinse your ears regularly with warm, salt water. If the infection persists, visit the doctor.
- Unless you are really sure, it is better to leave this to a professional!
- Getting your ear pierced by a professional is often a lot less annoying than doing it yourself.
- Don't pierce yourself with a pierce gun, safety pin, or old self-piercing piercings. Safety pins are made of suitable material. Pierce guns are not sterilized properly. Old jewelry that you have to insert with brute force can cause the tissue in your ear to die.


