Author:
John Pratt
Date Of Creation:
9 April 2021
Update Date:
1 July 2024

Content
This article will show you how to change your VPN settings on PC and Mac. Most VPN services are done through an app that automatically configures your operating system. But with both Windows 10 and MacOS Sierra it is easy to connect to a VPN via the Network settings.
To step
Method 1 of 2: On Windows
 Click the Start button
  Click on Settings
  click on Network & Internet. This is in the Settings menu, next to an icon that resembles a globe.
 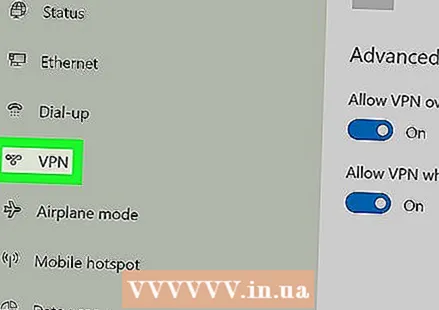 click on VPN. This is in the side menu to the left of the Network & Internet menu.
  click on + Add a VPN connection. This is the first option in the VPN menu.
  Select Windows (built-in) under "VPN provider". Use the drop-down menu under "VPN provider" at the top of the VPN menu to select "Windows (built-in)".
 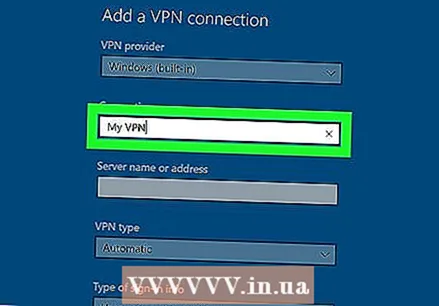 Type a name under "Connection Name". This can be any name you prefer. It could be the name of your provider, of a location or something like "My VPN connection".
  Type the name or address of the server. Type this information in the box with the "Server name or address". You can get this information from your VPN provider.
 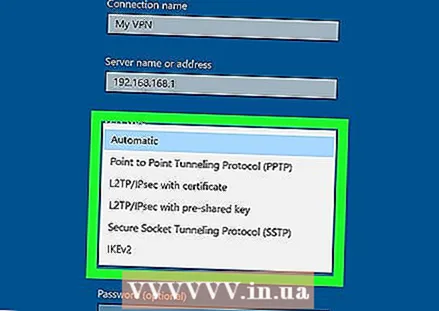 Select a type of VPN. If you are not sure which type of VPN to select, select automatic or contact your VPN provider to see what type of VPN connection they are using. You can choose from the following options:
 - 'Automatically'.
- "Point to Point Tunneling Protocol (PPTP)".
- "L2TP / Ipsec with certificate"
- "L2TP / IPsec with Pre-Shared Key"
- "Secure Socket Tunneling Protocol (SSTP)"
- "IKEv2"
 Select a type of login. Select the type of login used by your VPN provider to log in to your VPN. You can choose from the following options:
 - 'Username and password'
- "Smartcard"
- "One-time password"
- 'Certificate'
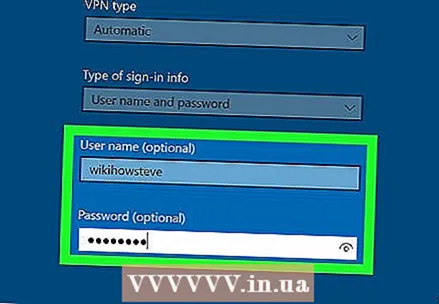 Enter your username and password. If required, you must use the last two lines to enter your username and password so that you can log in to your VPN.
  click on Save. This is below the form you used to set up your VPN. This will return you to the VPN menu in the Network & Internet menu. The VPN connection you just created will be at the top of the list under "VPN".
  Click on the VPN connection you just created. All VPN connections are listed under "VPN" at the top of the VPN menu, just below "+ Add a VPN connection".
 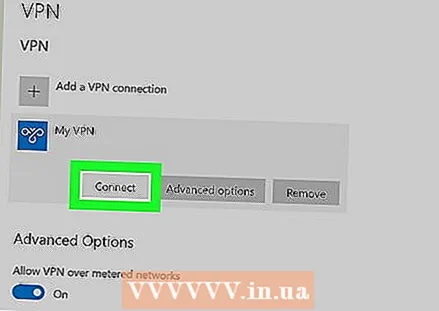 click on Make a connection. This will connect you to the VPN. You can connect to any VPN connection you have created here through this menu. You can also disconnect by clicking "Disconnect".
 - If you need to edit the VPN information or make additional settings, in the list of VPN connections, click "Advanced options" below the name of the VPN connection.
Method 2 of 2: On Mac
 Click on the Apple menu
  click on System Preferences .... This is the second option in the Apple menu. This will open the System Preferences application.
  Click on the icon Network. This icon resembles a blue globe with white arcs.
 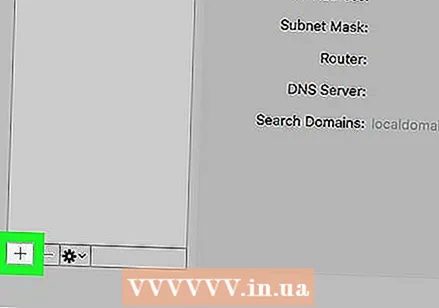 click on +. This is below the list of network connections on the left of the Network menu.
  Select VPN under "Interface". Use the drop-down menu next to "Interface" to select VPN as the interface type. This is near the bottom of the Interface drop-down menu.
  Select the type of VPN. Use the drop-down menu next to "VPN Type" to select your connection type. Consult your VPN provider to see what type of connection is required. You have three options to choose from:
 - "L2TP over IPSec"
- "Cisco IPSec"
- "IKEv2"
 Type the name of your connection. Next to "Service Name", type a name for the connection. You can choose any name you want. You can base the name on the VPN provider, on a location or opt for something like "My VPN connection".
 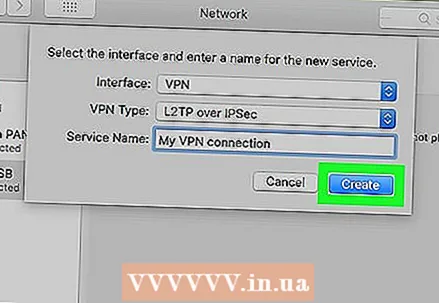 click on To create. This creates a VPN connection, but it still needs to be configured.
 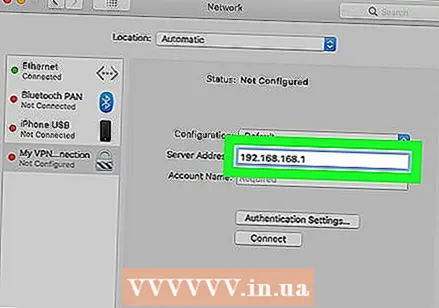 Type the address of the server. Use the line called "Server Address" to enter the server address that you can obtain from your VPN provider.
  Type the Account Name, or the Remote ID and Local ID. If you are using "L2TP over IPSec" or "Cisco over IPSec" for VPN type, you will be prompted to enter an account name. If you are using "IKEv2" for VPN type, you will need to enter a Remote ID and Local ID. You can obtain this information from your VPN provider.
 - You can exit the Configuration drop-down menu as "Default".
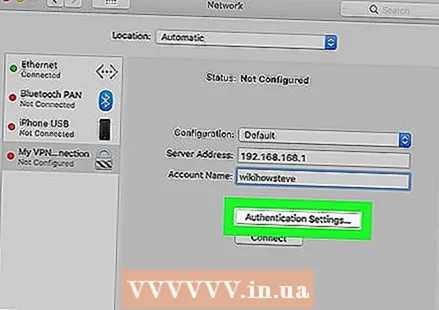 click on Authentication settings. This will display the menu where your authentication settings are, such as your password.
  Select the type of authentication. Click the star-shaped button next to the type of authentication your VPN uses. If you are using a password to log in to your VPN, select "Password" at the top of the list and type the password to log in to your VPN in the bar next to it. If you are using another authentication method, such as a Certificate, select it from the list of options and follow the guidelines.
 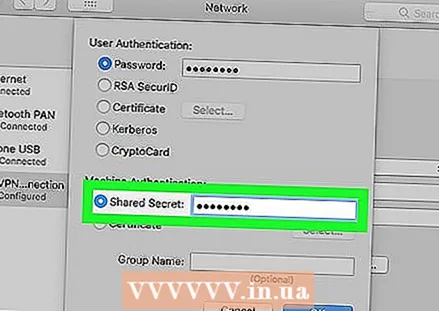 Type the shared secret. Select "Shared Secret" under "Device Authentication" and then type the shared secret password in the box next to "Shared Secret". Consult your VPN provider if you are unsure of what exactly Shared Secret is.
 - If you are using a certificate, select "Certificate" under User Authentication and Device Authentication. Then click on "Select". Select the certificate from the list of certificates and click "OK".
 click on OK. It's in the bottom right corner of the Authentication Settings window. This will save your Authentication settings.
  click on Advanced .... This is the button in the lower right corner of the connection settings. This will display the Advanced VPN options.
 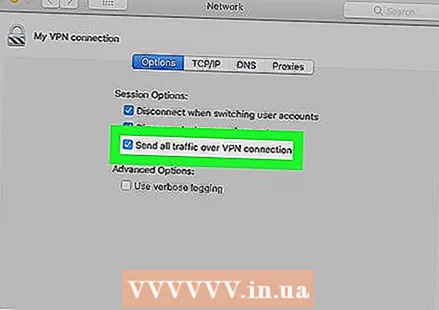 Finch
Finch  click on To apply. It's in the lower right corner of the Network menu. This will apply the connection settings for your VPN.
  click on Make a connection. This will connect to the VPN. If the connection is successful, the word "Connected" will appear at the top of the Network menu.
 - When connected to a VPN, a rectangular icon with bars through it will appear in the top menu bar. There is a timer next to it that shows how long you have been connected to the VPN. You can click this icon to display a list of all VPN connections. Click on one of the VPNs in this list to connect to a VPN.


