Author:
Roger Morrison
Date Of Creation:
6 September 2021
Update Date:
1 July 2024

Content
Do you want to be T-Payne? Want to sound like Kanye in 808's and Heartbreaks? Do you want to hide the fact that you can't keep a tone, even if your life depended on it? Then you need auto-tune. Windows users can auto-tune their voice for free with Audacity, as long as you download a few plugins first. Read how to do this below. Note: this only works on Windows computers.
To step
Part 1 of 2: Setting Auto-Tune on Audacity
 Download Audacity for free. Audacity is a sound recording and editing program with effects and tools to give your recordings and songs a flawless finish. You can download it for free from SourceForge. However, don't forget that you need a Windows computer to use the auto-tune function in Audacity.
 - Click on the big green "Download" button. Wait 5 seconds for the download to start.
- When you see "Audacity-win-2.1.0.exe", click "Save File." The numbers indicate which version of Audacity is the latest, which changes regularly.
- Open the ".exe" file. If you can't find it, it is probably in your downloads folder.
- Follow the instructions on the screen to install Audacity.
 Download the official plug-in "Audacity VST Enabler.“This is a free program and will make it easier to add auto-tune to Audacity. It is provided for free by the Audacity development team.
 - Click the version "vst-bridge-1.1.exe."
- Save the file.
- Open the ".exe" file.
- Follow the instructions on the screen to install the program.
- When prompted to specify a location ("Destination Location"), select "C: Program Files (x86) Audacity Plug-ins" if it is not already done automatically.
 Download GSnap, an auto tune effect. GSnap is a free effect that you can add to Audacity that gives you more control over auto-tune. Like Audacity and VST, it is available for free on this website. While Mac and Linux computers can use Audacity, it is not possible to download this plug-in and therefore cannot use auto-tune.
 - Click "Download GSnap (for 32-bit VST hosts)."
- Download the .zip file.
 Activate GSnap in Audacity. GSnap is not a program - it is a specific effect that Audacity can use to auto-tune songs. Before you can use it, you will have to make sure Audacity can find this new effect.
 - Export the GSnap zip by right clicking on the file and choosing "Extract zip".
- Copy the exported zip files "GSnap.dll" and "GVST License."
- Open "My Computer" and go to "Local Disk (C :)"
- Paste the two files into the folder "C: Program Files (x86) Audacity Plug-ins."
 Start Audacity to register the new effects. When Audacity opens, a small window appears asking you to "register effects". There are two lines, one for VST and the other for GSnap, with check boxes on the left. Make sure these boxes are checked and click "Ok."
Part 2 of 2: Auto-tune with Audacity
 Open a voice file or a song recording of yourself, not a recording while you are talking. You can edit any audio clip you want, but start with a simple voice recording to learn how to auto-tune. Open a file with "File" → "Open" or record for a few seconds while singing with the red, round "Record" button.
 - Your recording must have a pitch! Auto-tune analyzes your vocals and tries to turn them into a correct melody (like an A scale). If you record regular speech, auto-tune cannot pick up a melody to work with and correct.
- You can only make a recording if your computer has an internal microphone. You can also purchase a USB microphone if you want to make higher quality recordings.
 Select the pieces you want to auto-tune. Click and drag over the parts of the recording you want to auto-tune. Your selection will be indicated in blue.
 - Click and play with the "Selection tool," which looks like a capital "i." You can choose this tool from the main menu at the top of the screen.
 Click "Effects" → "GSnap.Use the "Effects" tab at the top of the screen and scroll down until you get to "GSnap." This will open an auto-tune window.
 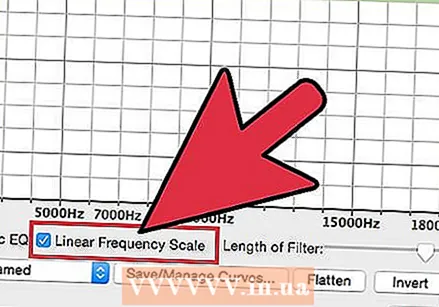 Click "Select a Scale" and choose your desired tuning. Auto-tune automatically configures all notes to fit that scale, but if you choose the wrong key, your vocal recording will still not be in tune. To find the key of a song, look it up online, or do this by ear, assuming that one note you can get right out of the whole song and that doesn't sound "wrong".
 - Click the "Fill Threshold" button after choosing a key.
- You can switch keys as often as you like, so feel free to experiment.
 Set the knobs to auto-tune levels. While you can play with these knobs to your heart's content to get a unique sound, you can use the following settings to get the "classic" auto-tune sound:
 - Minimum Frequency: 40hz
- Maximum Frequency: 2000hz
- Gate: -80db
- Speed: 1
- Threshold: 100 cents
- Attack & Release: 1ms
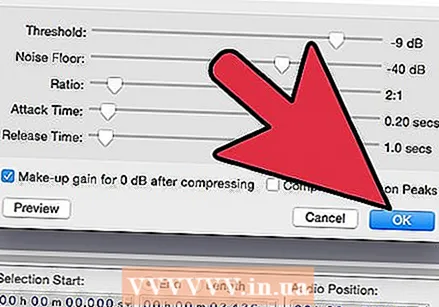 Click "Apply" to auto-tune your vocals. Make sure your vocals are still selected in blue. If they are no longer, you can always click on them again without messing up your settings.
 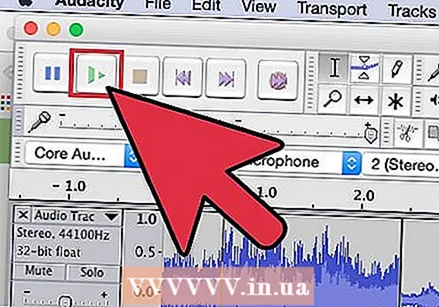 Click on the little green "Play" button to listen to your auto-tune. After hitting Apply, you can check how it sounds. If you don't like it, change your settings, hit Apply and listen again. Hit "Close" when you're done.
 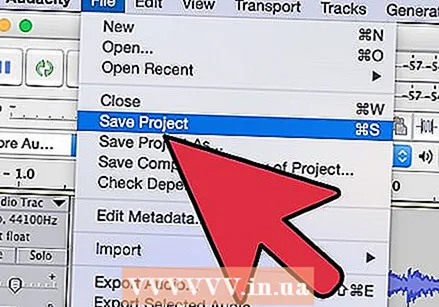 Adjust your auto tune. Keep experimenting to find the sound you're looking for, but keep the following tips in mind as you work:
 - A higher "attack" and "release" makes your voice sound more natural.
- Adding vibrato can make your voice sound more natural.
- The lower the "threshold," the more your voice will sound like a robot.
- The further away you get from your recording, the more "auto-tuned" your voice will sound in the final result.
Tips
- You will have to experiment a bit with the recording of your voice, to make the sound of your voice a little higher or lower, like with auto-tune, to make it sound perfect.


