Author:
John Pratt
Date Of Creation:
17 April 2021
Update Date:
1 July 2024

Content
- To step
- Method 1 of 5: Make a ladder
- Method 2 of 5: Create tunnels
- Method 3 of 5: Create a two-story hamster house
- Method 4 of 5: Create a maze
- Method 5 of 5: Create an obstacle course
- Tips
Hamsters are fun pets and easy to care for. Like other pets, hamsters need toys to keep them busy and active. You don't have to run to the pet store though; you can make your own toys from common household items for little to no cost. Not only will you have fun making the toys, your hamster will have fun playing with them!
To step
Method 1 of 5: Make a ladder
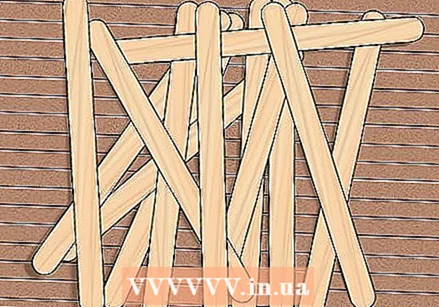 Collect some popsicle sticks. The number of popsicle sticks you need depends on how long you want to make the ladder.
 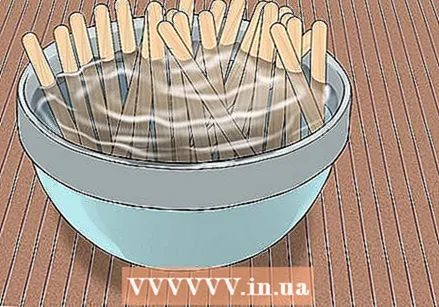 Rinse the popsicle sticks to remove any food residue. The stickiness of the food scraps can make it difficult for your hamster to walk up the ladder.
 - Let the popsicle sticks dry completely.
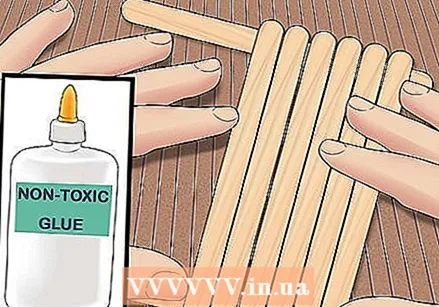 Glue the popsicle sticks together with non-toxic glue. It is important to use non-toxic glue as your hamster may chew the sticks and inadvertently ingest some of the glue. You don't want your hamster to get sick from eating his toy.
 - Wait for the glue to dry completely.
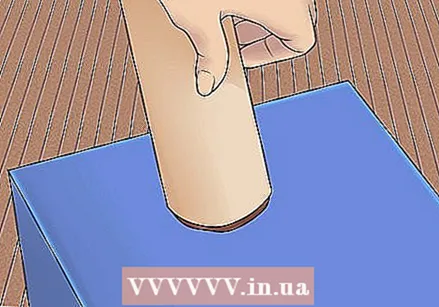
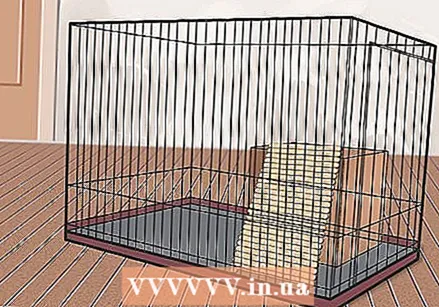 Place the ladder in the cage. You can be creative in where you put the ladder in the cage.
 - Place the ladder on the bottom of the cage and let it lead up to another toy.
- The ladder can also be used as a bridge between toys, such as cardboard boxes or milk boxes.
Method 2 of 5: Create tunnels
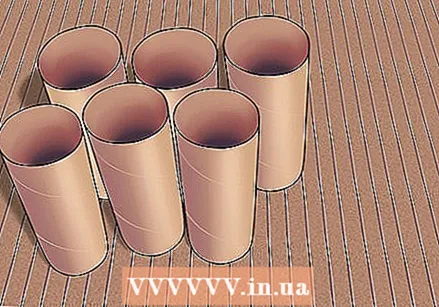
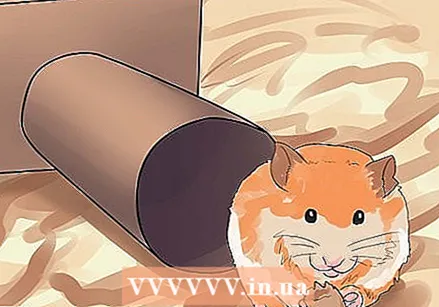
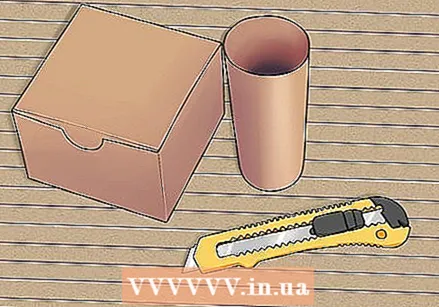 Gather the materials you will need to make a tunnel. You will need some empty toilet paper rolls, bedding, some small cardboard boxes and something to cut with (knife, scissors, box cutter). Make a fun hamster town out of tubes!
 - Instead of cardboard boxes, you can also use shoe boxes, milk cartons or empty tea boxes.
- Since these boxes are not transparent, you will not be able to see your hamster once it is in the tunnel. Even if you can't see him, you can trust him to have fun!
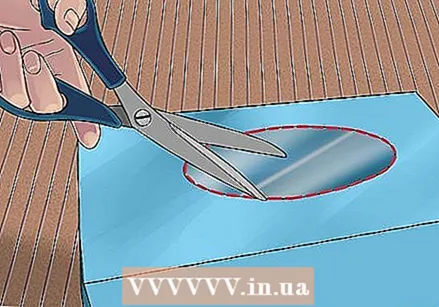
 Cut circular holes in the cardboard boxes. The toilet paper rolls will go in these holes. To make sure the holes you cut are the right size, it may be helpful to check the outside of the roll on the box first.
 - Cut the holes in different parts of the cardboard boxes to give your hamster multiple options when entering and exiting the tunnel.
 Insert the toilet paper rolls into the holes. If the rollers don't fit easily into the holes, widen the holes a bit. Squeezing the rollers can change the shapes, making it more difficult for your hamster to walk through.
 - Use non-toxic glue to secure the rollers in the holes.
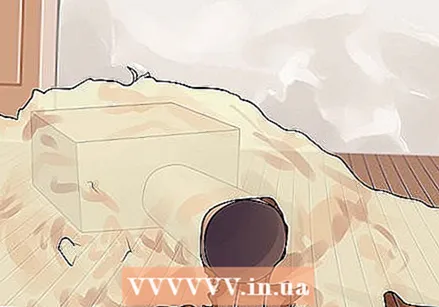 Cover the tunnel with filling. This will give your hamster a little more work and challenge to play in the tunnel.
 - Even though the tunnel will be covered with stuffing, you should leave an open end where your hamster can easily access it.
Method 3 of 5: Create a two-story hamster house
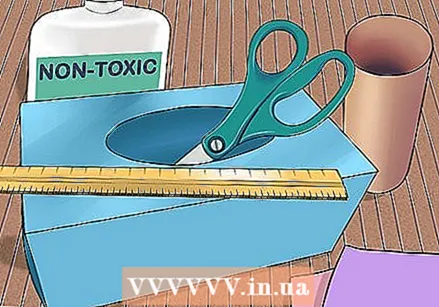 Gather the materials you need. To make a two-story hamster house, you will need two empty tissue boxes, scissors, a ruler, non-toxic glue, several empty toilet paper rolls and several small pieces of fabric.
 - Square tissue boxes work better than rectangular boxes for making the house.
 Use scissors to cut away the plastic opening of the tissue boxes. Removing the plastic will make it easier for your hamster to get through the openings.
 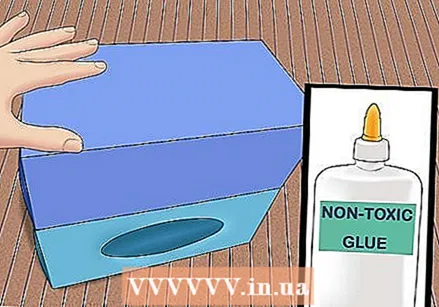 Stack the boxes on top of each other and glue them down. Stacking the boxes on top of each other will form the two floors of the house.
 - Stack the boxes so that the opening at the top of each box faces either the right or the left.
- The openings should not be on the same side of the house.
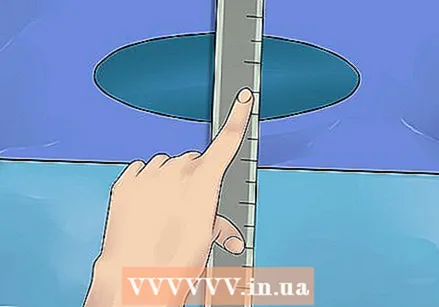 Use a ruler to measure the distance from the top opening to the floor. That way you know how long the pipe must be that you need to make a walkway to the top floor.
 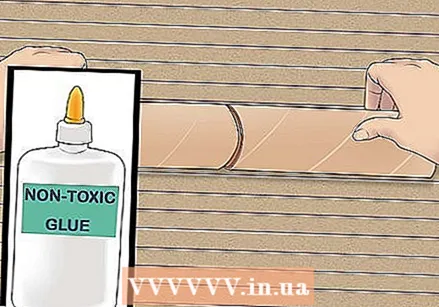 Create a walkway with the toilet paper rolls. You may have to slide several toilet paper rolls together to create a long enough path from the bottom to the top floor.
 - Use non-toxic glue to secure the rolls together if necessary.
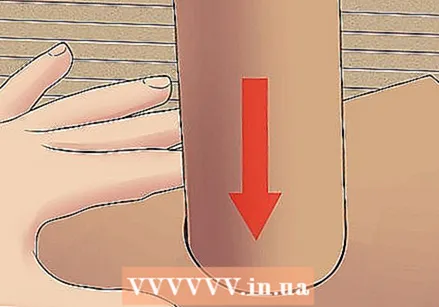
- Use non-toxic glue to stick the fabric to the inside of the walkway. The fabric will give your hamster extra grip so that it can easily walk up and down the tube.
- Don't make the slope so steep that your hamster has trouble walking up or down the tube.
 Secure the walkway to the opening of the second floor box. Use non-toxic glue rather than tape to secure the walkway to the second floor. Securing the walkway ensures that it does not move when the hamster walks up or down the tube.
 - When the opening is round, use your scissors to straighten the bottom of the opening.
Method 4 of 5: Create a maze
 Grab a handful of empty toilet paper rolls. The more complicated you want to make the maze, the more roles you will need.
 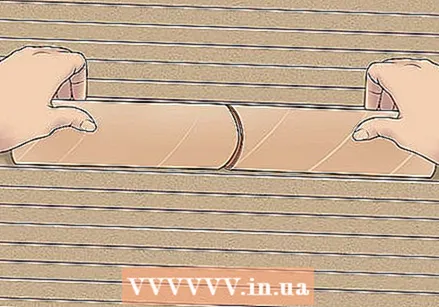 Slide the rollers together. To maintain the shape of the rolls, do not force them to fit together.
 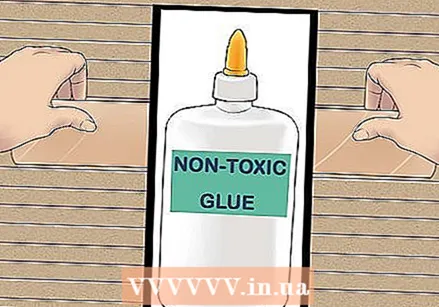 Use non-toxic glue to secure the rolls together. Hamsters will nibble on the cardboard, so make sure the type of glue you use won't make them sick.
 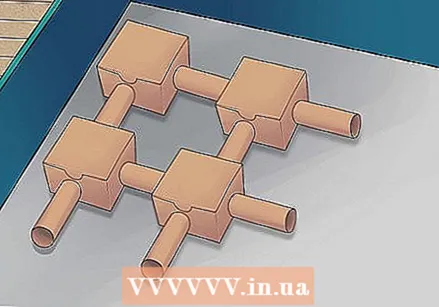 Place the rows of rolls in different directions in the cage. This will create the shape of the maze. The more creative you are with the directions of the tube, the more challenging the maze will be for your hamster.
 - If you choose to make the maze outside of your hamster's cage, keep a close eye on your hamster so that it doesn't escape or injure itself.
- Other household materials you can use to make a maze include empty shoe boxes, tubular oatmeal boxes, and wrapping paper tubes.
 Place a treat at the end of the maze. The smell of the treat will encourage him to move even faster through the maze to get to the treat.
Method 5 of 5: Create an obstacle course
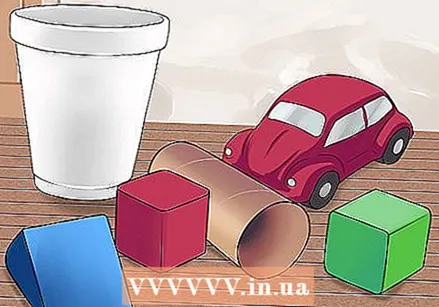 Collect items to make an obstacle course. Almost anything can be used to make an obstacle course, such as paper cups, toilet paper rolls, toy cars and blocks.
 - Be aware that small toy cars are painted, which can make your hamster sick if he eats the paint. Keep a close eye on him and get the cars away if you see him starting to nibble on them.
 Place the materials in a large open area. You can use an open space on the ground outside of your hamster's cage. You can also use your tub or a large cardboard box.
 - When using your bath, cover it with a towel. The towel will give your hamster more resistance as it moves through the obstacle course.
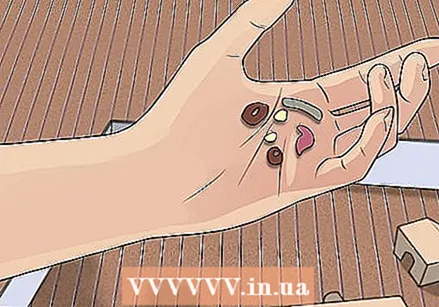 Place treats in different places in the obstacle course. The smell of the treat will motivate your hamster to run through the obstacle course even faster.
 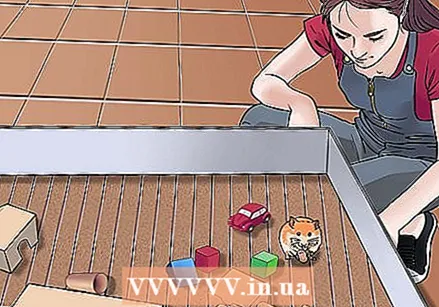 Keep a close eye on your hamster. You want to make sure he doesn't eat parts of the obstacle course that could make him sick.
Tips
- Be creative in making the toys for your hamster! However, if your hamster doesn't seem interested in it, keep using your imagination to create a toy that you know your hamster will love.
- Hide your hamster's toys under the bedding. Hamsters love to dig, so hiding the toys will encourage your hamster to dig.
- When picking up a toy, always make sure your hamster is not in or on it. This will prevent the hamster from falling off the toy and injuring itself.
- Since hamsters love to chew, you will likely need to regularly replace all or part of the cardboard toys.
- Further enrich your hamster by hiding treats, such as small pieces of fruit, in the cage and toys. Remove the treat if your hamster has not eaten them after 24 hours.


