Author:
Charles Brown
Date Of Creation:
10 February 2021
Update Date:
1 July 2024
Content
- To step
- Part 1 of 3: Create a template
- Part 2 of 3: Stick the stencil onto the glass
- Part 3 of 3: Using the etching paste
- Tips
- Warnings
- Necessities
You can etch glass yourself at home using some materials from the hobby shop. By applying a paste like Armor Etch to a stencil, you can give your drinking glasses and baking dishes a personal touch and make professional-looking gifts for others. To etch glass with etching paste, cut a pattern from vinyl, tape the stencil to the glass, iron the paste on it, and then rinse the paste away with water.
To step
Part 1 of 3: Create a template
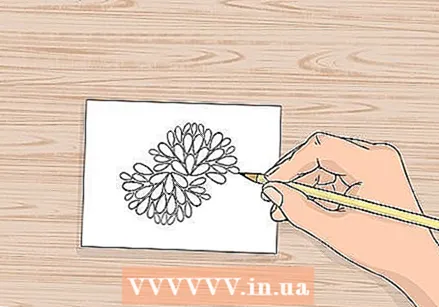 Draw the image you want to etch. You can purchase blank sheets of vinyl at craft stores. Draw your image with a pencil on the non-adhesive side. Some types of vinyl have an adhesive backing. You can also use a stencil without an adhesive backing, but you will need to stick it with tape. As far as the image is concerned, you can draw whatever you want, such as a bird, a tree or letters, but remember that what you draw will be cut out and that shape will be etched into the glass.
 - You can also buy ready-made templates with a pattern or image, order them online, or design and print them.
- If you are using letters, instead of using a stencil, you can make letters from tape and etch around them.
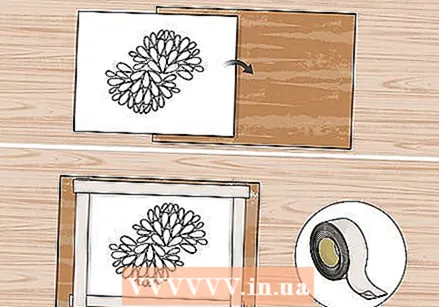 Place the stencil on the vinyl. You only need to do this if you cannot stick your stencil to the glass. Use a piece of vinyl that is larger than your template. Place the stencil on top and fix the stencil by putting masking tape on the edges of the stencil.
 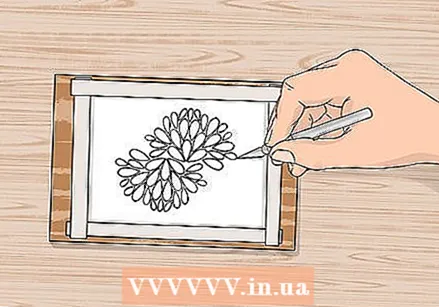 Cut out the template with a knife. Use a craft knife or other sharp knife and cut out your image along the outer edge you drew. Hold the knife up so that only the tip touches the template. Cut away the areas to be etched into the glass, being careful not to tear the areas around it.
Part 2 of 3: Stick the stencil onto the glass
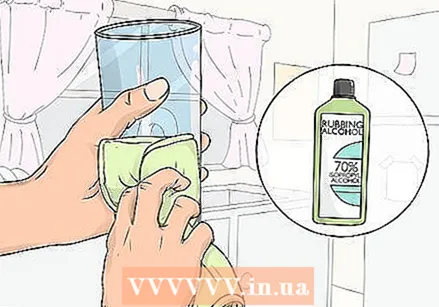 Clean the glass with rubbing alcohol. You can use a glass cleaner, but it can leave residue so that the image is etched unevenly into the glass. Rubbing alcohol removes all residue and fingerprints. Grasp the glass in an area that will not be etched and use a clean, soft cloth to apply the alcohol and dry the glass.
 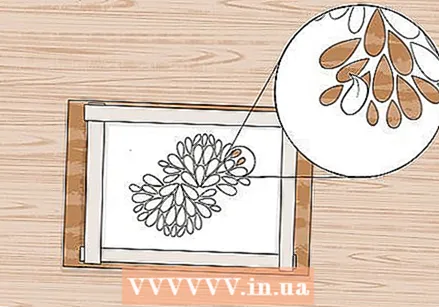 Pull the backing off the vinyl. If you are using a piece of vinyl or a stencil with an adhesive backing, peel off the backing from the backing. Hold the template in front of the area you want to etch, then stick it to the glass with the adhesive backing.
 - If you are using masking tape to make letters, stick the letters on the glass and cover the rest of the glass that does not need to be etched.
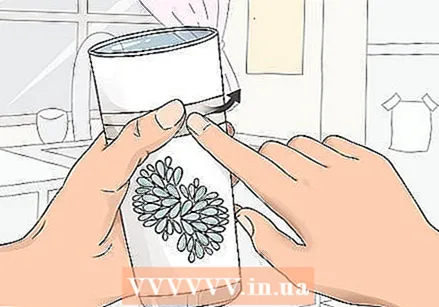 Smooth out the tape or vinyl. Whether you're using tape or self-adhesive vinyl, check for bubbles. Raised pieces of tape can ruin the etching because the etching paste can get underneath. Smooth over the tape or vinyl with a tool. It's best to use something sturdy like a plastic gift card.
Part 3 of 3: Using the etching paste
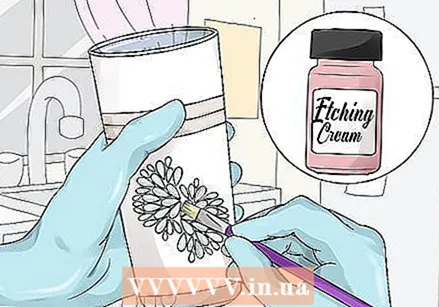 Spread etching paste on the template. Cover only the area to be etched. Use a paintbrush or popsicle stick to apply a thick, even layer of paste over the area. Wear gloves so that the paste doesn't get on your skin or irritate it. EXPERT TIP
 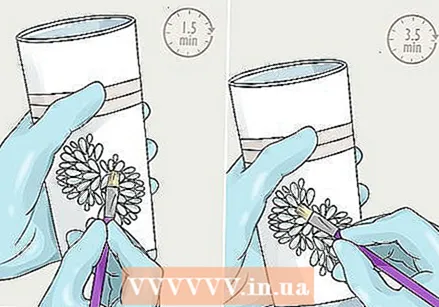 Stir the pasta twice for five minutes. To etch the glass more strongly, stir the paste on top of the template with your brush. You do this after about 1.5 and 3.5 minutes to break up the air bubbles that can cause the glass to be etched unevenly.
 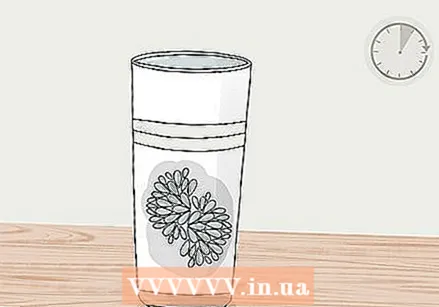 Let the paste work for five minutes. The paste should sit on the glass for at least five minutes, including stirring. Rinsing off the paste before five minutes has passed will lighten your image. After five minutes you will not see that much difference in the picture.
 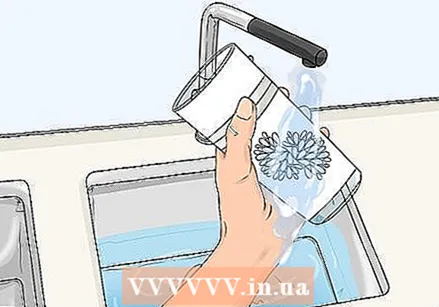 Rinse the pasta away with water. Hot tap water washes away the paste and loosens the tape or glue on the vinyl. If you have a ceramic sink or are concerned about your drain, dip the glass in a bucket of clean water and use a clean cloth to wipe off any residue.
 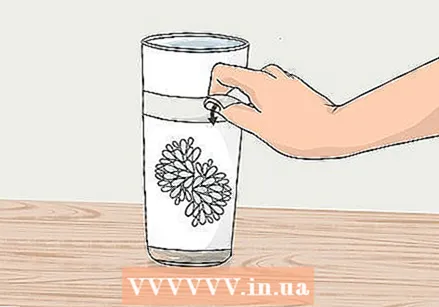 Remove the vinyl from the glass. Peel off the vinyl or tape. You can use a hook-shaped tool to release a corner if you are not removing the tape or vinyl. Do not use sharp objects to avoid scratching the glass.
 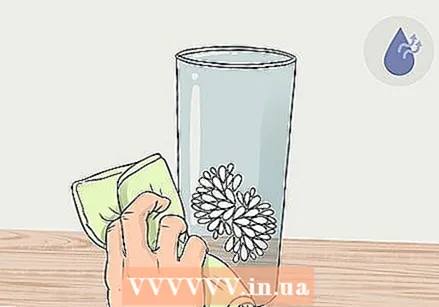 Dry the glass. Wipe off all moisture with a clean cloth. The etched image is now ready. It is permanent, so the glass can be used safely and washed in the dishwasher.
Tips
- Some types of glass, including some types of Pyrex, cannot be etched.
- Etching paste works best for etching small areas.
Warnings
- Wear gloves when using etching paste as the paste can irritate your skin.
- Be careful when using a knife and put it in a safe place when not in use.
Necessities
- Etching paste
- Latex or plastic gloves
- Vinyl (e.g. self-adhesive cupboard paper)
- Paintbrush or popsicle stick
- Glass
- Template
- Hobby knife
- Rubbing alcohol
- Paper towels
- Adhesive tape


