
Content
- To step
- Method 1 of 4: Sort clutter
- Method 2 of 4: Organize the room
- Method 3 of 4: Clean up
- Method 4 of 4: Maintain a clean room
- Warnings
Tidying up a very cluttered room can be a very stressful endeavor. However, the sooner you start, the better you will feel! Organize the clutter into several heaps, then work to neatly store each group of items. You will need to dust and vacuum thoroughly once the room is tidy to get rid of all the dirt and give it a clean shine. To keep the room organized, try to tidy up throughout the day and do a little tidying every night before going to sleep.
To step
Method 1 of 4: Sort clutter
 Clean the room in small manageable areas. It's easy to feel overwhelmed when cleaning up a very cluttered room! Create sections or tasks that you can complete in a reasonable timeframe, so focus on a particular drawer, table, or corner, for example. Make sure to take a break between each task to keep you motivated.
 - If the room is very cluttered and you don't have enough time, spread the tasks over several days.
- For example, you can first clean the floor, then take care of the wardrobe and end with the bedside table.
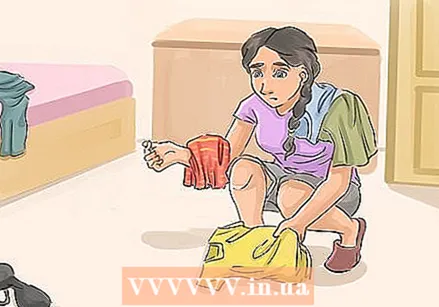 Put all dirty laundry in the laundry basket. Search the room for dirty laundry and remove everything. Maybe there are dirty clothes on the floor or the bed linen needs to be washed. If the laundry is bulging out of the laundry basket, take another basket or a bag and use it too.
 - There is no need to sort laundry at this point. Just focus on putting everything in the laundry basket.
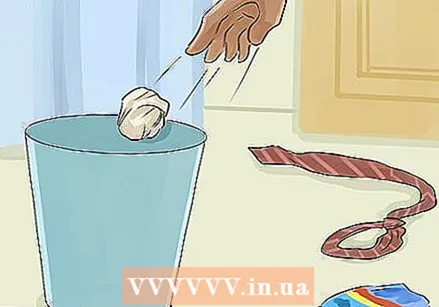 Dispose of all trash in the room. Simply removing all the trash will make cleaning the room feel much less overwhelming. Place a trash can next to you so that you can easily dispose of all the trash you see. You can recycle what can be recycled, but otherwise you simply have to throw the waste in the bin.
 - If you're not sure whether you want to keep an item, keep it for now instead of wasting time doubting. You can always come back to it at a later point.
 Move all dishes to the kitchen sink. Unwashed dishes can make a room really cluttered. Stack all used plates, bowls, cups and cutlery you can find in the kitchen. Stack them neatly in the sink so you can wash everything up once you've finished cleaning the room.
 - Removing dirty dishes will also leave the room smelling clean and fresh.
 Make piles of similar items that belong in the room but are not yet stored. As you work your way through the clutter, create small groups of items that can be stored together. Groups of shoes, clean clothes, books, toys, papers, and electronics are ideal. You can also create smaller categories within each group, such as books that belong in the bookcase or on the bedside table, or clean clothes that should be in the wardrobe or wardrobe.
 - Don't worry about putting things away just yet, because you will have plenty of time for that later.
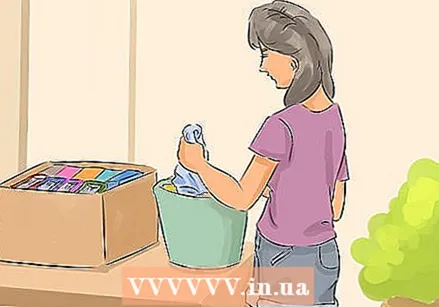
 Place all miscellaneous items that do not belong in the room in a box. Find the largest container or cardboard box you can find and place everything in it as you work your way around the room. Place items that don't belong in the room in the box for later use. These items can be items such as bills, books, cosmetics and magazines.
 - You don't have to sort every cupboard and drawer to determine what to keep and what to throw away. Simply work with the things that you can easily see and postpone the hidden clutter until later.
Method 2 of 4: Organize the room
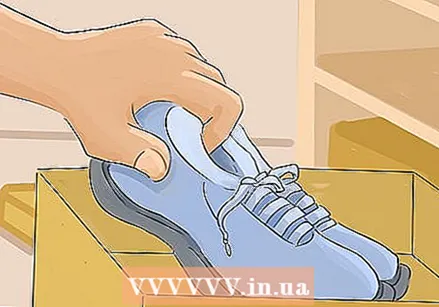
 Put clean clothes and shoes in the wardrobe or wardrobe. You can also fold all the clothes and put them neatly in the wardrobe. Make sure you organize them in groups such as T-shirts, shorts and sweaters so that you can easily find everything. Line up all the shoes on the bottom of your wardrobe or on a rack.
 - If there are clothes you are not wearing or if there is not much space available, you can store them in containers that can be slid under the bed.
 Place all books in the bookcase or in storage containers. Keep books that you read often within reach and put away the other books you don't use often. You can organize books based on author, height or color. You can also use containers or baskets to sort similar books and place these containers on a shelf.
 - Keep children's favorite books together in a basket on the floor for easy access.
 Store all toys in storage containers and boxes that are easily accessible. Sort the stack of toys into smaller categories such as dolls and action figures, cubes, teddy bears and craft supplies. Store each category together so that similar items can be easily found. For example, you can place teddy bears in a large basket on the floor and cubes in a large plastic container that fits under the bed.
 - Dolls and action figures can be placed in storage baskets in a closet and craft supplies can be placed in a box in the wardrobe.
- If each toy has a fixed place, children will have less trouble learning to put everything back together.
 Go back to all the miscellaneous items that don't belong in the room. Work through all the items in the large box or container and put them back where they belong. If you come across an item you don't want or need, you can give it away, recycle or throw it away to free up some space.
 - Make sure to put the items back in their exact place instead of just piling them up in another room, as this creates an even bigger mess that you will have to solve in the future.
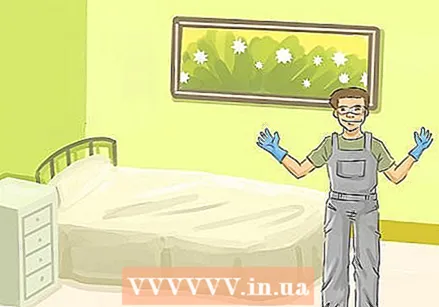
Method 3 of 4: Clean up
 Dust off the ceiling fan if there is one. Dust accumulates very quickly on ceiling fans! Spray all-purpose cleaner on a cleaning cloth or paper towel. Then wipe the entire fan and start in the middle and sweep outwards. You can also use a special vacuum cleaner to clean a ceiling fan instead.
 - Always switch off the fan before cleaning it.
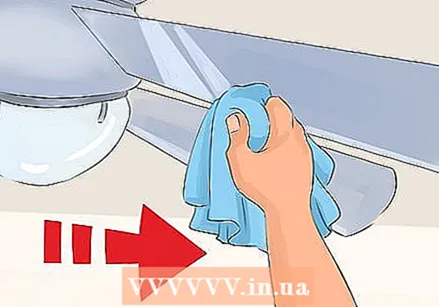
 Dust the lighting fixture with a cleaning cloth. Turn off the light first so you don't burn your hand. After that, take a soft cloth and stand on the bed or on a chair. Wipe the inside and outside of the light fixture to remove any dust or debris.
 - It's best to leave your old bedding on your bed for a while while doing this in case dust or cobwebs fall down.
 Clean all mirrors in the room. Take a microfiber cloth and slightly dampen it with warm water. Rub the mirror clean with small circular motions to remove all dirt. If stubborn stains remain, try a little dish soap with warm water and rub to remove the stains.
 - Too much water can cause streaks. Use a dry microfiber cloth to wipe the mirror if you notice excess water.
 Clean the windows with a window cleaner. Clear windows will give the room a brighter look. Take a microfiber cloth and spray a little window cleaner on the window. Rub the window clean with the cloth to remove dust, dirt and streaks. Then use a dry cloth to remove excess detergent and to get the windows streak-free!
 - Avoid using newspapers to wash windows as the ink may run.
 Use a vacuum cleaner to clean the blinds or wash the curtains. Close the blinds and place the brush part on the vacuum cleaner. Use the vacuum cleaner to clean each individual blind so that all dust and dirt is gone. Then turn the blinds in the opposite direction and vacuum the other side as well.
 - You can dust each blind individually, but this will take longer.
- If there are curtains you should remove them and wash them every 2-3 months (follow the instructions on the label).
 Dust all surfaces in the room. Use a microfiber cloth to dust surfaces such as tables, windowsills, and cabinets. Always start from the top and work your way down. This prevents dust from accumulating in places that you have already dusted.
 - Don't forget to dust off art objects, accessories, door frames and mirrors.
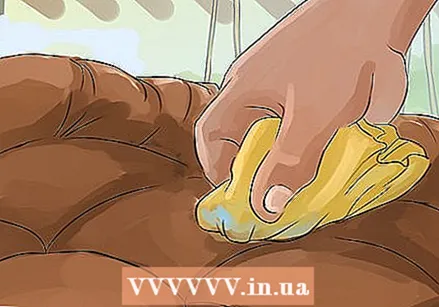
 Rub all surfaces to make them shiny. Make the surfaces look even better after dusting! Use a clean microfiber cloth and spray a small amount of all-purpose cleaner on the surface. Work in small circular motions to wipe the surface with the cloth. This will make the room look much fresher.
 - If there are stubborn or sticky stains, try leaving all-purpose cleaner on the stains for 2-3 minutes before wiping it off.
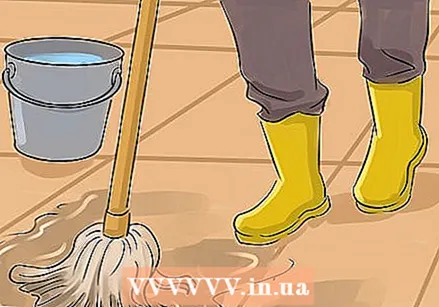 Sweep and mop or vacuum the floor. Now that the floor has been cleaned up, it's time to get all the dust and grime off it to make it look good again! You can vacuum any type of floor and you can sweep and mop all floors as long as it is not parquet. Make sure to clean under furniture such as beds, tables and seats, as dust can easily accumulate there.
 - You may need to relocate certain furniture to get a thorough cleaning.
- If you mop the floor, let it dry before stepping back on it.
 Do the laundry. Sort the laundry basket and start washing all items of clothing. When the laundry is done, dry all items in a tumble dryer or by hanging them on a thread. When everything is dry, you should neatly fold all items of clothing and put them in the right place. You can hang things like dresses, jackets and shirts and T-shirts, socks and pants can be folded and stored in a drawer.
 - Make sure to put the laundry basket back in the room when you're done.
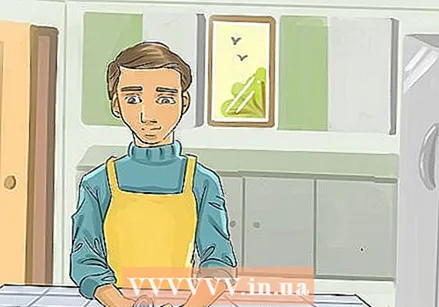 Do the dishes. Rinse off the pile of dishes you placed in the kitchen sink. Do the dishes either manually or use a dishwasher. When the dishes are clean, use a clean towel to dry everything off. Put everything back in the right place and make sure you stack plates and bowls neatly.
 - It can help not to eat in your room so that dishes don't pile up. Try to eat in the kitchen, living room, or dining room.
Method 4 of 4: Maintain a clean room
 Try to tidy up throughout the day so that you have less work. Clutter is much easier to contain when it is there instead of letting it pile up. Have a regular laundry schedule and do the dishes after you finish eating. If you find clutter piling up, put everything away as soon as possible instead of letting it pile up until you are overwhelmed by it.
 - Little things can really help, like putting your shoes and jacket in the right place immediately when you take it off.
 Try to do 1-3 cleaning tasks per day. Review the time you need to clean each day and choose some realistic tasks to complete within that time frame. You could sweep a table, vacuum under the bed, or clean a mirror. However, don't overload yourself with too many tasks, as that can cause you to be overwhelmed by them.
 - By completing even 1 small cleaning task per day, you will already have done a lot to keep your home clean and tidy.
 Clear up 5-10 minutes before going to sleep. It is much easier to do a little bit before going to bed than to be confronted with it in the morning. You can store some toys, take out the trash or clean the bedside table.
 - You don't have to do major cleaning at this time of the day, because all the little things add up quickly! You can also store books, fold clothes or dust surfaces a bit.
 make your bed from the moment you get up in the morning. Although it may seem annoying, a made bed will turn your bedroom into a calm and restful oasis. It only takes a few moments to properly lay the sheets and pillows and smooth everything down with your hands.
 - Simplifying your bedding can make it easier to make your bed every day. Instead of using a top sheet, you can use a washable sheet, for example. You can also remove all the decorative cushions to speed things up.
 If possible, involve your whole family in the cleaning. Keeping things clean and orderly is much easier when you get a little extra help. This applies to a single room as well as the entire house. Give each person some specific tasks to perform. Young children can store their toys and shoes in the right place and older children can vacuum and make their beds.
 - It can help to make a list of tasks and post it where everyone can see it. This makes it clearer who is responsible for what.
Warnings
- Dishes and dirty clothes that are left for too long can pose health risks from mold, insects and bacteria.


