Author:
Tamara Smith
Date Of Creation:
23 January 2021
Update Date:
29 June 2024
Content
Nowadays wireless networks are indispensable, and by connecting your Windows 8 computer to a wireless network you can surf the internet and connect to other computers on the network. This article will show you how to connect to a Wi-Fi network in Windows 8.
To step
 Make sure your wireless network card is activated.
- Some devices can turn the wireless network card on and off. The switch can then be any key, but usually this is the Fn-button.
- Many desktops do not have a wireless network card. If this is the case, you will first have to install a wireless network card.
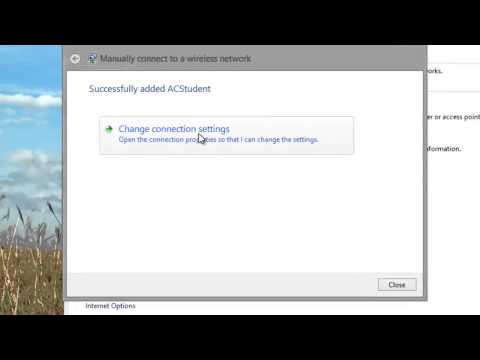
- You can check if your wireless adapter is properly configured by opening the network window. The fastest way to open this window is to press ⊞ Win+R., then type ncpa.cpl, and click OK. Find your wireless adapter in the list of connections. If it is indicated as "Disabled", right click on it and select Switch.
 Open the Charms bar. Swipe from right to left across the screen, or press ⊞ Win+C. on your keyboard.
  Tap or click Settings. The Settings menu is indicated by a gear.
  Tap or click the wireless network icon. It looks like rising signal bars. This will open a list of available wireless networks.
 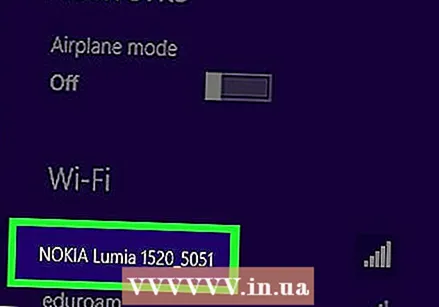 Activate WiFi. Toggle the Wi-Fi slider to the on position.
 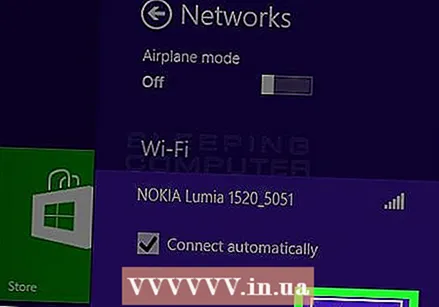 Select the network. Choose your desired network from the list of available networks. If you don't see a network, make sure you are close enough to the router to receive the signal and that the network is operational.
 - If you are connecting to a mobile network, look for the "Mobile Broadband" section and enter your network information.
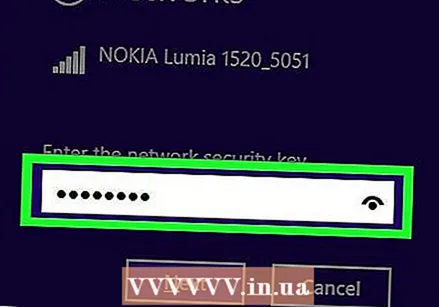 Enter the security information. If the network is secured, you will be asked to enter the network password. If you do not know the password, ask the owner of the network. If you have forgotten your own password, read wikiHow articles to find out.
 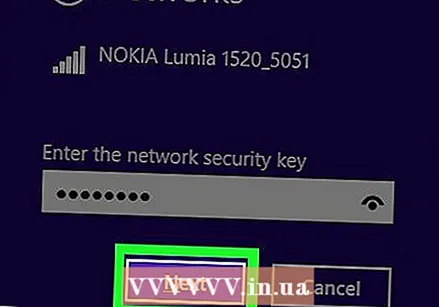 Make sure that this connection is remembered. Check the box next to "Connect automatically" so that your device can be automatically connected to the network as long as you are within range. That way, you don't have to enter all the data every time you want to connect.
 - If the password for the network changes, you will have to enter it again.
 Choose the sharing options. If you're on a public network, don't allow sharing. This will protect your files against prying eyes.
  Test your connection. Open your web browser and try to open a website. If you succeed in loading a website, you have successfully connected to the network. Some public Wi-Fi networks require you to first fill out a registration form via your web browser before you can use the rest of the internet.

")

