Author:
Frank Hunt
Date Of Creation:
13 March 2021
Update Date:
1 July 2024
Content
- To step
- Part 1 of 3: Laying the foundation
- Part 2 of 3: Building the first layer
- Part 3 of 3: Building the wall
- Tips
- Warnings
- Necessities
- Material
- Tools
These instructions to build a 10x10 retaining wall with impregnated beams are for aspiring homeowners and DIY enthusiasts. When you get satisfaction from a visually appealing home that focuses on practicality, start with step 1!
To step
Part 1 of 3: Laying the foundation
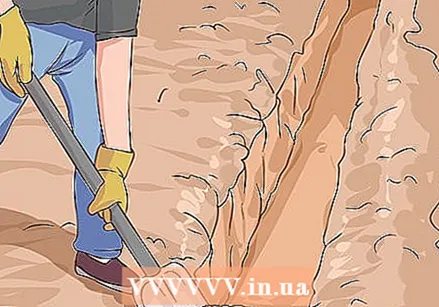 Dig a leveled trench about 12 inches deep in stable soil. Level the trench by precisely staking the location with posts and by using a tensioned wire between the posts.
  As a leveling base, add about 6 inches of sand or ground limestone. Compact the soil material.
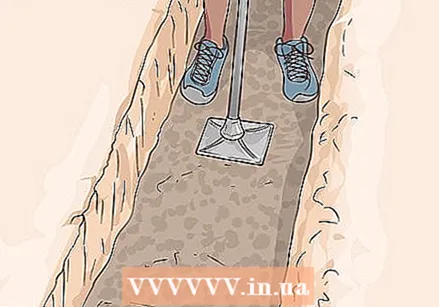
 - Check the level of the ground material with a spirit level or a level tensioned wire.
- Add soil material to wells or lower areas.
- Repeat compacting.
 Level the trench from one end to the other.
Part 2 of 3: Building the first layer
 Start the first layer with a 10x10 bar in its full length. A layer consists of beams of 10 by 10.
  Drill two holes a little over 1 cm in diameter from the center of the beam and 1.2 m apart.
 Hammer the beam into place using a rebar bar placed in the drilled holes. Hammer the rod into the beam until you can't go any further.
 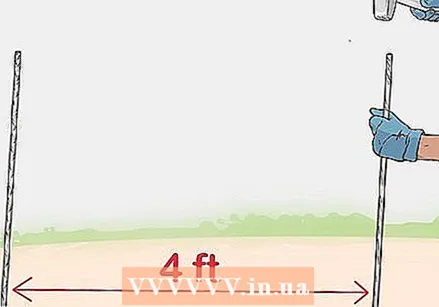 Repeat for the entire length of the wall.
 Measure the last bar you need. Write the dimensions on a bar. Draw a line around the beam with a scribe and saw on the line with a circular saw.
  Check the horizontal level of each beam and make sure it is vertically plumb as this will affect the next layer.
- Add wooden wedges, if necessary.
Part 3 of 3: Building the wall
 Start the second coat with a half-length beam so that the joints alternate.
- Check the beams for level and plumb before nailing.
- Use a sledgehammer weighing approximately 2 kg to hammer 60d (15 cm) nails into the top of the joist and into the joist of the underlying layer.
- Attach a nail every 40 cm.
- Attach full length beams to complete the layer and cut off only the end.
 Start the third layer with a beam of ¼ length, so that the joints alternate. Complete the layer with beams.
  Start the fourth layer with a beam of ¾ length, so that the joints alternate. Complete the layer with beams.
  Start the fifth layer over with a full-length bar.
 Add an extra T-shaped support while building the wall.
- Dig a T-shaped ditch behind the wall.
- Build the T-shaped support horizontally behind the wall with 10x10 beams.
- Add the base of the T-shaped support to a gap between two joists in the wall and nail it.
- Hammer a rebar rod through the T-shaped beams into the ground.
- Dig in the T-shaped beams.
- Place all T-shaped beams underneath the top of the finished wall so that they are not visible or distracting.
 Use the straightest and most visually appealing 10x10 bar for the last layer of the wall.
 Dig the wall closed.
Tips
- The foundation will determine how straight and level the wall will be, how well it drains water, and how durable it is.
- Use straight beams to build the wall.
- Do not start layers with short joists, as this can make the wall unstable.
- The ends of the beams that were cut off at the factory are best placed in visible places such as the ends of the wall.
- It is best to place ends that have been sawn on site as joints between the beams.
- Make sure the joints do not get too close to the corners to ensure strength and stability.
- Bridge the joints of each previous layer to ensure stability and aesthetics.
- Use a long pry bar to separate the joists, if they are badly nailed.
- Locate the T-shaped supports carefully, as the stability of the wall is important.
Warnings
- Always wear ear and eye protection when using a circular saw.
- Always wear safety glasses when using tools.
- Wear personal safety equipment such as leather gloves, safety-tipped work boots with good grip, and a protective helmet.
- Work with an assistant, as the material and tools are heavy and large.
Necessities
Material
- 10 cm x 10 cm x 2.40 m (or 3.65 m) impregnated beams
- 1.25 cm x 61 cm rebar steel rod
- 15.2 cm 60d galvanized nails
- Wooden wedges
Tools
- Spade
- Metal rake
- Folding rule
- Measuring tape
- Pencil
- 2 wooden posts
- Roll with cord
- Level
- Sledge hammer of 2 kg
- Circular saw
- Writing hook
- Cordless drill
- 1.27 cm serpentine drill
- Large crowbar
- Tamper


