Author:
Morris Wright
Date Of Creation:
22 April 2021
Update Date:
1 July 2024

Content
Eclipse is one of the most popular development environments for Java, as it includes everything needed to develop a Java project from scratch. Before you can start working on a new project, you will first have to create it. Creating a new Java project in Eclipse is fairly easy, but can be confusing if you have already installed Eclipse for a different programming language.
To step
 Install the Eclipse IDE for Java Developers. When you install Eclipse for the first time, you will be given the option to choose an IDE (integrated development environment). Select "Eclipse IDE for Java Developers". This will install the necessary files and tools needed for creating Java projects.
 - If you have Eclipse installed for another programming language, you can add Java support directly from Eclipse. Click on the "Help" menu and select "Install New Software". Select "All Available Sites" from the drop-down menu and type "java" in the Filter field. Check the box "Eclipse Java Development Tools" and then "Next". Follow the instructions on the screen to download and install the Java tools. Eclipse will restart when the installation is complete.
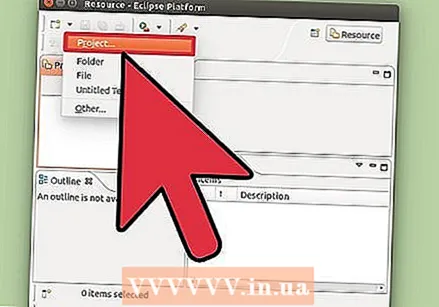 Click on "File" → "New" → "Java Project". This will open the "New Java Project" window.
 - If you don't see the "Java Project" option, but you have installed the Java Development Tools, select "Project ..." from the "New" menu. Expand the "Java" folder and select "Java Project".
 Give the project a name. This does not have to be the final name of the program, but it could help you and others identify the project.
  Choose a location for the project files. The files are stored in the Eclipse directory by default. You can choose a custom location if you prefer.
  Select the Java Runtime Environment (JRE) you want to use. If you are creating a program for a specific JRE, select it from the drop-down menu. By default, the latest JRE will be selected.
  Select the layout of your project. You can choose to use your project's folder or create separate folders for sources and class files. The default option is "Create separate folders ...", but you may want to change this depending on the requirements of your project.
  Click "Next" to open the "Java Settings" window. This is where you will define additional resources, as well as libraries for your project.
  Use the Source tab to create the build path. The build path is used by the compiler to build the program. You can create additional source directories, link external sources, and add or remove directories from the build path. The compiler uses this path to determine which sources to compile.
 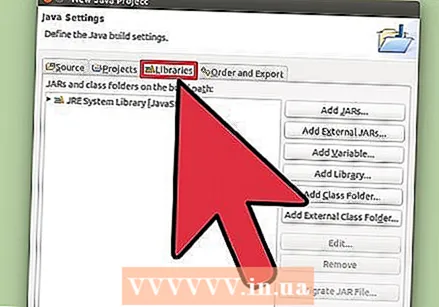 Use the Libraries tab to add libraries to your project. From this tab you can add JAR files to your project, as well as select built-in libraries to use. Importing JAR files allows you to add libraries from other projects.
 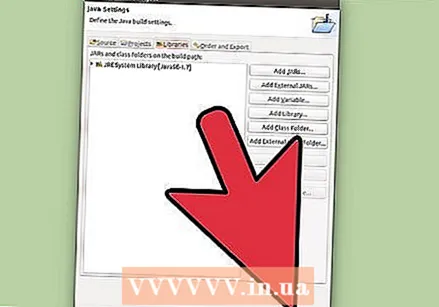 Click on "Finish" to start your new project. Your Java workspace will open. If you worked under a different programming language in Eclipse before starting this project, you will be prompted to switch to the Java environment. This is recommended to get the most out of the IDE.
 - Your project will be displayed in the "Package Explorer" box on the left side of the window. If you only see the Eclipse Welcome tab, click the little Java button on the left side of the window.
- Read Writing Your First Program in Java for detailed instructions on creating your first Java program.
Tips
- If you want to change the settings of your project after it has been created, right-click on the name of your project and navigate to the desired option.


