Author:
Tamara Smith
Date Of Creation:
28 January 2021
Update Date:
1 July 2024
Content
- To step
- Method 1 of 3: From paper or cardboard
- Method 2 of 3: Made of tulle or transparent fabric
- Method 3 of 3: From plaster cast
- Tips
- Warnings
- Necessities
- Made of paper or cardboard
- Made of tulle or transparent fabric
- From plaster cast
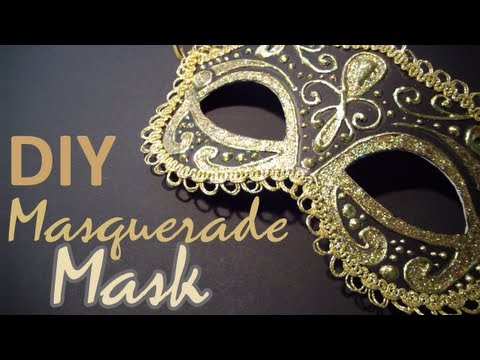
The history of the mask is inextricably linked to the carnival. During this originally religious celebration, people take to the streets in costume to party before fasting and because spring begins. The fancy dress costumes come with masks of all shapes and sizes. The design of a masquerade or Venetian mask is quite simple - the mask covers the top half of the face and is sometimes attached to a handle. Follow these steps to make a masquerade mask.
To step
Method 1 of 3: From paper or cardboard
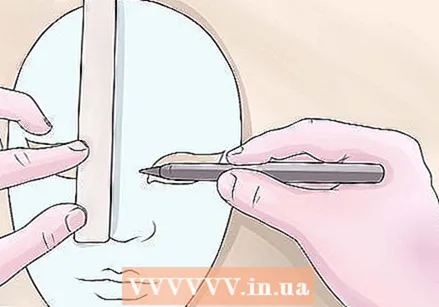
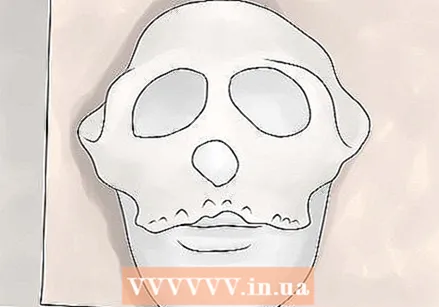
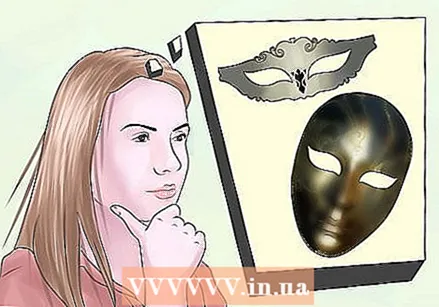 Choose a design for your mask. The standard mask runs from just above the brow to the top of the cheekbone, but yours doesn't have to be.
 - A basic masquerade mask is an elongated horizontal oval with an arch in front of the nose. More elaborate masks can cover more of the forehead or cheeks with protruding tips on either side. Check the internet or a party store for ideas. You also need to decide what materials to use.
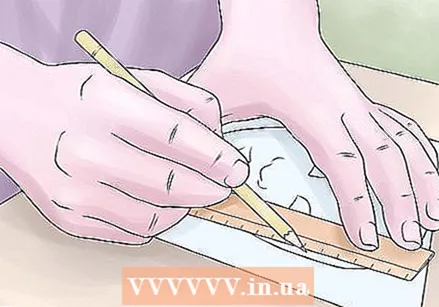 Sketch or print the base of your design on a piece of paper. For a firmer mask, use cardboard. You can also use multiple layers of paper to make it stronger.
 - The outline should be clear with enough space on the inside. Use A4 size paper or cardboard - smaller than that is impossible and bigger is a waste of paper.
 Add details to your sketch. Doing this now will help to give you an idea of whether you like the shape of your mask - you can still adjust it or add details as part of the shape of your mask.
 - Adding flames or curls to the outline will make your mask more interesting. Or think of hearts, stars and geometric shapes.
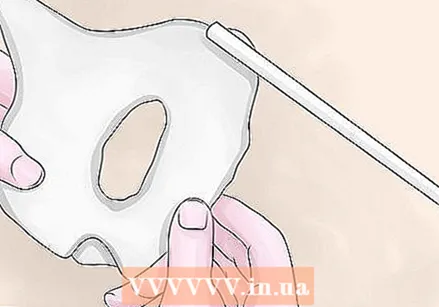
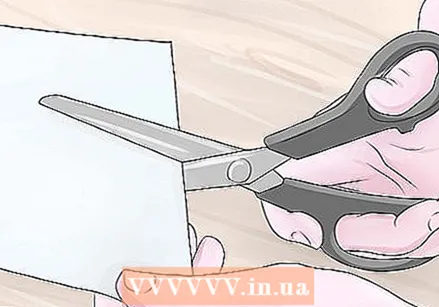 Cut out the mask. Be careful! Use good scissors so that you don't get tears or bites. Leave some space on the sides if you want to attach a band or elastic to it.
 - Cut the holes for the eyes a lot bigger than your real eyes. If you can see more, it is more pleasant, safer and it looks better.
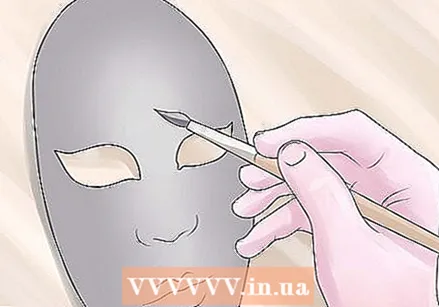
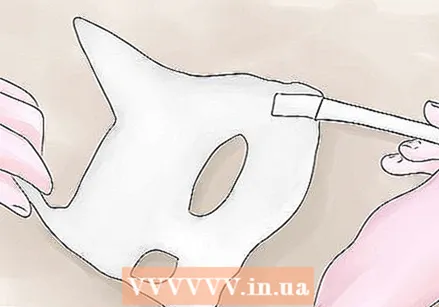
 Indicate how you are going to paint it. You will be very happy that you did this - then it won't be disappointing if you painted it. Lightly indicate how you are going to paint it; it should soon not be visible through the paint.
 - You can paint your mask with different colors and textures. If you sketch that out in advance, you can preserve the symmetry well.
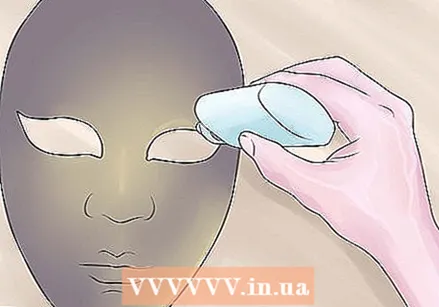
 Paint your mask. Be careful when you hold it; if your fingers get in the wet paint you can smear it all over (or get it on your clothes). Paint several layers for a rich glow.
 - The color choice is personal, but traditional colors are deep reds and metallic. Use a thin brush so that you can draw nice lines.
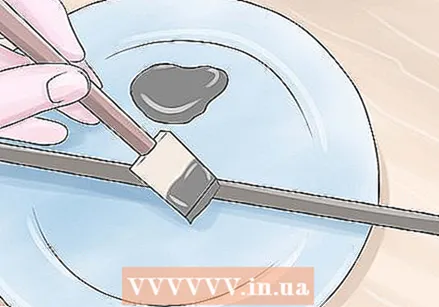
 Let the paint dry completely. Be patient - this may take a while. Place it on a covered surface and leave it alone for a while.
 - Depending on the type of paint you have used, this can take up to four hours.
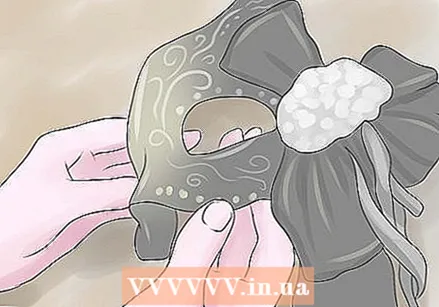
 Stick decoration on it. This is completely up to you, but keep in mind extra weight, protruding parts and stickiness. Too much embellishment can also make your mask over the top.
 - Masquerade masks are originally garish and showy, so you can very well add shiny stones, glitter and colorful feathers. Stick to the theme you have come up with and don't overdo it.
 Paint and decorate the handle to match your mask. You can use a chopstick, a sturdy straw or a very carefully rolled up piece of cardboard for this.
 - Traditionally, feathers were attached to the stick, but you can also use a beaded chain, leaves or other decoration.
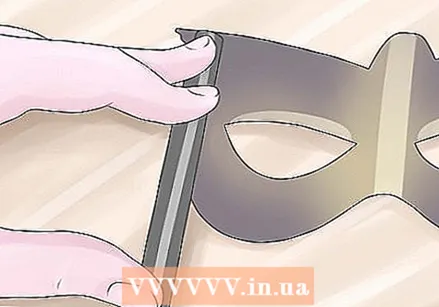 Attach the handle to the back of the mask. The easiest way to do this is with a glue gun, although other methods work.
 - The position of the handle is not that important. Some masks have a handle in the middle, some on the side, some have no handle at all.
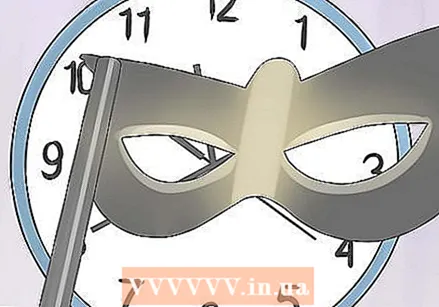 Let the glue dry completely. Hold the handle in place for 30 seconds so that it is secure. If it is still moving, add more glue.
 - Flick your mask a bit - when it's firm, you're done!
Method 2 of 3: Made of tulle or transparent fabric
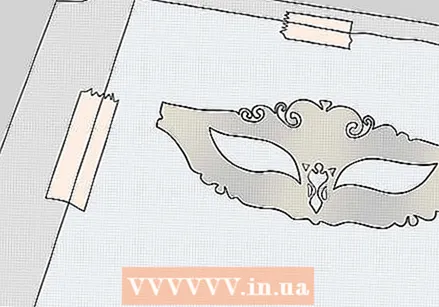
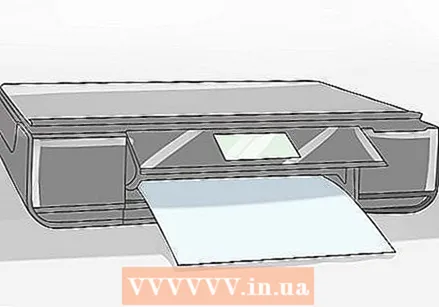 Print your design. With this method you can choose a template with a lot of details. It will take a little longer, but you can add as much detail as you want.
 - Put it on the table. Clear an area that is much larger than the paper.
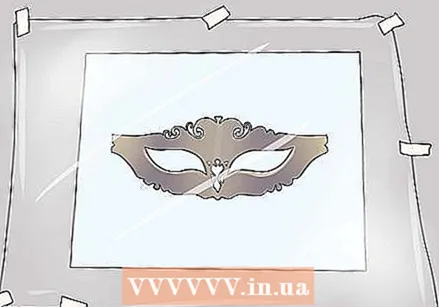 Tape a piece of plastic wrap to the design with masking tape. Make sure it is completely covered and that the design underneath cannot move.
 - If it is difficult, tape the edges of the design to the table first.
 Tape tulle over the plastic wrap. It should be much bigger on all sides than your design. It doesn't have to be perfectly centered; as long as it is bigger.
 - If you don't have tulle, use sheer fabric. Tulle is firmer and works easier.
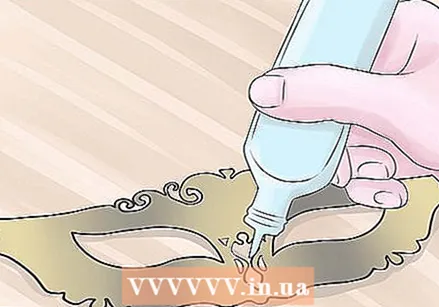 Trace your design with fabric paint. If it's your first mask, stick to one color. Be careful not to lean your hand into the paint, then you smear it.
 - If you are using more than one color, be careful not to overlap the colors too much.
- Let it dry overnight.
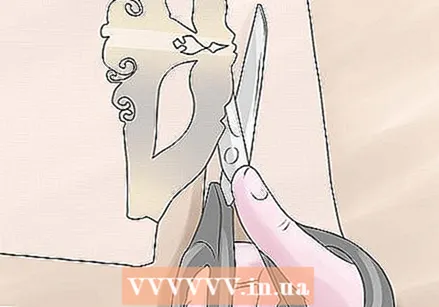 Cut out the mask. Carefully remove the tulle from the table, making sure everything is completely dry. Trim the edges of the mask and out of the holes for the eyes.
 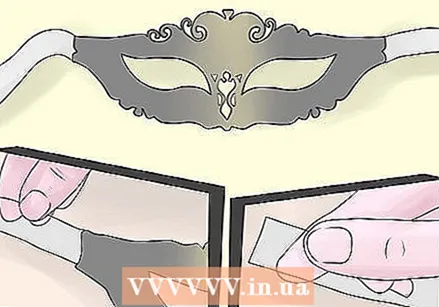 Attach ribbons to the sides. Cut two pieces of ribbon measuring 50 cm each. Put some textile glue on the ends and stick it to the mask. Let it dry for 1-2 hours.
 - You can cut the ribbons shorter, but make sure you can still tie it around your head.
Method 3 of 3: From plaster cast
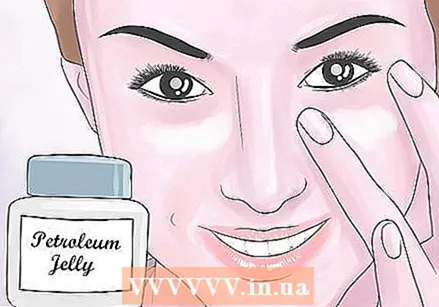 Put petroleum jelly on the part of your face where you want the mask to be. Do it nice and thick - if you skip a piece, it can hurt when you take the bandage off later.
 - You don't pull your eyebrows out with this method. Just put a thick layer of petroleum jelly on your eyebrows; you will be happy with that afterwards.
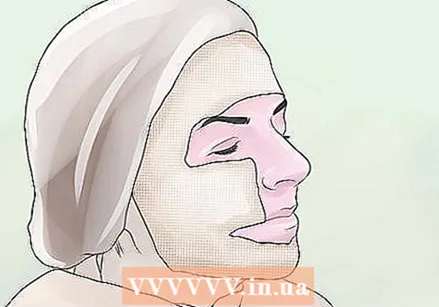 Start shaping your mask. Cut and wet the bandage and put an "X" on your face. Place the first two strips diagonally across the bridge of your nose.
 - Keep applying casts until you get the shape you want. Be careful around your eyes - leave a little more space than you think you need.
- Smooth all the pieces when you apply them. You need a smooth base to decorate later.
- Keep applying casts until you get the shape you want. Be careful around your eyes - leave a little more space than you think you need.
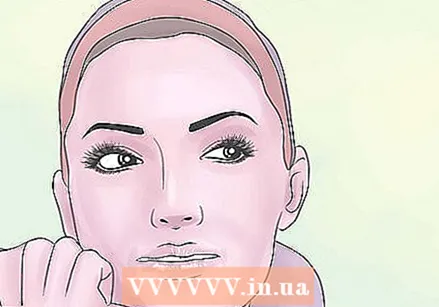
 Remove the mask. You have to wait for it to dry completely. If it starts to itch, you know it's almost done.
 - Release the mask by moving your face. Movement will loosen the mask from your face and the petroleum jelly.
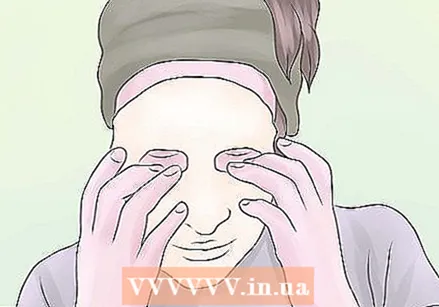
 Adjust the shape of the mask. This step is optional - if you already like the shape, continue decorating. But if you want to tweak it a bit, go ahead!
 - If you want to add ears or other shapes, cut it out of a piece of cardboard and stick it on top. Put a little more cast over it until smooth and let it dry.
 Attach a handle. The easiest way to do that is with a chopstick. Glue it on and put a piece of cast over the tip.Smooth it again.
 - In principle, every stick is good. When you are done with the handle, let it dry overnight.
 Take a piece of sandpaper. Sand coarser pieces nice and smooth. It doesn't have to be perfect, but you can smooth out the grainy texture of the plaster.
 - Polish off the dust with a cloth and spray a layer of clear paint over it as a base coat. Let it dry.
 Start painting. Here you can do whatever you want. It may be wise to stick to one color. Most masquerade masks have only one color.
 - You can apply a bit of glitter or a coat of varnish when you are done painting. That gives a nice finish.
 Decorate your mask. This allows you to hide the tip of your handle and make your mask look professional and stylish.
 - Think of bows, feathers, ribbon and jewelery. And preferably a combination of all of this!
Tips
- You can buy a plastic face mask from a party or craft store, which will make you skip making a paper mask.
- If you add too much detail to the edges of your design, it will be difficult to cut out.
- If your paper mask is too thin, trace it onto cardboard and tape it to the back.
- Stay calm if things go wrong. You can restore it if you have patience.
- If you also paint the inside of the mask, it will not warp.
Warnings
- Some paint can irritate the skin. Be careful which strain you use and how close it gets to your skin.
Necessities
Made of paper or cardboard
- Thick paper / cardboard
- Scissors
- Paint
- Pencil
- Brush
- Glue
- Handle
- Decoration
Made of tulle or transparent fabric
- Design
- Plastic foil
- Tape
- Tulle
- Scissors
- Textile paint
- Ribbon
- Glue
From plaster cast
- Plaster cast
- Water
- Vaseline
- Scissors
- Cardboard (optional)
- Paint
- Handle
- Decoration


