Author:
Roger Morrison
Date Of Creation:
6 September 2021
Update Date:
1 July 2024

Content
Marble is a great way to update your nails. It's not the fastest or neatest way to paint your nails, but it sure is fun and creative. Follow this step-by-step plan to learn how to decorate your nails in a beautiful way!
To step
Part 1 of 2: Preparation
 Apply base nail polish on your nails. Apply a clear base nail polish as usual to avoid smudging and make your polish last longer. If you apply a few coats of plain white nail polish afterwards, the colors will look brighter later on. Wait for the last coat to dry before continuing.
 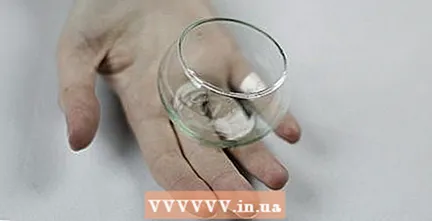 Choose a small cup. A shot glass and a small paper cup are about the right size. There is a chance that the cup will stain permanently, so choose something that you can throw away or keep using on your own for your nail polish.
 - Nail polish is poisonous, but small amounts are not very dangerous. If you use a glass bowl and wash it thoroughly afterwards, you can probably use it safely for other purposes afterward.
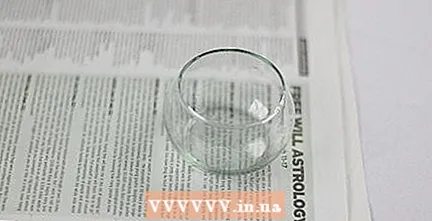 Put down newspapers. Cover your table with newspaper to catch spilled nail polish. This method is messier than just painting your nails.
  Choose nail polish. Choose at least two colors that contrast with each other. Make sure you have some extra bottles of different brands as a spare, as not all types of nail polish are suitable for marble. You need a lot of nail polish to create a marble effect, so opt for the cheaper types.
 - If possible, use relatively new nail polish. Old nail polish dries too quickly.
- Unscrew and release the caps from all bottles so that you can quickly complete the following steps.
 When your nail is dry, apply a clear nail polish to finish. Paint over the patterns to prevent them from flaking and then enjoy the beautiful decorations.
Tips
- Small differences in the water can make a big difference. If you can't get the polish to float, try a different type of water: bottled water, filtered water, or tap water.
- Complementary colors can create a bold effect.
- If the polish dries too quickly, try using water that is slightly colder. If the polish is too runny, try water that is slightly warmer.
Warnings
- Do not use a disposable Styrofoam bowl. The nail polish will dissolve the plastic.
Necessities
- Come on
- Different colors of nail polish
- Cotton swabs
- Nail polish remover
- Basic nail polish
- Transparent nail polish for finishing
- Cuticle oil, tape, or petroleum jelly (to protect your skin)
- Water at room temperature


