Author:
Judy Howell
Date Of Creation:
25 July 2021
Update Date:
1 July 2024

Content
- To step
- Method 1 of 3: Building the structure
- Method 2 of 3: Draw your mandala
- Method 3 of 3: Finish your mandala
- Tips
- Necessities
A mandala is round in shape, consists of several circles with repeating shapes and often has a spiritual meaning. The word mandala comes from Sanskrit and means "circle". For many people, drawing mandalas is a good method of centering and expressing oneself. To draw your own mandala, make a template of concentric circles, then experiment with adding organic shapes and geometric patterns.
To step
Method 1 of 3: Building the structure
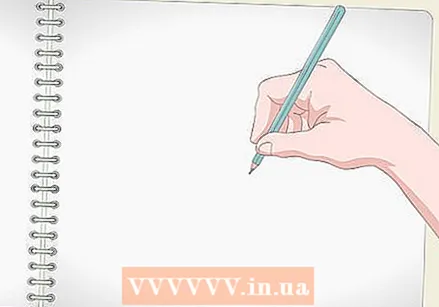 Pick a point in the center of the paper. If you want to color your mandala later with watercolor paint, use watercolor paper. Otherwise, you can use regular drawing paper or even printer paper. Pick a point roughly in the middle of the paper. You don't have to locate the exact center of the paper, but the closer to the center the better.
 - Mark the center point with a pencil so you can erase it later.
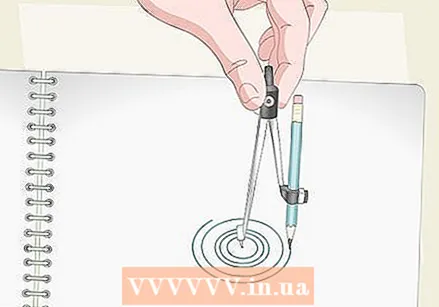 Use a compass to draw concentric circles around the center. If you don't have a compass, you can make one by tying a string around a pencil. Hold the end of the string in the center of the paper and drag the pencil around to draw a perfect circle. Draw bigger and bigger circles with longer lengths of string.
 - The circles do not have to be equidistant from each other. There may be more space between some circles. The circles are just a template to help you later.
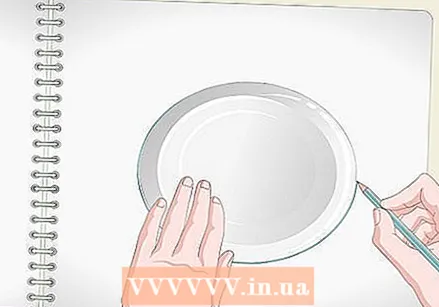 Trace round objects to draw circles, if you prefer. If you don't want to use a compass or string, just trace round objects. Start by placing a small round object like a jar right in the middle of the center. Outline the jar with a pencil and remove the jar from the paper. Then put a bowl on the paper and turn it over.
 - Continue until you have made enough circles to fill most of the paper, but stop before the circles grow large enough to touch the edges of the paper.
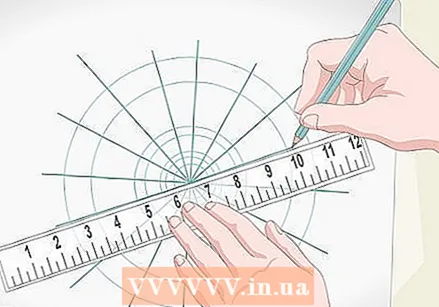 Draw axes through the circles with pencil. Using a ruler, draw lines that run exactly through the center. Draw two lines running north to south and east to west. Then you draw two diagonal lines equidistant from each other. This gives you eight symmetrical triangles that point outwards from the center. You will erase these lines later, but you can now use them as guides to draw the shapes symmetrically around the center of your mandala.
 - If you want to make your mandala look less structured and symmetrical, you can skip drawing guides.
Method 2 of 3: Draw your mandala
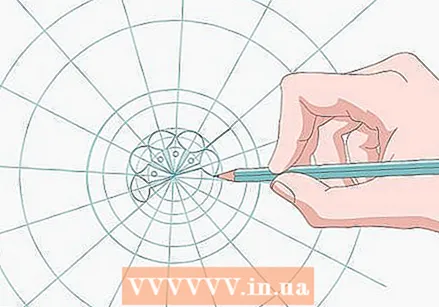 Draw a specific shape in the circle around the center. For example, you can fill the circle with petals, triangles or another shape. The shapes should touch the first concentric circle you drew around the center. This way you can be sure that all shapes are the same size.
 - If you dare, you can use a pen. You can also use a pencil and trace your drawing later with a pen.
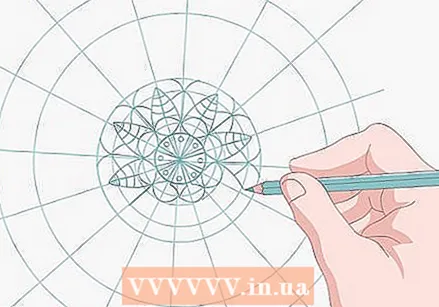 Fill the rest of the concentric rings with shapes. Experiment with different types of shapes. If you just drew petals, try triangles or ovals now. You can also leave a ring blank if you wish to separate the inner and outer parts of the mandala.
 - You can overlap the shapes if you want.
- The rings do not all have to be the same width. You can make some rings very narrow and detailed and others very wide.
 Let go and relax. While building the mandala from the center, try not to think too much or worry about what you are doing. Slowly let yourself sink into a calm, creative flow. Concentrate on your breathing and on the moment as you draw your mandala.
 - Drawing a mandala can work very well to center yourself, as long as you take it easy. You cannot make mistakes when drawing a mandala; there is only the unexpected.
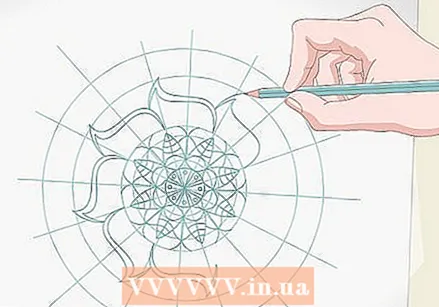
 Stop drawing shapes before you get to the edge of the paper. This will leave some empty space around the outer edge of your mandala. This looks calmer than when the drawing is cut off at the edge of the paper. Remember that just like the other rings, the outer ring of your mandala does not have to be a perfect circle.
 - For example, if the last ring consists of petals, then the outer edge of your mandala is scalloped.
Method 3 of 3: Finish your mandala
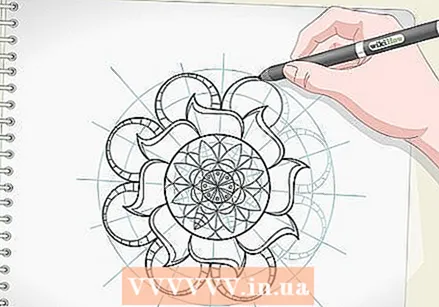 Trace your drawing with pen if you have drawn it with pencil. As you trace, experiment with making thinner and thicker lines. Varying the line width can make the mandala look more visually appealing and give it depth. You can use a different pen with thicker ink or just apply more pressure on the paper, depending on what kind of pens you are using.
 - You can skip this step if you have drawn your mandala directly with pen.
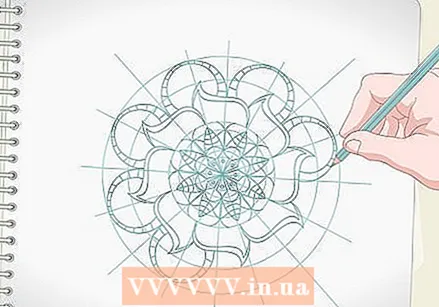
 Draw details in the shapes. You have now drawn all the shapes you need for your mandala, but you can refine your drawing by drawing more details in the shapes. For example, draw small circles or leaves, or draw diagonal lines in some of the shapes. To really make a whole of your mandala, add the shapes symmetrically.
 - Drops and diamonds are small shapes that are easy to draw and look sophisticated.
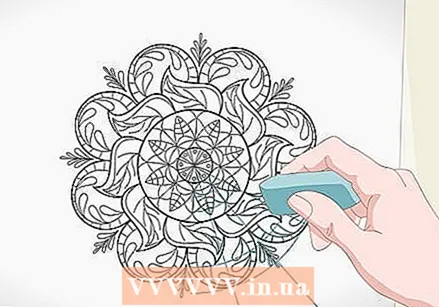 Erase the pencil lines when you have traced your mandala with a pen. Now that you have finished tracing your drawing with pen, it is time to erase the template of circles you drew in pencil at the beginning. Make sure the ink is dry before you start erasing so you don't smear the ink.
 - Gently wipe away the eraser so that it doesn't stick to the paper.
- You can copy or scan your mandala before coloring it so that you can color it much more often or give your copies to your friends for coloring.
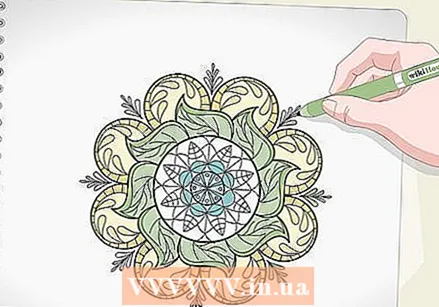 Color your mandala, if you want. You can just leave the mandala black and white, but it can also be fun to color it. You can fill different parts of your mandala with patterns or solid areas of color.
 - Use watercolor paint for a light, soft look. Keep in mind that watercolors can easily run on the lines if you are not used to using it.
- If you prefer, use crayons, crayons, or markers.
Tips
- The thinner the tip of your drawing tools, the more refined and detailed your mandala will be. With crayons you get a much less neat look than with fine-tipped markers.
- Draw lightly with a pencil so you can erase mistakes.
Necessities
- Empty paper
- Compass (optional)
- Round objects to pull (optional)
- Ruler
- Pencil
- Eraser
- Watercolor paint, water and paint brush (optional)
- Crayons or crayons (optional)


