Author:
Judy Howell
Date Of Creation:
28 July 2021
Update Date:
23 June 2024
Content
- To step
- Method 1 of 4: Cleaning your leather sofa
- Method 2 of 4: Remove stubborn stains
- Method 3 of 4: Repair holes and cracks
- Method 4 of 4: Refinish worn leather
- Tips
- Warnings
- Necessities
- Cleaning your leather sofa
- Remove stubborn stains
- Repair holes and cracks
- Refinish worn leather
A leather sofa is a very durable and fashionable addition to almost any home. However, the leather of the sofa can eventually become dirty, damaged and wear so badly that it discolors. Wipe down the sofa with a simple cleaning mixture, try some home remedies to remove stains, plug holes and color the leather to fully restore your leather sofa.
To step
Method 1 of 4: Cleaning your leather sofa
 Vacuum the sofa to remove all dust and dirt particles. Attach an attachment to your vacuum cleaner with a brush and switch on your vacuum cleaner. Run the vacuum cleaner over the entire surface of the sofa. Make sure to also cover all cracks and gaps around cushions and armrests to make sure the sofa is free of dust and dirt particles.
 - If you don't have an attachment with a brush for your vacuum cleaner, you can also use your vacuum cleaner to clean your couch. However, be careful not to apply too much pressure so that the leather is not damaged more and does not get dirty.
 Make a cleaning mixture with water and white vinegar. There are a variety of leather cleaners for sale in stores, but one of the easiest and most effective ways to clean leather is diluted white vinegar. Pour equal amounts of white vinegar and water into a bowl and stir to combine.
 - Apple cider vinegar and other vinegars that don't smell particularly strong also work.
- If you bought a special leather repair kit for the rest of the restoration process, it may also contain a leather cleaner. Such a remedy works just as well or even better than your homemade mixture.
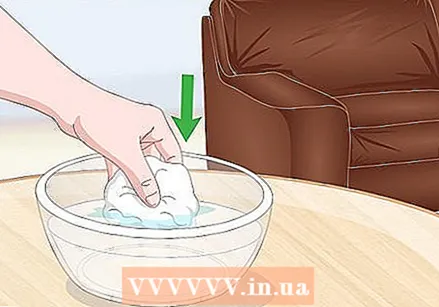 Dampen a microfiber cloth with the cleaning mixture. A clean, dry microfiber cloth is soft enough not to scratch the leather. Dip the microfiber cloth in the cleaning mixture, squeeze the excess moisture from the cloth and let it flow back into the bowl.
 - The cloth should absorb a small amount of cleaning solution, but should not be soaking wet.
- Microfibre cloths are very suitable for cleaning all kinds of things and are therefore handy to have around the house. You can buy them on the internet and at household goods stores.
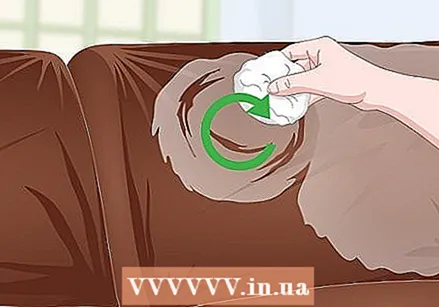 Wipe the sofa with small circular movements. Start in one of the top corners of your sofa and cover the entire surface. Make small circular movements and treat a different part of the sofa each time. Dip the microfiber cloth in the cleaning mixture when it gets dry or dirty.
 - Cleaning the leather with small circular movements allows the cleaning mixture to penetrate into the fibers of the leather, removing more dirt without damaging the leather.
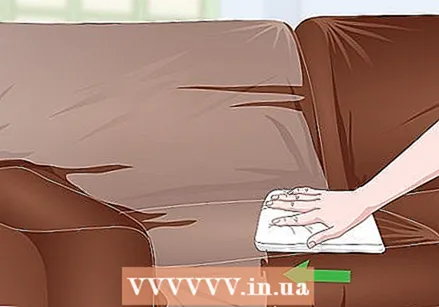 Dry the sofa with a clean cloth. Once you have cleaned the surface of the sofa, use a clean and dry towel to blot up any visible and excess moisture. Wipe the sofa completely to dry it off and prevent the moisture from entering the leather.
 - Do not let the sofa air dry, as this will leave streaks and stains on your sofa. Dry the sofa immediately with a cloth when you have finished cleaning.
Method 2 of 4: Remove stubborn stains
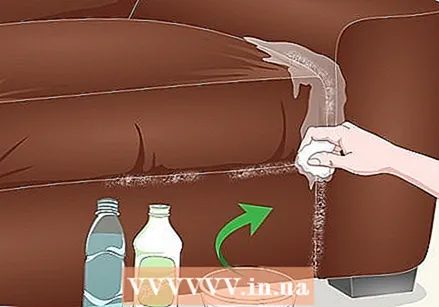 Remove mold with diluted rubbing alcohol. Mold can grow in the leather if it is left damp for too long. If you see mold in your sofa, mix equal amounts of water and rubbing alcohol in a bowl. Use a microfiber cloth to clean the area with the diluted rubbing alcohol and make small circular movements.
 - The rubbing alcohol will help kill and remove the fungus from your sofa.
- If it dries or gets dirty, dip the cloth back in the diluted rubbing alcohol.
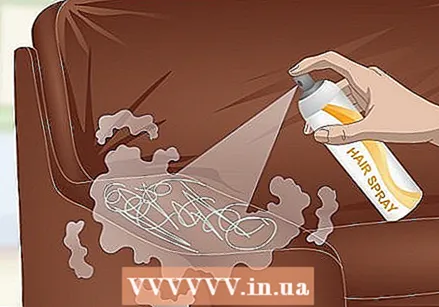 Remove pen marks with hairspray or eucalyptus oil. If you write a lot and do other work on your couch, it is almost inevitable that you will drop a pen and ink will get into your couch. Dip a cotton swab in eucalyptus oil and rub it on the ink stain caused by a ballpoint pen to remove it. If you have permanent marker ink in your sofa, spray it with hairspray and wipe away the residue.
 - If you don't have eucalyptus oil at home, you can also try rubbing alcohol to remove ink stains.
- Test the drug of your choice on a small part of your sofa in advance.
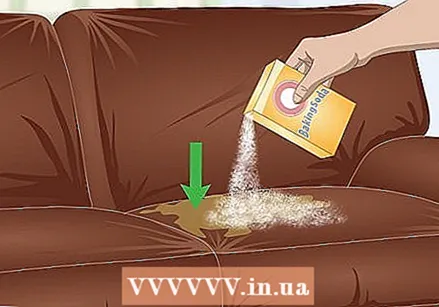 Use baking soda to remove grease stains. Grease stains can ruin the look and feel of your leather sofa. Cover the greasy area with a thin layer of baking soda. Let the baking soda sit for three to four, then wipe it off with a clean cloth.
 - The baking soda will help absorb the fat so you can wipe it off more easily.
- If you still see some grease in your sofa after cleaning with baking soda, try wiping it off with a clean, dry cloth. If that doesn't work, use more baking soda and let it sit longer before wiping the area.
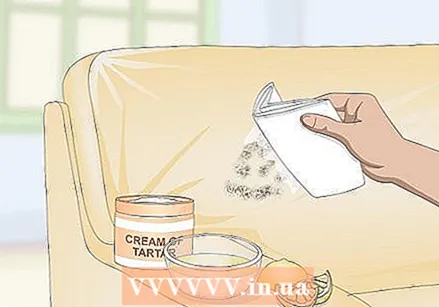 Try lemon juice and tartar to remove dark stains from light leather. If your leather sofa is white or beige in color, dark spots will be more visible. Mix equal amounts of lemon juice and tartar in a bowl and stir until you get a paste.Spread the paste on the stain and let it sit for ten minutes before wiping everything away with a damp cloth.
 - The lemon juice and tartar will help remove the stain from the leather and return the leather to its lighter color. However, you should not use this mixture on darker leather, because it affects the color of the leather.
Method 3 of 4: Repair holes and cracks
 Repair cracks smaller than three inches with superglue. If you see a small crack in the leather of your sofa, you may be able to fix it easily with a little superglue. Push the edges of the crack together with your fingers and apply a thin line of superglue. Hold the leather until the glue has dried and the edges of the tear stick together.
 - If you want to hide the crack even further, apply a small amount of leather filler when the superglue is dry. Rub the product into the leather with a paper towel or sponge until the tear is no longer visible.
- You can also sand the area around the crack with fine sandpaper. Use 220-230 grit sandpaper to sand the area while the glue dries. This creates leather material that mixes with the glue and hides the crack. You may have to finish the worn leather again after this.
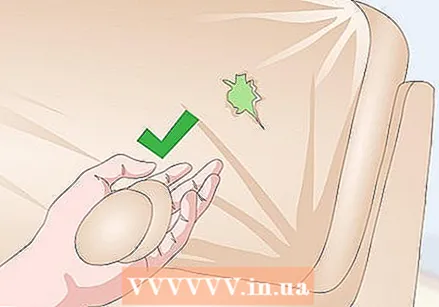 Start with a round piece of material for larger holes and tears. You put this piece of leather, suede or other material behind the tear to keep the leather together. Make sure the piece of material is five millimeters larger on each side so that you can glue it to the inside of the sofa. Cut the corners of the material round with scissors.
 - Rounding the corners of the material makes it easier to apply it in the right place without puckering the fabric.
- If you don't have material to put behind the hole or crack, buy a leather repair kit online or at a specialist leather store. Such a set contains everything you need to repair a hole or crack in your leather sofa, including some pieces of material for behind the hole or crack.
 Use tweezers to slide the round piece of material behind the hole or crack. Center the material directly over the hole or crack. Using tweezers, push one side of the material into the opening so that it ends up behind the leather. Follow the edges of the material with the tweezers until the piece of material is neatly behind the hole or crack.
 - When the piece of material is in the right place, run your hands over the area to feel for bumps and grooves that are not visible. Use the tweezers to flatten the material in the sofa and remove the bumps before continuing.
- If you have a tear in a sofa cushion, see if you can pull the cushion off and if there is a zipper that can access the interior of the cushion. If you can remove the cushion cover from around the cushion and turn the cover inside out, it will be a lot easier to apply and smooth the piece of material.
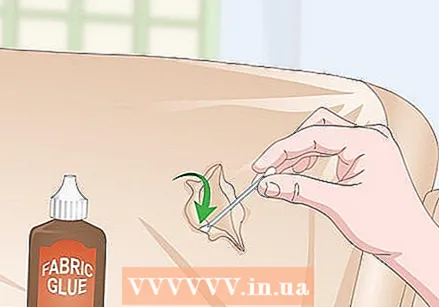 Glue the piece of material to the leather and wipe off the excess glue. Apply a small dollop of leather or fabric glue to the end of a toothpick or cotton swab. Spread the glue between the piece of material and the inside of the leather, skipping the flaps around the tear or hole. Cover the piece of material completely with glue and get more glue if necessary.
 - Use a paper towel to wipe the excess glue off the leather.
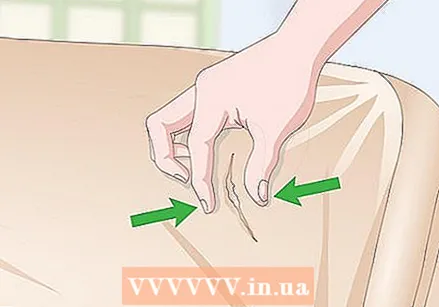 Seal the crack or hole and put something heavy on it while the glue dries. Using your fingers, gently push the two edges of the crack or hole back together. When the spot appears as smooth and neat as possible, place a flat piece of wood or a heavy book on the spot. This will apply pressure to the area, the leather will lie flat, and the edges of the hole or crack will be held together while the glue dries.
 - If the crack or hole is uneven, there may be loose threads or distorted edges that you need to push together more closely. Take the time to push everything neatly into place. Push the edges together or overlap the loose threads to hide the tear as best as possible.
- Read the directions on the leather adhesive packaging for more information about drying time. Most glues dry within five to ten minutes.
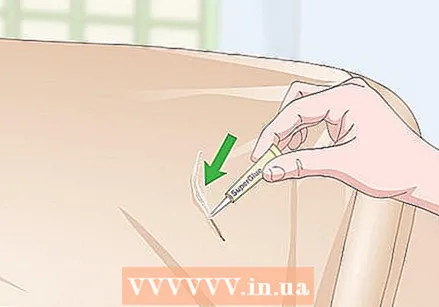 Spread a little super glue on the repaired area. Once the crack or hole has been repaired with leather glue, you can use super glue to improve the appearance of the leather and ensure a strong repair. Apply a thin line of superglue to the crack in your sofa and use a toothpick to push the glue into the crack. Immediately dab the glue with a paper towel to remove the excess glue and add texture.
 - If you're happy with the way your sofa looks after you've got it repaired, you don't need to do anything to hide the area.
- You will have to work very quickly if you use super glue. Otherwise, it may dry and your toothpick or paper towel fibers stick to the couch.
- You can usually remove super glue with acetone, which is found in many types of nail polish remover.
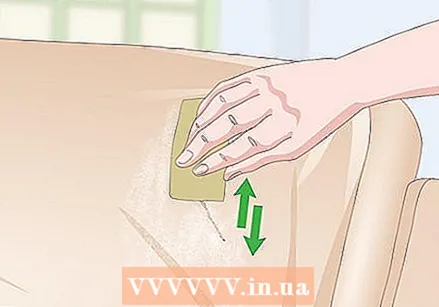 Sand with a piece of fine sandpaper in the direction of the crack. While the superglue is still slightly wet, sand the area where the crack is. Use a 220-230 grit piece of fine sandpaper to roughen the area and create dust to help fill the gap in your sofa.
 - The area around the crack will wear a little bit as a result. You can easily fix this by refinishing the worn leather with a leather filler and repair compound, leather dye and a little leather care product.
- If you are not satisfied with the appearance of the area after applying superglue, you can repeat the process to finish the area even more neatly. Let the glue dry for a few minutes before applying another coat and sanding the leather again.
Method 4 of 4: Refinish worn leather
 Lay out newspaper to avoid mess. Means to repair and dye your sofa work wonders for the look of the leather, but they can easily stain your carpeting and other nearby fabrics. Place a sheet under the sofa or cover the area around the sofa with old newspaper.
 - It can also help to wear disposable gloves and old clothing when working with leather dye, so it doesn't matter if you get some on your hands or clothes.
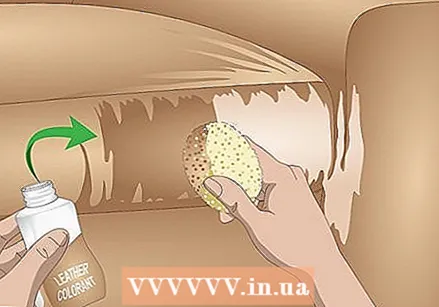
 Apply leather filler and repair compound to the worn area. A leather filler and repair compound penetrates the leather and holds it together. Apply a small amount of leather filler and repair compound to a clean sponge. Start in one corner of the sofa and slowly cover the entire surface with the agent.
 - Residues of the waist can build up in the seams and edges of your sofa. While applying, wipe off any excess with a clean paper towel.
- You can buy fillers and repair products for leather online and at specialist leather shops.
 Let the filler and repair compound dry and apply a second coat. Let it air dry for half an hour up to a duration. When it is dry, use the same sponge to apply another layer of the product. Repeat this process three to five times, or until you are happy with how the sofa looks.
 - How many layers you have to apply depends on how worn the leather on your sofa is. If there are some small cracks in the surface, one or two coats should be enough. If the leather is more damaged, you may need to apply four or five coats.
- You may be able to make some products dry faster with a heat gun or a hair dryer. Set the appliance to the lowest possible setting to avoid damaging the leather.
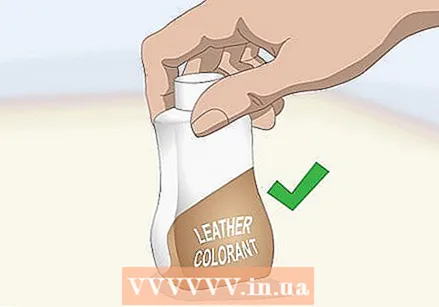 Buy leather dye in the color of your sofa. If you apply the wrong color of leather dye, your sofa will look smudged and not quite right. Search the internet for leather dye in a color that is as close to the color of your sofa as possible. You can also take a piece of leather from your couch to a leather specialist to have leather dye mixed in exactly the right shade.
 - It may be easier to search the internet for the perfect shade of leather dye because you can easily compare the color of your sofa at home.
- It may be helpful to take a picture of your sofa to help you find the right color paint, but this may not find the exact right color of leather paint.
- If you apply more layers of leather dye, the sofa will darken. Therefore, it is better to buy leather dye that is a little too light than leather dye that is too dark.
 Spread a thin coat of leather dye on the sofa. Apply a small amount of leather dye to a clean sponge or foam applicator. Start in one corner of the sofa and treat the entire surface from there, applying the leather paint evenly. Focus on seams and folds that may be difficult to reach so that your entire sofa is the same color.
 - Do not touch the areas where you applied leather dye. You can then smear the leather dye and leave clearly visible stains.
- If you only need to color a small area, treat only that area. If the leather dye is the same color as your sofa, you should be able to apply it in such a way that the patch will not be visible.
 Let the surface dry before applying more coats. When you have applied the first layer of leather dye, let it dry for half an hour to an hour. Use the same method you did when applying the first coat to apply several coats until you are happy with how your sofa looks.
 - You can also use a sprayer or airbrush to apply another coat of leather paint. Apply very thin coats of paint to give the leather an even color and allow the sofa to dry after applying each coat.
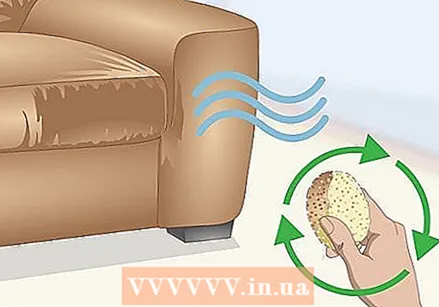
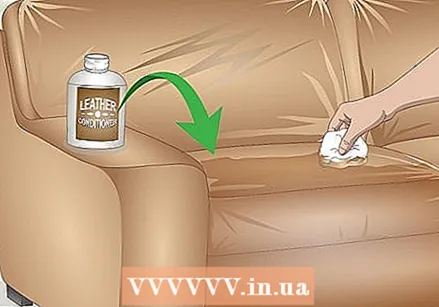 Use a leather care product to keep the sofa soft and shiny. When you have dyed the leather with leather dye and let it dry long enough, apply a thin layer of leather care product to the sofa with a clean sponge. Start in a corner and make small circular movements to polish the sofa with the care product. Wait two to three hours for the product to dry completely.
 - You should be able to buy a leather care product on the internet and at specialist leather shops. Perhaps it is also in repair kits for leather.
Tips
- Vacuum your leather sofa every one to two weeks to keep it clean and in good condition.
- Apply a protective leather cream every three to four months to keep the leather in good condition.
Warnings
- Some fillers, dyes and leather care products can give off strong fumes. Make sure you work in a well-ventilated area.
Necessities
Cleaning your leather sofa
- Vacuum cleaner
- Small bowl
- Mixing spoon
- Water
- Vinegar
- Microfiber cloth
- Cloth
Remove stubborn stains
- Small bowl
- Mixing spoon
- Water
- Rubbing alcohol
- Microfiber cloth
- Hairspray
- Eucalyptus Oil
- Baking soda
- Lemon juice
- Tartar
Repair holes and cracks
- Piece of leather or vinyl for behind the tear
- Scissors
- Tweezers
- Flexible glue as leather glue
- Block of wood or heavy book
- Hair dryer (optional)
- Superglue
- Sandpaper
Refinish worn leather
- Newsprint
- Filling and repair compound for leather
- Sponges
- Leather paint
- Paint sprayer or airbrush (optional)
- Care product for leather
- Microfiber cloth


