Author:
Charles Brown
Date Of Creation:
1 February 2021
Update Date:
3 July 2024
Content
- To step
- Part 1 of 3: Preparing and collecting your materials
- Part 2 of 3: Making your design
- Tips
- Warnings
- Necessities
A thread work of art is created by wrapping colored thread or embroidery thread around pins in a specific pattern. It is easy and cheap to do and suitable for hobbyists of all ages. You can bring geometric patterns to life using a mathematically plotted pattern or haphazardly decorate your name or a simple image with pieces of thread that you weave as you like. Whichever method you are going to use, the outcome of this DIY project is sure to be intriguing and aesthetically pleasing.
To step
Part 1 of 3: Preparing and collecting your materials
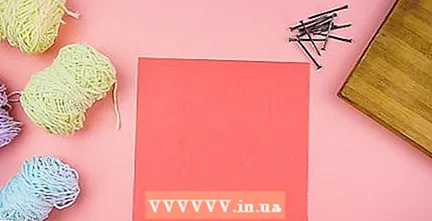 Choose the materials you want to work with. In art with wire you basically need three things: wire, nails and a surface. Here are details on all three of these:
 - Wire. The kind you use depends on the look you want to create. Embroidery floss works well on delicate pieces. Yarn and thicker twine work great for the pieces that need to impress.
- Nails. Pins are very nice to use, because they have a small cup that the paper slides off easily (if you use paper). You can also use small nails from the hardware store. Colored pins can give a nice effect, especially when you use different colors for contrast.
- A surface. Canvas or wood are the basic options. Please note that when using canvas, the nails will likely wobble a bit, making it more difficult to work with. You can use a simple wooden board or wood covered with felt or fabric.
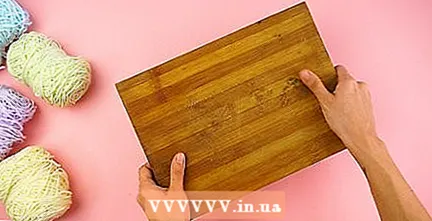 Prepare your substrate, if necessary. If you're using a piece of wood (or cork tile), you may want to cover the surface with fabric or felt. Secure this on all sides with a glue gun if you have it on hand or else glue spray, double-sided tape or hobby glue.
 - Whatever you use (canvas, wood, or something else), you may need to pre-paint the background. A bold red or orange pop of color can turn a simple piece of thread art into something that really makes an artistic statement.
- You can also leave the surface bare. Sometimes something simple is striking.
Part 2 of 3: Making your design
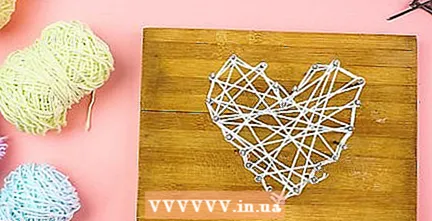 Ready.
Tips
- Hang the artwork in a picture frame to avoid pulling the nails and embroidery floss loose.
- This hobby project is an excellent resource to support math and geometry lessons in school.
- By placing your nails in different patterns, you always get a different weave pattern.
- Basic shapes are easier than words or pictures.
- Teachers can create a variation of this wire art with their students. Instead of using nails and hammers, he or she can have this project done with heavy, black card stock, embroidery floss, and embroidery needles. The students sew the yarn through the paper according to the pattern they drew.
Warnings
- Do not remove the nails or pins from the substrate when removing the pattern. Lift the paper straight up so that the head of the nail or pin goes through the paper.
Necessities
- Wooden block or plate, canvas or cork floor tile
- Fabric or felt (optional)
- Glue, double-sided tape, or any method of attaching surfaces together
- Printed pattern or stencil
- 16 mm nails or pins
- Hammer
- Needle nose pliers (recommended)
- Embroidery thread or thread, color as desired
- Transparent nail polish or glue


