Author:
Eugene Taylor
Date Of Creation:
7 August 2021
Update Date:
1 July 2024

Content
- To step
- Method 1 of 2: Using an Excel template
- Method 2 of 2: Importing an Excel list into Outlook Calendar
Although it is not known as a calendar program, you can use Excel to create and manage a calendar. There are several calendar templates available that you can customize to your liking, which will be a lot faster than trying to make a calendar from scratch. You can also take a list of calendar data from a spreadsheet and import it into your Outlook calendar.
To step
Method 1 of 2: Using an Excel template
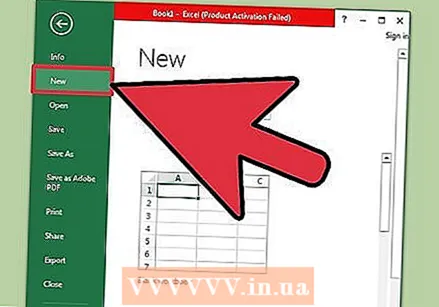 Start a new Excel document. When you click the "File" tab or the Office button and then click "New", you will be presented with a number of different templates to choose from.
 - In some versions of Excel, such as Excel 2011 for the Mac, select "New from Template" from the File menu, instead of "New".
- With a calendar from a template you can create an empty calendar that you can fill with events. None of your data will be converted to a calendar format. If you want to convert a list of Excel data to an Outlook calendar, see the next chapter.
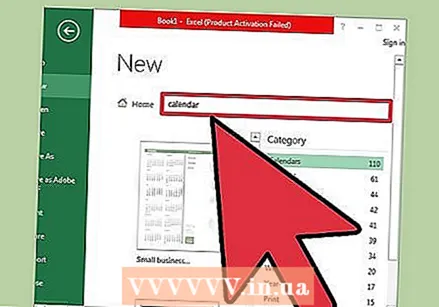 Look for calendar templates. Depending on the version of Office you are using, there may be a group of "Calendars", or you may just enter the word "calendar" in the search field. Some versions of Excel have a few calendar templates on the main page. If that is enough for you, you can use it, or you can look for all the different calendar templates available online.
 - Depending on what you are looking for you can get more specific. For example, if you want a calendar for your studies, you can search for "school calendar".
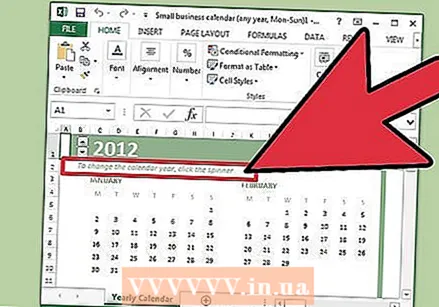 Set the template to the correct data. Once a template is loaded, you will see a new, empty calendar. The dates will probably not be correct, but you can usually fix this using the menu that appears when you select a date.
 - The procedure will depend on the template you are using. Usually you can choose the year or month displayed and then click the ▼ button that appears next to it. This will present you with a number of options to choose from, and the calendar will be automatically updated.
- You can usually also set the first day of the week by selecting it and choosing a new one.
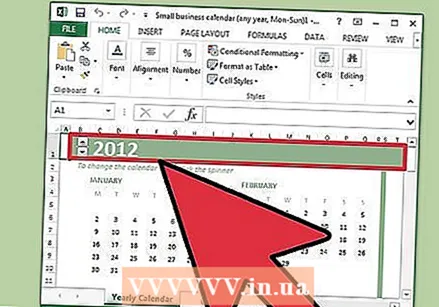 Check out other tips. Many templates have a text field with tips that tell you more about how to change the dates or change other settings of the calendar template. You will have to delete these tips if you do not want them to appear on your printed calendar.
 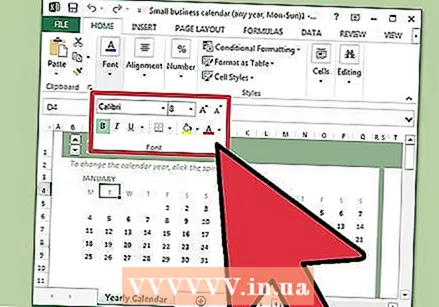 Adjust any images you want to change. You can change the look of any of the elements by selecting one, then make changes from the Home tab. You can change the font, color, size and much more, just like you can with any object in Excel.
 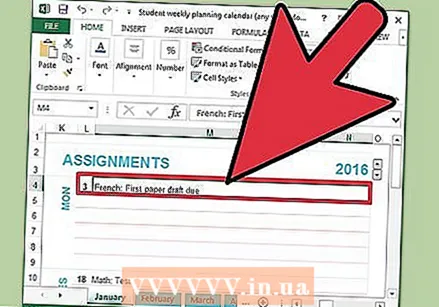 Enter the events. After setting the calendar correctly, you can start entering events and information. Select the cell where you want to enter an event and start typing. If you need to enter more than one thing in a single day, you may need to get a little creative with your space layout.
Method 2 of 2: Importing an Excel list into Outlook Calendar
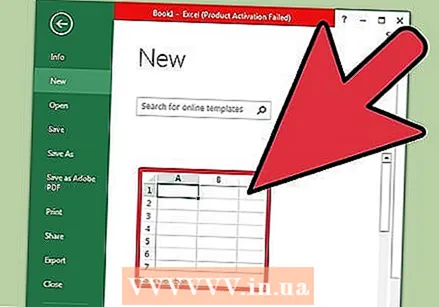 Create a new blank spreadsheet in Excel. You can import data from Excel into your Outlook calendar. This can make importing things like work schedules much easier.
 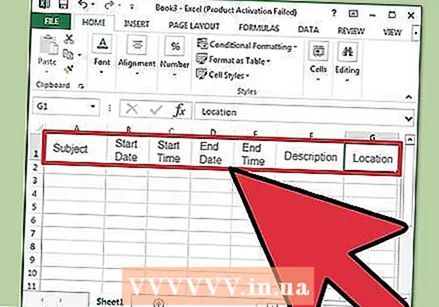 Add the appropriate headings to your spreadsheet. It will be a lot easier to import your list into Outlook if your spreadsheet is formatted with the correct headings. Add the following headings to the first row:
 - Topic
- Starting date
- Start time
- End date
- End time
- Description
- Location
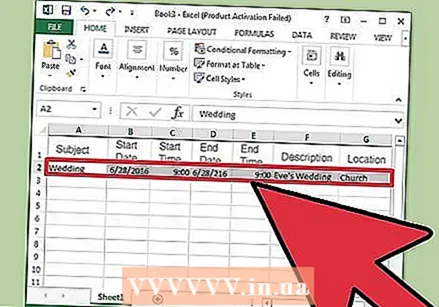 Place each calendar entry in a new row. The "Subject" field is the name of the event as it appears in your calendar. You don't have to enter anything for each field, but you will need at least a "Start date" as well as a "Subject".
 - Make sure to enter the date in MM / DD / YY or DD / MM / YY format so that it can be properly read by Outlook.
- You can create a multi-day event using the "Start date" and "End date" fields.
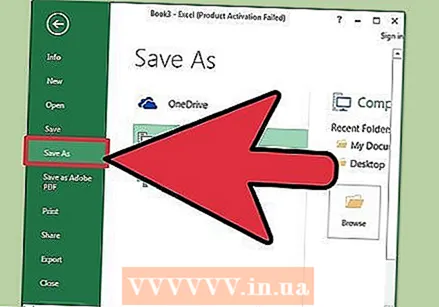 Open the "Save As" menu. When you are done adding events to the list, you can save a copy of them in a format that can be read by Outlook.
 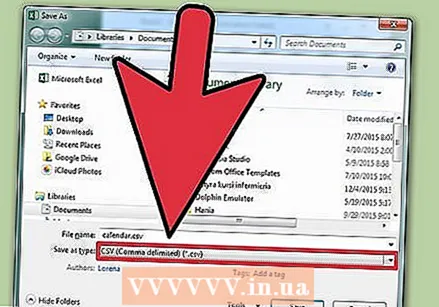 Select "CSV (Comma Separated)" from the file types. This is a common format that can be imported into various programs, including Outlook.
 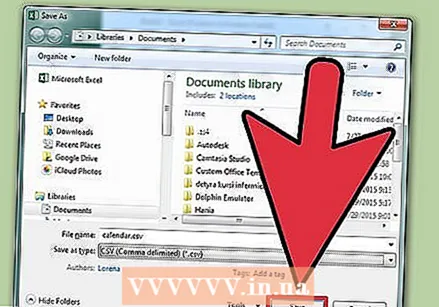 Save the file. Give the list a name and save it in the CSV format. Click "Yes" when Excel asks if you want to continue.
 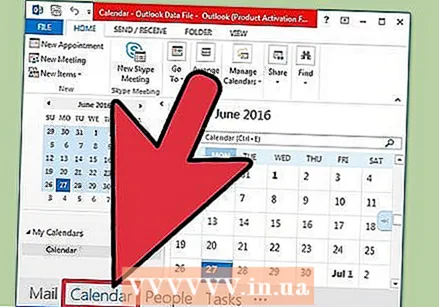 Open your Outlook calendar. Outlook is part of Office, and it will usually be installed when you have Excel installed. When Outlook is open, click the "Calendar" button at the bottom left of the screen to view your calendar.
 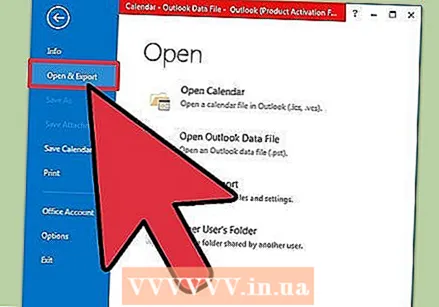 Click the "File" tab and select "Open & Export ". Several options are displayed for dealing with Outlook data.
 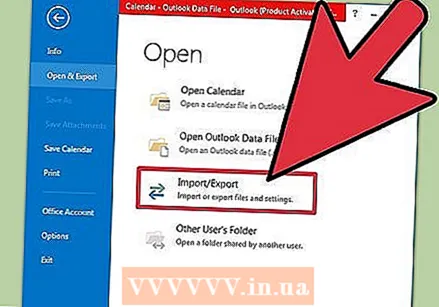 Select "Import / Export ". This will open a new window for importing and exporting data in and out of Outlook.
 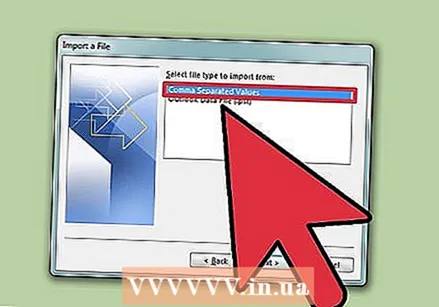 Select "Import data from another program or file" and then "Comma Separated Values ". You will be asked to select a file to load.
 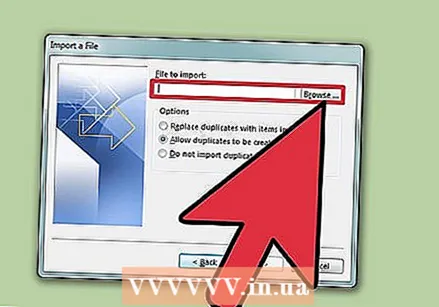 Click on "Browse" and locate the CSV file you created in Excel. Usually this is in the Documents folder, if you have not changed the default location in Excel.
 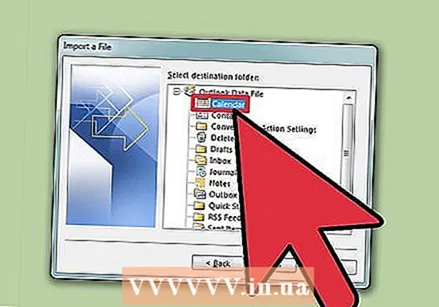 Make sure "Calendar" is selected as the destination folder. You must select this because you are in Calendar view in Outlook.
  Click "Finish" to import the file. Your list is processed and the events added to your Outlook calendar. You will see your events in the correct locations, with times set as indicated earlier in your Excel file. If you have included the descriptions, you will see them after selecting an event.


