Author:
John Pratt
Date Of Creation:
12 April 2021
Update Date:
1 July 2024

Content
- To step
- Method 1 of 3: Find out what you need for the party
- Method 2 of 3: Buy supplies
- Method 3 of 3: Assemble the arch
- Tips
To give your next summer or beach party a unique touch, you can make an arch of beach balls for your guests to walk under. It may seem difficult to make such a bow, but it is very simple and does not have to cost much.
To step
Method 1 of 3: Find out what you need for the party
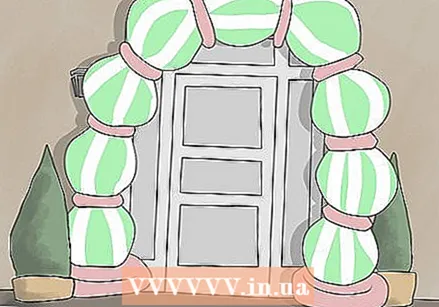 Determine where you will place the arch. By finding a suitable spot you can determine how big you should make the arch and how many beach balls you need.
  Decide whether to make an arch to walk under or to decorate the party. You can create an arch as a background for photos, which means you don't have to think about the height of your guests.
 - Measure the place where you want to place the arch. Think about both the height and the width so you can determine how many beach balls and inner tubes you will need to make your bow.

- Measure the place where you want to place the arch. Think about both the height and the width so you can determine how many beach balls and inner tubes you will need to make your bow.
 Think about how you are going to support the arch. This arch should be able to stand on its own, but it's a good idea to find a place to attach the arch to for support. This is especially smart if you keep your party outside and the arch can be blown over by the wind.
Method 2 of 3: Buy supplies
 Buy beach balls and inner tubes. The beach balls form the structure of the arch and the inner tubes ensure that the arch remains sturdy and supported.
 - Buy a pump to inflate all the balls and tires. This way you will assemble the bow much faster and not get lightheaded.

- Consider buying balls and tires in different sizes. It's a good idea to use larger beach balls and inner tubes at the bottom of the arch and use smaller and smaller balls and tires towards the top.

- Use small inner tubes to tie the beach balls together. Use a large inner tube to keep the bow steady, then add a beach ball and then a small inner tube.
- Buy a pump to inflate all the balls and tires. This way you will assemble the bow much faster and not get lightheaded.
 Buy latex-based glue. The arch will probably stand on its own, but it is better to use glue or other adhesive material so that the arch does not fall over if someone bumps it.
  Add decorations and items. If you want to spice things up, you can buy sand to scatter around the arch or make a "red carpet" of beach towels that extends under the arch.
Method 3 of 3: Assemble the arch
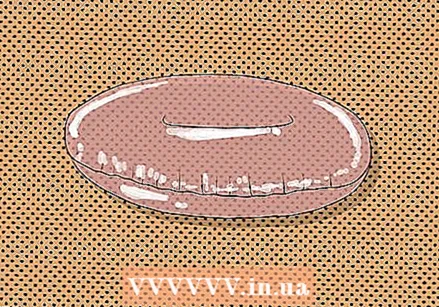
 Blow up all beach balls and inner tubes. Use an electric inflation pump or a battery-powered pump so that you don't get lightheaded from having to inflate so many balls and tires.
 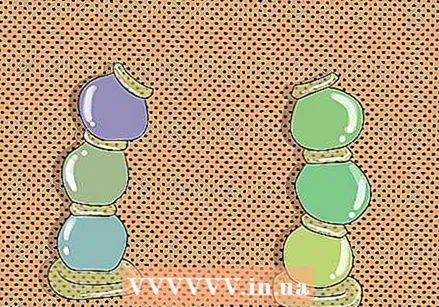 Stack the inner tubes and beach balls on top of each other without using glue. Assemble the arch first to see if you like it before gluing it all together.
 - You may need to enlist the help of a friend to hold the bow at the top so it doesn't fall apart. Use small inner tubes to keep the beach balls in place.
- You may need to enlist the help of a friend to hold the bow at the top so it doesn't fall apart. Use small inner tubes to keep the beach balls in place.
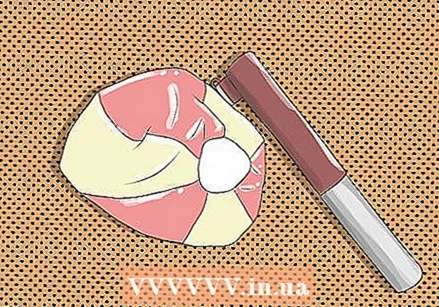
 Apply glue to the beach balls and inner tubes. You may need to hold the middle part of the bow until the glue dries and sets. Apply glue as you assemble the arch so that the arch curves in all the right places (instead of assembling the arch on the ground and then pulling up).
Tips
- Provide lighting around the arch so that the arch is clearly distinguishable from the rest of the party.
- Create a temporary bow without glue and give the beach balls and inner tubes away as gifts.
- Try to glue starfish on the balls and use blue beach balls for an underwater party.
- Add fun decorations to the arch such as sea creatures and sunglasses. Use glue to attach the items to the beach balls.
- To easily tidy up the arch, make sure that the valves are placed in a place where you can easily reach them when gluing. That way you can easily deflate and re-inflate the arch.


