Author:
Roger Morrison
Date Of Creation:
8 September 2021
Update Date:
1 July 2024

Content
- To step
- Method 1 of 3: Making a simple electromagnet
- Method 2 of 3: Add a switch
- Method 3 of 3: Make the magnet more powerful
- Tips
- Warnings
- Necessities
Magnetic fields are produced when all electrons in a metal object rotate in the same direction, either as an ordinary natural phenomenon, in an artificially created magnet, or when they are forced to behave in such a way by an electromagnetic field. This article will explain step by step how to produce an electromagnetic field around an iron bar using an electromagnet. For this you don't need more than a number of simple things that you have at home or can buy at a hardware store.
To step
Method 1 of 3: Making a simple electromagnet
 Collect everything you need. To make an electromagnet, an electric current has to flow through a piece of metal, creating a magnetic field. To make a simple electromagnet you need a power source, a conductor and metal. Look around your house or look at a hardware store and look for the following parts:
 - A big iron nail
- 1 meter of thin copper wire (insulated)
- A flashlight battery (D cell)
- Small magnetic objects, such as paper clips or needles
- A wire stripper
- Adhesive tape or electrical tape
- A small bowl made of plastic or wood
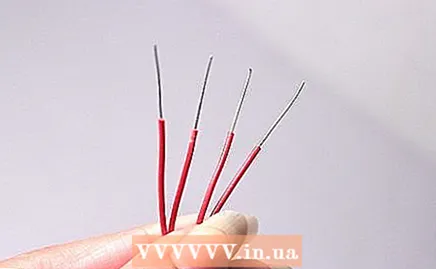
 Strip the insulation from both ends of the copper wire. To ensure that the wire can conduct electricity properly, you will have to remove the insulation from both ends. Use the wire strippers to cut a few inches away from both ends of the wire. You wrap these ends around the two contact points of a battery.
 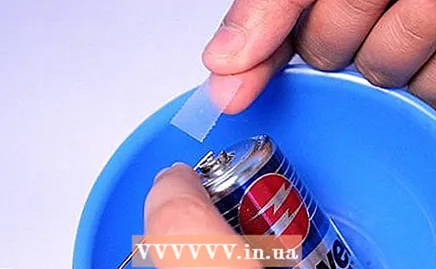 Place all parts in a plastic or wood bowl. It is a good idea to enclose all the energy you are working with in a non-conductive bowl.
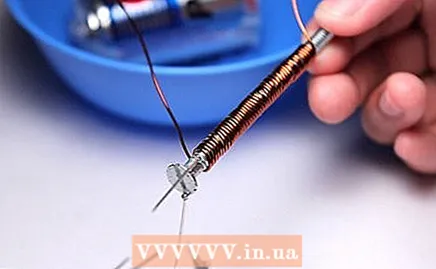
  Wrap the nail with copper wire. Grab the wire about 20 cm from one end. Start at the top of the nail and wrap it around the metal. Make another winding next to the first one; Both windings are intended to touch, but not overlap. Continue to wrap the nail until it is completely wrapped with copper wire.
 - It is essential to wrap the nail with the wire in the same direction so that the electricity can flow in one direction. If you wind the wire in different directions, the electricity will flow in different directions and there will be no magnetic field.
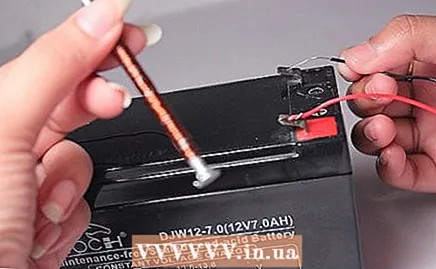
 Connect the ends to the battery contacts. Wrap one end of the wire around the positive and the other end around the negative terminal. Place a piece of masking tape over the contacts to hold the wire in place.
 - The side of the battery that you attach to the wire determines the polarity of the magnetic field you generate. Flipping the wire will also flip the poles. In any case, the nail will now become magnetic.
- When you attach the second end to the battery, the coil will immediately start conducting electricity. The nail will get hot, so be careful not to burn yourself.
 Test the magnet. Once the wire is attached to the battery, the nail will become magnetic. Test this on a paper clip or some other small piece of metal. If the nail is able to pull the paper clip towards itself, the magnet will work.
 - When you are done using the magnet, disconnect the wire from the magnet.
Method 2 of 3: Add a switch
 Cut a piece of copper wire in half. Instead of one, you now need two pieces of wire: one should be about 6 inches (15 cm) long and the other about 2 yards (2 meters). Strip the ends of both wires to about 2 cm.
 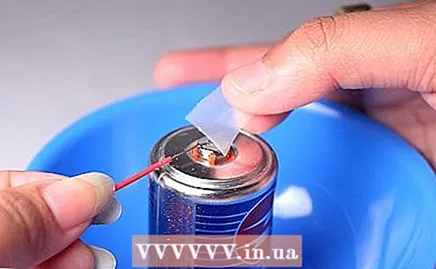 Place all parts in a plastic or wood bowl. It is a good idea to enclose all the energy you are working with in a non-conductive bowl.
  Wrap the nail with copper wire. Grab the wire about 20 cm from one end. Start at the top of the nail and wrap it tightly around the metal from top to bottom. Do not overlap the wire. Continue to wrap the nail until it is completely wrapped with copper wire.
 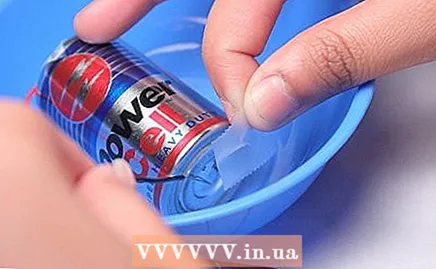 Connect the wire to the battery contacts. Wrap one end of the longer wire around the positive terminal and one end of the shorter wire around the negative terminal. Place a piece of masking tape over the contacts to hold the wire in place.
 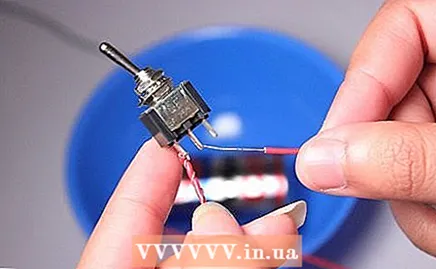 Tighten the switch. You can buy various switches at an electronics store, but you can also make your own. In the latter case, follow the following instructions:
 - Take a small piece of wood, two thumbtacks and a paper clip.
- Wrap the end of the copper wire (which is wrapped around the nail) around the metal part of one of the thumbtacks and push it into the block of wood.
- Wrap the end of the short wire (which is attached to the battery) around the other pushpin. Push it about 1 cm away from the other pushpin, into the wood.
 Use the switch. To let the current flow, close the switch. If you use the homemade switch, slide the paperclip against the first pushpin. This closes the circuit (the circuit) and allows the current to flow. To switch off the magnet, slide the paper clip back.
Method 3 of 3: Make the magnet more powerful
 Use multiple batteries. A power pack consists of several batteries and creates a stronger current than a single battery. You can get these at the electronics store.
 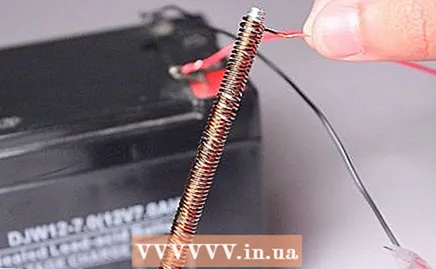 Use a larger piece of metal. Instead of a nail, try a larger metal bar. Use this with a power pack to make an even stronger magnet.
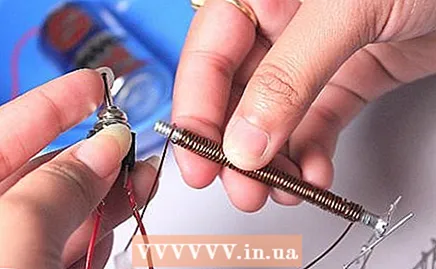
 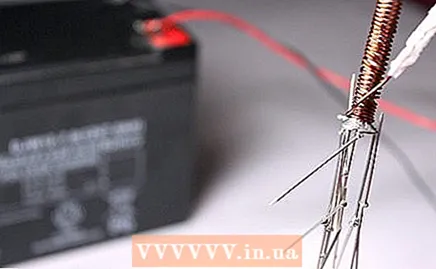 Use more turns around the rod. The more turns there are in the coil, the stronger the electric current. Adding one more turn is like adding an extra magnet. Use more copper wire and wind as many turns around the coil as you can to make a very strong magnet.
Tips
- Remember that more wire means more power.
- If the magnet does not work, see if there is a break in the circuit. This project can only work if the current can flow through the circuit without interrupting.
Warnings
- This requires an electrical circuit with one low voltage. Use never high voltages where a lot of current flows through the circuit, because you run the risk of being electrocuted.
- Always use a resistor. Without resistance, the battery will become too hot. Orphan extreme careful!
- NEVER try to connect the cord to an electrical outlet. This will cause a high voltage to flow through the circuit and also a high current, creating a life-threatening situation for anyone who touches it.
- Do not leave the wires connected to the battery for too long as this will drain the battery.
Necessities
- A flashlight battery
- A screw or a nail
- Copper wire
- Wire stripping pliers
- Insulating tape or adhesive tape
- Mechanical switch


