Author:
Marcus Baldwin
Date Of Creation:
13 June 2021
Update Date:
23 June 2024

Content
- To step
- Method 1 of 3: Choosing the right drive
- Method 2 of 3: Installing an internal drive
- Method 3 of 3: Installing the drivers and software
There are several options if you would like to place a new DVD drive in your computer. However, the terminology can sometimes be quite confusing. With the advent of Blu-Ray, the possibilities have only grown. Fortunately, the installation itself is a breeze and only takes a few minutes.
To step
Method 1 of 3: Choosing the right drive
 Recognize the different formats. There are some rather confusing designations for the DVD drives, including DVD, DVD + R, DVD-R, DVD +/- R, DVD +/- RW. These all refer to different read and write capabilities of the drive. In general, all drivers today are in the format DVD +/- RW or just DVD-RW. This indicates that DVDs can be both read and written to in all types of DVD burners.
 - Most modern drives are suitable for RW, but you may find that you buy a budget drive that only reads your DVD discs. These are classified as DVD-ROM drives.
 Decide if you want a Blu-Ray drive. Blu-Ray is the latest form of disc storage on the market that can burn significantly more data than a standard DVD drive. With Blu-Ray drives you can watch Blu-Ray HD movies and use Blu-Ray data discs, and all Blu-Ray drives can also read DVDs.
 - Blu-Ray drives have become a lot cheaper now.
- Even if the Blu-Ray drive cannot write to the disc (BD-ROM), there is a good chance that this type of drive can write to a DVD.
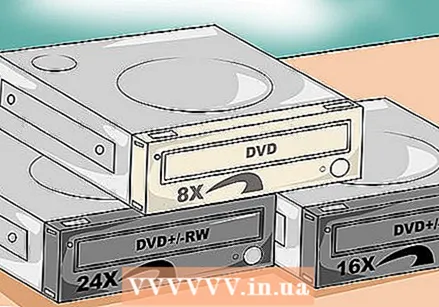 Compare read and write speeds. This indicates how long it takes to read or write data to the different types of media.
 - Most new DVD drives have a read speed of 16X and write 24X. This rating is a measure of the number of times the drive is faster than a 1X drive, and is not an indication of the actual speed of the drive.
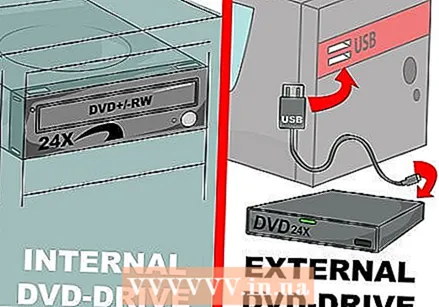 Decide whether to purchase an internal or external drive. If you have a laptop then you probably need an external drive. If you have a desktop, you can choose both options, but the speed of an internal drive is higher.
 - If you decide to purchase an external drive, read on to Part 3 for more info on installing the drivers.
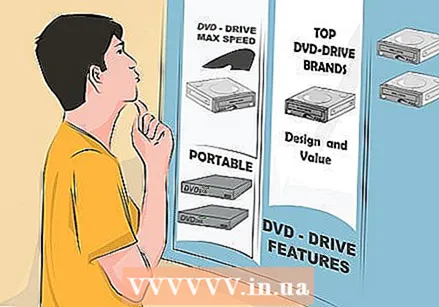 Choose a good quality drive. Choose a drive from a quality brand. With this you are assured of a long life and warranty. Below is a list of more reliable optical drive manufacturers:
 - LG
- Philips
- Plextor
- Lite-On
- BenQ
- Samsung
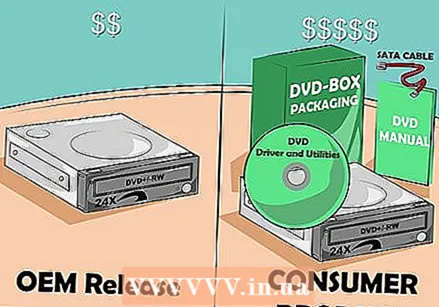 You can also purchase an OEM model. If you have a few extra SATA cables and don't mind not having a manual or drivers, you can also consider an OEM model. These are usually cheaper than a consumer model, but come without any extras.
 - If you choose an OEM model, you can still find drivers and manuals on the manufacturer's website.
Method 2 of 3: Installing an internal drive
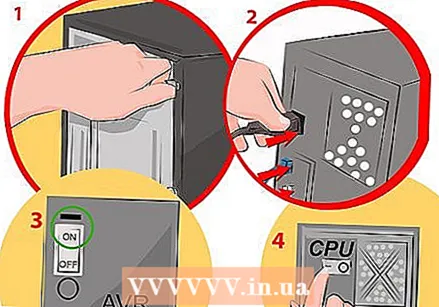
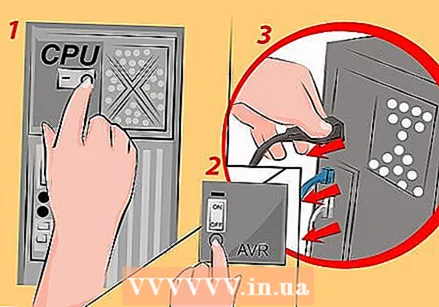 Turn off the computer and disconnect all cables. You will need to open the computer to install the drive. Place your PC on a table so that you can easily reach everything.
 - If you are going to install an external drive, plug it into your computer via USB and skip the next part.
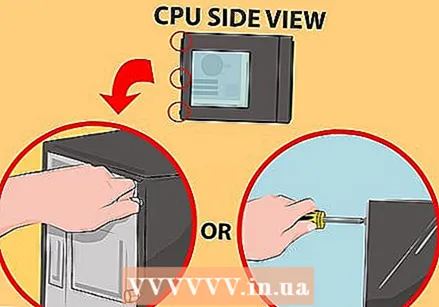 Open the housing. Most new housings can be opened without a screwdriver. Remove the side panels on both sides for easy access to the drive.
  Ground yourself. Before you do anything with the components of the PC, you will always have to ground yourself. This prevents an electrostatic discharge from taking place, which can damage the vulnerable components of your PC. The ideal way is to put on an electrostatic wrist strap, but if you don't have one, just touch the water tap to discharge yourself.
 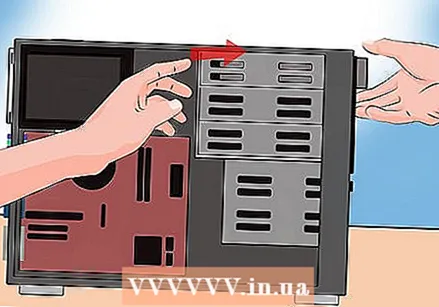 Remove the old drive (if applicable). If you are replacing an old drive, you will need to remove it first. Disconnect the cables from the back of the drive, then remove the screws on each side of the slot. Now without using too much force, remove the drive from the suspension.
 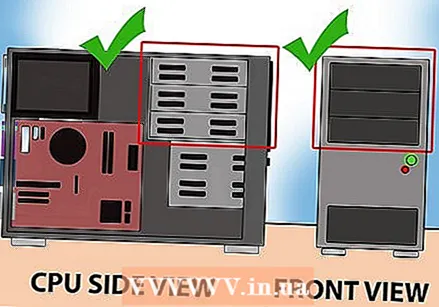 Look there is still an empty slot for a 5.25 "drive. If you are not replacing an old drive, you will need to place the new drive in a different slot. You will usually find these on the front of the housing, at the top. It may be that several drives are already present here. Remove the front panel to access this slot.
 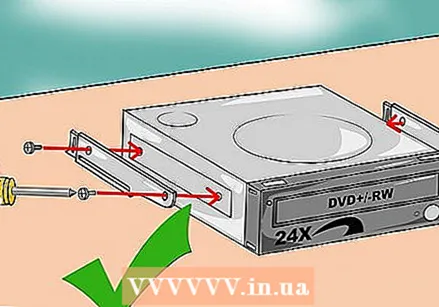 Secure any rails (if necessary). Some enclosures use a rail system to secure the drive in place. If this is the case, you will need to attach the rails to each side of the driver before placing it in the suspension.
 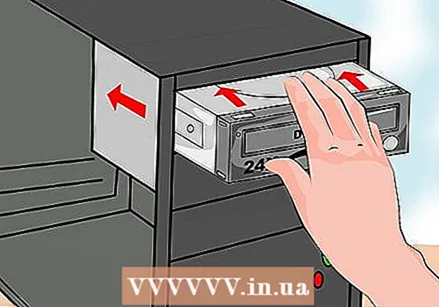 Slide the drive into the PC from the front. Almost all drives slide into the case from the front, but you may need to refer to your computer manual. Make sure you don't hang the drive upside down in the case.
 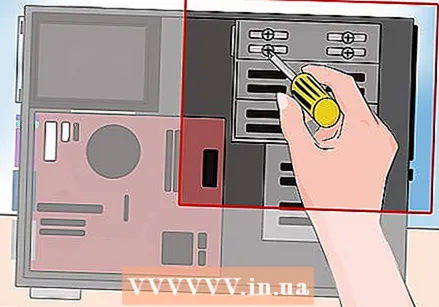 Secure the drive to the suspension. If you use screws for this, you should fasten them on both sides. If you are using rails, make sure that the drive is pushed all the way into the suspension and is fully clamped.
 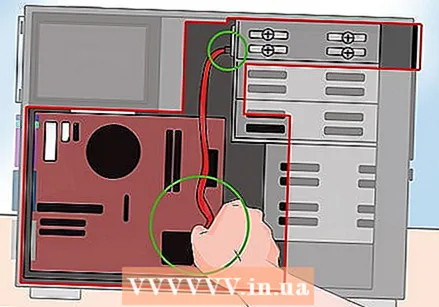 Connect the SATA port to the motherboard. Use a SATA data cable to connect the drive to a SATA port. If you cannot find it, consult your motherboard's documentation.
 - A SATA cable can only be connected 1 way, so don't force it.
- Be careful not to accidentally disconnect other components (such as the hard drive) and check again, otherwise your computer may not start up.
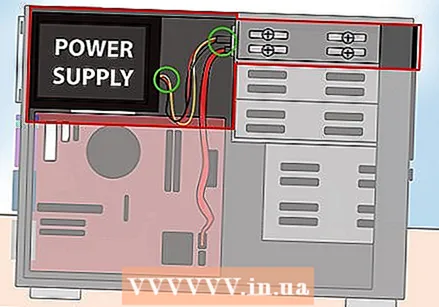 Connect the power supply to the drive. Find an unused power supply cord suitable for your drive. You will usually find these at the bottom of the housing. Connect this to the input of the drive for power. As is the case with the data cable, it can only be attached in 1 way, so don't force it.
 - If you do not have enough connections, you can purchase an adapter for more connections.
 Reattach the panels to the computer, connect all cables and turn on the PC.
Method 3 of 3: Installing the drivers and software
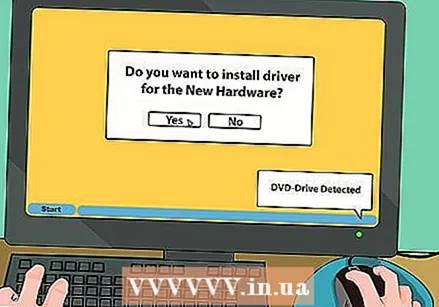 Wait for the operating system to recognize your drive. Most operating systems will automatically recognize a new DVD drive and install the necessary drivers. The operating system will notify you when the installation is complete.
 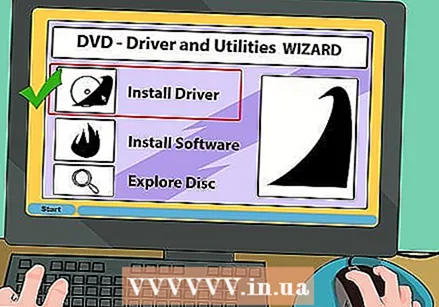 Install the drivers from the supplied disc (if necessary). If the drive has not installed itself, you may need to use the included drivers first, or downloaded from the manufacturer's website. Follow the instructions on the screen to install the drivers. You may be asked to restart the PC after installation.
 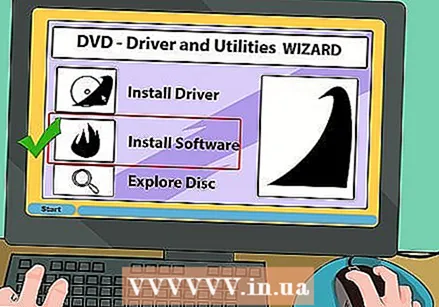 Install the included software, such as burning programs or media players. Many drives come with additional software for burning data and media to blank DVDs, or for viewing HD video. None of these programs are necessary, as there are plenty of similar free programs available over the Internet, but you can use them if you want.


