Author:
Charles Brown
Date Of Creation:
3 February 2021
Update Date:
1 July 2024
Content
- To step
- Method 1 of 5: Connecting the display
- Method 2 of 5: Detect a display in Windows
- Method 3 of 5: Detect a display in MacOS
- Method 4 of 5: Adjust the display settings in Windows
- Method 5 of 5: Adjust the display settings on a Mac
- Tips
- Warnings
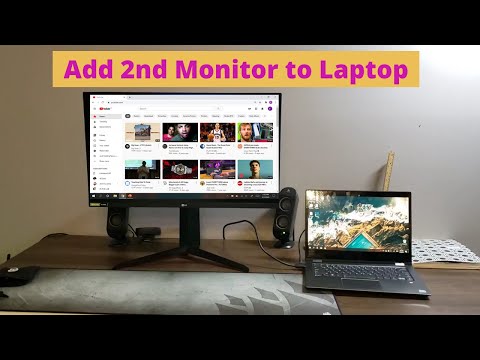
This wikiHow teaches you how to connect an external display to your Windows laptop or MacBook. Most modern laptops instantly recognize an externally connected display, so the process largely consists of choosing the right cable to connect your laptop to your display.
To step
Method 1 of 5: Connecting the display
 Check which video outputs your laptop has. Most laptops have a single video output on the back, although some laptops have the connection on the side. There are some common connections that your laptop can have:
 - Windows:
- HDMI - This connection has six sides, is approximately two inches wide and is tapered. Most Windows laptops have such a connection.
- DisplayPort - Similar to HDMI, but one corner of the connector is narrower while the other side is at a 90 degree angle.
- VGA or DVI - A VGA connector is colored and has 15 holes, while a DVI connector is usually white or black, has 24 holes and has an opening on both sides. Older computers in particular have these connections.
- Mac:
- Thunderbolt 3 (also USB-C called) - An oval socket on the side of most modern MacBooks.
- HDMI - A hexagonal tapered connection that some MacBooks have.
- Mini DisplayPort - A hexagonal socket found on Macs manufactured between 2008 and 2016.
- Windows:
 Determine which video input your screen has. Computer monitors usually have a single connection, while television screens have multiple connections. Most monitors have an HDMI or DisplayPort connection. Older computer monitors likely have a VGA or DVI connection.
  Connect the cable to the video output of your laptop. Plug the connector on the end of the video cable into the correct jack on your laptop.
  Connect the other end of the cable to your display. Plug the other end of the video cable into the connector of the correct shape on your display.
 - If your screen has a different video connection than your laptop, you need an adapter cable to connect the screen to your laptop. Some adapters are specially designed to connect two types of cables. A VGA to HDMI adapter can be connected to a VGA cable on one side and an HDMI cable on the other. Common adapter cables include:
- HDMI to DisplayPort
- DisplayPort (or Mini DisplayPort) to HDMI
- Mini DisplayPort to DisplayPort
- USB-C to HDMI (or DisplayPort)
- VGA to HDMI
- DVI to HDMI
- If your screen has a different video connection than your laptop, you need an adapter cable to connect the screen to your laptop. Some adapters are specially designed to connect two types of cables. A VGA to HDMI adapter can be connected to a VGA cable on one side and an HDMI cable on the other. Common adapter cables include:
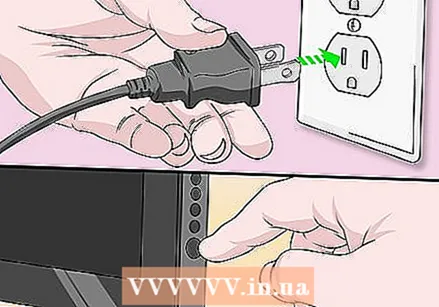 Plug in the monitor and turn it on. Connect the display to an electrical outlet or power strip, then press the On off switch
 Select the correct video source on the monitor. If you are using a screen or television with multiple connections, you must select the connection you used to connect your laptop to the screen. To select the video source, press the button that says "Input", "Source" or "Video Select" on the display or remote control.
 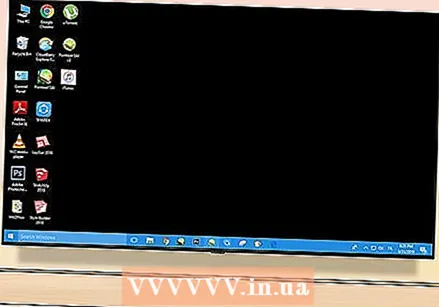 Wait until the contents of the laptop screen appear on the display. When you see the contents of your laptop screen (desktop and icons or something else) appear on the screen, you can continue to adjust the screen settings on your laptop.
 - If you are using a VGA connection, or a blue connection with three rows of holes, you may have to switch screens. You can do this by pressing a function key on your keyboard.
- If the contents of your laptop do not appear on the display, go to Method 2 to detect a display in Windows or Method 3 to detect a display on a Mac.
Method 2 of 5: Detect a display in Windows
 Click on the Start menu
  Click on the Settings icon
  click on System. This is the first option in the Settings menu. The option has an icon that resembles a laptop.
  click on Display. This is the first option in the menu on the left. Clicking on it opens the Display menu.
  Scroll down and click To detect. It's the gray button under the "Multiple Displays" heading at the bottom of the screen. When you click on it, Windows detects your displays.
Method 3 of 5: Detect a display in MacOS
 Click on the Apple icon
  click on System Preferences .... This is the second option in the dropdown menu. Clicking it will bring up the System Preferences window.
  click on Displays. The icon resembles a screen. Clicking on it opens the Displays window.
  Press ⌥ Option and keep the button pressed. When you press the Option key, a button with the text "Detect displays" appears in the Displays window.
  click on Detect displays. This button appears in the lower right corner of the window when you press the Option key. MacOs now detects your screens.
Method 4 of 5: Adjust the display settings in Windows
 Open Start
  Open the Settings
  click on System. This is a computer-shaped icon in the Settings window.
 - Click on the tab Display. This option can be found on the left side of the System window.
 Scroll down to the "Multiple Displays" section. You can find this almost at the bottom of the page.
  Click the drop-down menu under "Multiple monitors". This will unfold the dropdown menu.
  Select a display option. Choose one of the following options from the drop-down menu:
 - Duplicate these displays - Both screens show exactly the same content.
- Expand these displays - Uses the display as an extension of the laptop screen. If you choose this option and move your laptop's mouse all the way to the right on the laptop screen, it will disappear from the screen and appear on the screen.
- Display only on 1 - Show the contents of your laptop only on the laptop screen. This will turn off the display.
- Display only on 2 - Only show the contents of your laptop on the screen. This will turn off the screen of your laptop.
Method 5 of 5: Adjust the display settings on a Mac
 Open the Apple menu
  click on System Preferences .... This is almost at the top of the dropdown menu. Clicking it will bring up the System Preferences window.
  click on Displays. This monitor-shaped icon is located in the center of the System Preferences window.
 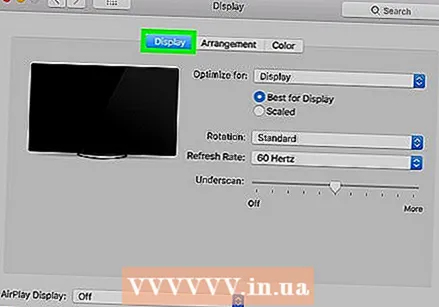 Click on the tab Display. You can find this in the top left corner of the window.
  Change the resolution of the display. Check the box for "Scaled" and then click on a resolution.
 - You cannot choose a resolution that is higher than the built-in resolution of your display (for example 4000 pixels).
 Adjust the screen size. Click the "Underscan" slider at the bottom of the page and drag it to the left to show more of your Mac screen on the monitor screen. Drag the slider to the right to zoom in on the screen.
 - This way you can ensure that the content of your laptop screen fits properly on the screen if the content is displayed too large or too small on the screen.
 Expand your Mac's screen if necessary. If you want to use the display as an extension of your laptop screen (i.e. as space to the right of the screen of your Mac), click on the tab Ranking at the top of the window and under the arrangement window, uncheck the box for "Enable video mirroring".
 - You can also change the position of the menu bar here by clicking the white rectangle at the top of one of the blue screens and dragging it left or right.
Tips
- DisplayPort, HDMI, and USB-C all support audio, which means that sound should come out of your display's speakers when using one of these connections.
- If you are using an older video cable, you may not have sound on your television. You can play sound using an external set of speakers and the headphone jack on your laptop. Connect a 3.5mm aux cable to the headphone jack. If necessary, use an adapter to connect the speakers.
- You can update your computer drivers so that your laptop recognizes the screen faster and displays the content better.
Warnings
- If the screen does not display the contents of your laptop, you may have a broken cable. Try connecting the display with a different cable or use a different connection if possible.


