Author:
Roger Morrison
Date Of Creation:
20 September 2021
Update Date:
1 July 2024

Content
- To step
- Method 1 of 6: Photoshop
- Method 2 of 6: Microsoft Paint
- Method 3 of 6: Microsoft PowerPoint
- Method 4 of 6: Create a banner online
- Method 5 of 6: Create an avatar to match your banner
- Method 6 of 6: Adding a banner to forum signatures, websites, etc.
- Tips
- Warnings
A web banner is something we are all familiar with by now. This is usually an image at the top of a website, with the name and logo of the company, whether it is advertising or a bit of both in the case of a commercial website. A banner should be informative, attractive and inviting - you want the average visitor to stick around. We show you a few ways to do this.
To step
Method 1 of 6: Photoshop
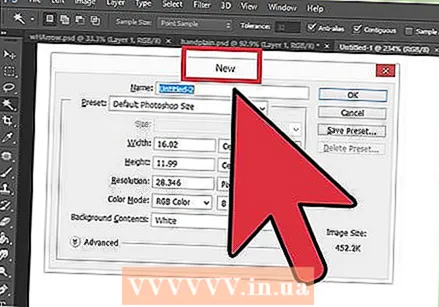 Create a new document. Determine what the size of the banner should be: there are a number of standard sizes. For our purpose, we focus on a standard "full banner" size: 468 pixels by 60 pixels:
 - Note: this is a standard size, but not a requirement. Adjust this as needed.
 Set the background color. Fill the background layer with a color that matches the design of your website.
 - Click on the foreground color to make the Color Picker appear and select a fill color.
- With the Paint Bucket tool (the bucket), fill the background layer of the banner with the selected color.
 Create a new layer. We're going to fill it with a richer color to make the text and logo stand out better. This should be in proportion to the size of the banner and in the center.
 - In the new layer you make a selection that is smaller than the banner, and fill it with the desired color.
- Center the filled area. Select the entire layer by pressing CTRL-A (PC) or Command-A (Macintosh).
- From the Layermenu, select Align Layers to Selection> Vertical Centers. Repeat this step, but now select Horizontal Centers. This will center the contrast layer both horizontally and vertically.
 Add your logo. Open your logo file and copy and paste it into the banner document where it will appear as a new layer. Rescale this if necessary. Press CTRL-T (PC), or Command-T (Macintosh), and use the handles to make the document larger or smaller, using the Shift key to keep the proportions.
 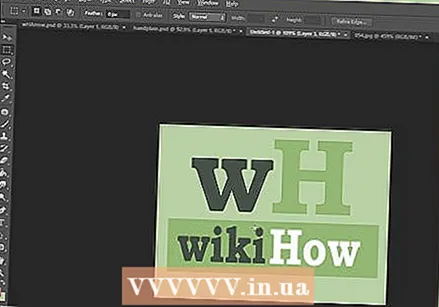 Add the name of your company or the name of the website. Select the text tool, choose a font of your choice, and type in the name. If the size is not correct, adjust it to your liking as described in the previous step.
  Add extra elements. Sometimes a logo and a name are enough. But adding lines and decoration can make the whole thing a bit more interesting. To do this, create a new layer so that you can adjust easily without disturbing the other layers.
  Cleaning up. Move any logo, title and other elements so that they are just right, and save your banner.
Method 2 of 6: Microsoft Paint
 Create a new document.
 Make a selection in the form of a banner. This can be any size you want, but you can find a number of standard sizes here.
  If you want a colored background, use the paint bucket to fill the banner with any color you want. Make sure it matches the rest of your website.
  Add photos, images and text. Click on the tab Paste and select Paste from.
 - Find an image you like and click Open.
 Make your image larger / smaller as desired. Click on the tab Resize and choose Pixels. Set the vertical height to match the height of your banner.
 - Put the images in place.
- Add as many images as you want.
 Add text. Use the Texttool (the button a), and add your name or any other text you want to use.
  Trim your banner. Use Select and draw a rectangular box around your banner. Make sure this is the size of your final banner. Then click on Crop.
  When you are done, save it!
Method 3 of 6: Microsoft PowerPoint
 Create a new blank PowerPoint document.
- Set the picture to 100%.
 Draw the background of the banner. Use a standard size for the banner, or whatever size you need.
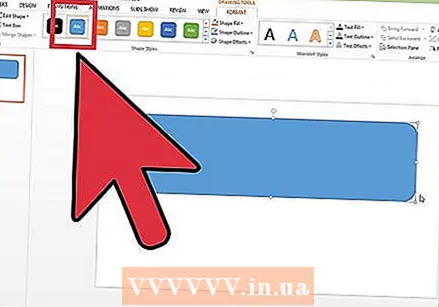
 - Click on the tab Shape and choose a base rectangle.
- Draw this in the desired size and fill it up. You can use a solid color for this or use a fill pattern (via Fill Effects or Quick Styles button.
 Add a photo, logo or other image. To illustrate, we use some clipart. Press the button Picture and select the type of image you want to insert. Add your image, resize it and place it in your banner.
  Add text and other elements to it. Then place the name of your company, slogan and other information in the banner to round it off.
  Select the banner. Choose Edit > Select All or CTRL-A (PC) or Command-A (Mac). Important: make sure your banner is exactly the way you want it, and that there is nothing else on the slide!
 - Right-click on any element that is not text and then choose Save as Picture ...
 Save your banner. Open the banner and check if everything is the way you want!
Method 4 of 6: Create a banner online
 Go to one of the following websites: BannersABC.com, Addesigner.com, mybannermaker.com, etc. (there are many more to be found). These are websites where you can have banners made. Spend a few minutes comparing the different options and choosing the best one for your purposes.
 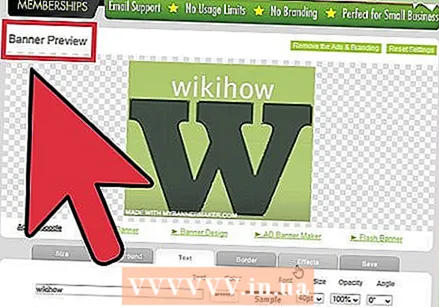 Add text and images. Follow the onscreen instructions to create your banner. They often have their own artwork that you can use, or you can import custom images to make a banner.
  Have your banner generated. When you are done, there is usually an export function that allows you to specify in which folder or directory you want to save the banner, and which file type you want to use (Jpeg is usually the first choice). Follow the instructions, save, download and use as you wish.
Method 5 of 6: Create an avatar to match your banner
 This is optional. But you can think of a matching avatar for your banner if you want to use it on forums.
 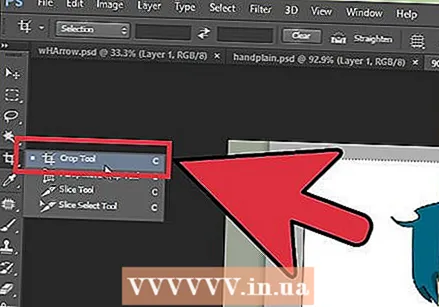 Use cropping. You will find this option in most graphics applications. Crop your banner to a smaller version.
 - An alternative is to make a small version that contains multiple elements from your larger banner. This could be just the logo or your photo, or just the name of your company. It is important that it remains legible.
 Your avatar should be small. 48 by 48 pixels is a standard size.
  Save your avatar!
Method 6 of 6: Adding a banner to forum signatures, websites, etc.
 Make an account. Use a photo site such as Photobucket, Flickr, Tumblr or something similar.
 - Once you have an account, you can upload your banner, avatar and other images to the website.
 Using the encryption. Use the sharing options to get the HTML code to add your banner to your signature, website or similar.
Tips
- Make sure you have a lot of good fonts on your computer.
- Practice makes perfect.
- Check forums and websites for examples of banners!
Warnings
- Creating a banner takes time and requires patience!
- Save the original as PDF, as TIFF (no loss of quality) and make a copy as Jpeg / GIF.
- If you want to upload a photo to Photobucket, make sure it is a JPEG or GIF.


