Author:
Eugene Taylor
Date Of Creation:
8 August 2021
Update Date:
1 July 2024
Content
- To step
- Method 1 of 4: HP Automatic Wireless Connect
- Method 2 of 4: Wi-Fi Protected Setup (WPS)
- Method 3 of 4: The Wireless Setup Wizard
- Method 4 of 4: Specify wireless settings via USB
- Tips
- Warnings
- Things you need
HP printers can be added to your network in several ways, depending on the printer model and your network configuration. We'll show you a few ways. Before you begin, make sure that the printer, computer, and network are on and working properly.
To step
Method 1 of 4: HP Automatic Wireless Connect
- Verify that your configuration is HP Auto Wireless Connect capable. To use this method, your computer and your network must meet the following requirements:
- Your computer uses Windows Vista, Windows 7, Windows 8 (PC) or OS X 10.5+ (Mac).
- Your computer must be connected to an 802.11 b / g / n wireless router via a 2.4 GHz connection. A 5.0 GHz network is not supported by HP (1/1/2013).
- Your computer uses a wireless connection to the network and the operating system controls the wireless adapter so that the HP software can retrieve the current network settings from the computer.
- Your computer uses a dynamic IP address, not a static IP address.
- Make sure you have the latest software for your printer and your computer. You can download it at http://www.hp.com/go/customercare. Make sure to select the correct software that is suitable for your computer's operating system and your printer model.
- During the printer software installation: Follow the onscreen instructions until you are prompted for the Connection Type. Select Via the network, Network, or Wireless when prompted. Follow the instructions on the screen to complete the printer software installation.
- Note: During the installation, the connection between the computer and the wireless network must be temporarily lost. You will then not have access to the internet. If you work online and / or download files, make sure to save them before continuing with this setup method.
- If HP Auto Connect Wireless is not offered during software installation, you will be guided through another wireless setup method.
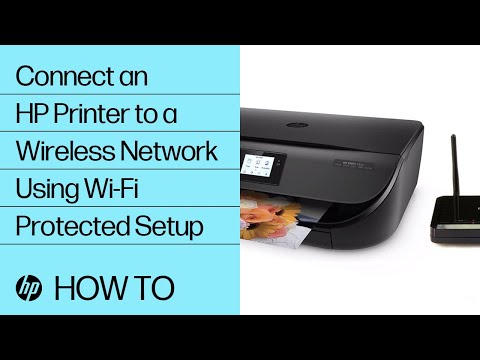
Method 2 of 4: Wi-Fi Protected Setup (WPS)
- There are a few conditions that must be met before you can use the push button method:
- Both the printer and wireless router must support the WPS push button method. Consult the manual of the printer and the wireless router for this.
- There must be a WPS push button on the wireless router.
- Your network must use WPA or WPA2 for security. Most WPS wireless routers cannot connect using the WPS method if WEP or no security is used. Most wireless WPS routers cannot connect using the WPS method if you use the manufacturer's default network name and no security.
- Start WPS push button mode on your printer. See the printer manual for instructions on how to start WPS on the printer.
- Press the WPS button on your router within 2 minutes.
Method 3 of 4: The Wireless Setup Wizard
- Make sure you know the network name and security password (WEP or WPA).
- On the printer control panel, press the button Settings and select the menu Network.
- The Wireless Setup Wizard shows you which wireless networks are available. Choose your own network from the list.
- If your wireless network is not listed, you can enter the name of your network yourself by going all the way to the end of the list. If you enter the name yourself, you should pay close attention to the upper and lower case letters. The name must be exactly right.
- Enter your WEP code or WPA password. When entering the code or password, pay attention to the upper and lower case letters.
- The printer should now connect to the wireless network. If no connection is made, you can print a test report that may indicate what's wrong.
Method 4 of 4: Specify wireless settings via USB
- During this procedure, you will need to temporarily connect a USB cable between the computer and the printer.
- It is important that you do not connect and disconnect the cable until the software instructs you to do so. The software explains exactly how to establish a wireless connection with the printer.
- In some cases, the software can automatically record all wireless settings for you.
- When you first install the printer on your computer, the software may not find the printer on the network. In this case, the software will let you perform the necessary actions, step by step.
Tips
- If you get messages from the firewall in your computer, select "Always Allow" so that the software installation can begin.
- Make sure you have the latest software for your printer and your computer. You can download it at http://www.hp.com/go/customercare. Make sure you select the correct software that is suitable for the operating system of your computer and the model of your printer.
- In Linux you need the package hplip (short for HP Linux Imaging and Printing). Then run hp-setup as root.
Warnings
- Many wireless printers do not have a MAC address, so you may need to turn off the MAC filter on your router first.
Things you need
- Computer
- Wireless router
- Wireless printer
- USB cable (optional)


