Author:
Morris Wright
Date Of Creation:
2 April 2021
Update Date:
26 June 2024

Content
- To step
- Method 1 of 4: Using baking soda and vinegar
- Method 2 of 4: Clean with oxygen bleach
- Method 3 of 4: Clean tile joints with hydrogen peroxide, baking soda and dish soap
- Method 4 of 4: Clean tile joints with a steam cleaner
- Tips
- Warnings
- Necessities
Even after mopping, a tile floor with dirty grout can still not look neat. Make your floor look like new by cleaning the joints between the tiles as well. Depending on the type of tiles and the color of your grout, there are different cleaning methods to get your floor looking clean again. Whether you opt for chemical cleaners or natural methods, it takes little effort to get your tile joints perfectly clean again.
To step
Method 1 of 4: Using baking soda and vinegar
 Make a paste of baking soda and water. Mix three parts baking soda with one part water to make a thick paste. This versatile cleaner cleans joints of all colors, but vinegar can damage some types of natural stone, such as limestone or marble.
 - Apply the paste to the joints with your finger.
- Baking soda won't harm you, but wearing rubber gloves can help prevent scratches or irritated skin from the abrasive grout and baking soda.
 Make a mixture of one part white vinegar and one part water in a spray bottle. Spray the baking soda paste previously applied to the joints with the vinegar mixture. The mixture should start to bubble immediately, letting you know the natural cleaning process has begun.
  Wait until the mixture stops bubbling. The bubbling is basically a chemical reaction between the baking soda and the vinegar and generally takes a few minutes. After the bubbling has stopped, the chemical cleaning process is complete.
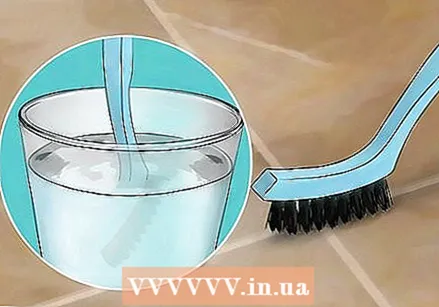
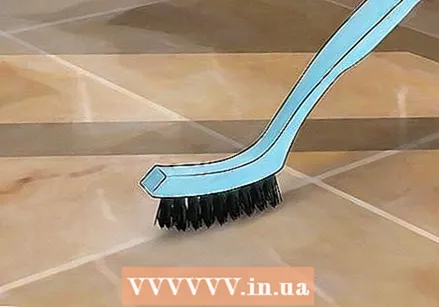
  Scrub the tile joints with a brush. Use a toothbrush or nylon-bristled scrub brush to scrub each joint. Pay close attention to corners and edges and also clean these places.
 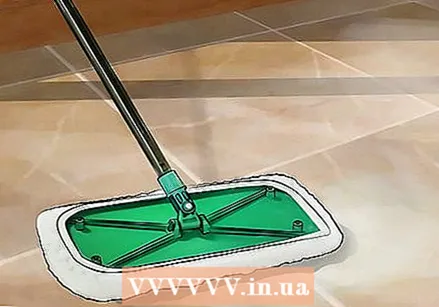 Mop the floor with plain water. Use a mop and water to remove the baking soda and vinegar residue. Rinse your mop often and change the water regularly while cleaning so you don't keep spreading the residue on the floor.
Method 2 of 4: Clean with oxygen bleach
 Dissolve two tablespoons of oxygen bleach in 500 ml of warm water. Prepare the mixture immediately before cleaning for best results. Make sure to mix the fabrics thoroughly so that the oxygen bleach is fully activated. The bleaching properties of the oxygen bleach can affect colored tile grout, but it is mild enough for all tile types.
  Test the product on an inconspicuous area of a grout before cleaning the entire floor. Some tiles or joints can become lighter or discolored by the oxygen bleach. Apply a small amount of the oxygen bleach mixture to an inconspicuous area to test color fastness.
 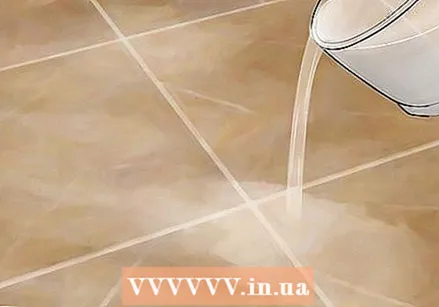 Pour the mixture onto the joints. Pour enough on the joints to cover them completely. Always clean part of the floor at the same time, so that not your entire floor is wet.
  Use a nylon bristled brush to scrub the oxygen bleach mixture into the joints. For best results, let the mixture soak into the joints for several minutes.
 - Scrub back and forth with a brush over the joints.
- Make sure to scrub in corners and along the edges of the floor as well. After all, dirt and grime often accumulates there.
 Dip the brush in the oxygen bleach powder for better cleaning. If you see a stain that is darker or more noticeable, you can make a stronger bleach mixture by dipping your wet brush directly into the oxygen bleach powder.
 - NOTE: Pour a small amount of the powder into a separate bucket to prevent water from entering the powder container.
 Rinse the floor with water and dry it. Pour clean water on the tile floor and dry it with a towel or a clean mop.
Method 3 of 4: Clean tile joints with hydrogen peroxide, baking soda and dish soap
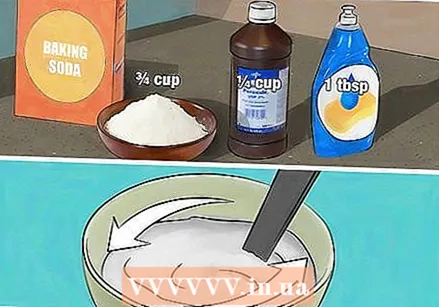 Make a paste. Mix together 225 grams of baking soda, 60 ml of hydrogen peroxide and 1 tablespoon of dish soap. This very effective paste cleans the joints in three ways:
 - The baking soda is a natural abrasive that scrubs the joints.
- The hydrogen peroxide reacts with the baking soda, releasing oxygen ions with a bleaching action.
- The dish soap helps to loosen dirt and remove grease.
- Note that the bleaching action of the chemical reaction can affect colored grout. Test it on a hidden corner before cleaning the entire floor.
 Apply the paste with a nylon bristled brush. A toothbrush or a scrub brush with nylon bristles will work fine. Make sure to apply the paste to all joints and along the edges, so that the entire floor is evenly cleaned.
  Let the mixture soak into the joints for 15 minutes. You may see the mixture bubble as the baking soda and hydrogen peroxide react. Give the paste time to absorb into the joints so that it completely removes all stains.
  Rinse the grout with warm or hot water to remove the entire mixture. Pour a small amount of water onto the tile floor to rinse the mixture from the grout.
 - Be careful, because a wet tile floor can be very slippery.
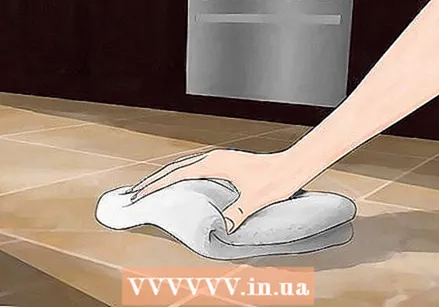 Use a cloth to wipe the joints and to remove residual dirt and paste. Remove the residual paste from the joints by gently scrubbing the floor with a towel. You can do this by standing on the towel and shuffling on the floor with both feet or by crawling across the floor and scrubbing the grout you come across.
  Mop the floor with clean water. Make sure no soap or other residue is left by thoroughly mopping the floor with a cotton cloth or sponge mop. Rinse the mop often and change the water regularly so that the floor is completely clean.
Method 4 of 4: Clean tile joints with a steam cleaner
 Rent or buy a steam cleaner. With a steam cleaner you can effectively clean and disinfect all types of grout and tiles, because no chemicals are used. To rent or buy a cleaner, go to your local hardware store. Make sure the steam cleaner you choose has the right tools to clean grout:
 - Steam hose
- Attachment with small brush
 Follow the manufacturer's instructions when connecting the parts and filling the steam cleaner. Read the directions carefully to avoid damaging the material.
  Fill the reservoir with clean water up to the filling mark according to the instructions for use. Do not add chemicals or cleaning agents to the steam cleaner reservoir.
  Turn on the steam cleaner and let it heat up. The instructions for use of the steam cleaner state how long you have to wait before you can clean after you have switched on the steam cleaner.
 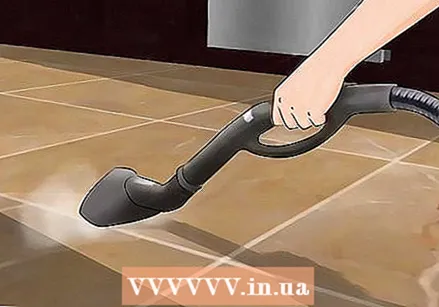 Move the cleaning brush back and forth over the joints. Start on one side of the room and then work your way to the other side of the room. The steam will loosen grime and grime from the grout and also kill any mold in the grout.
 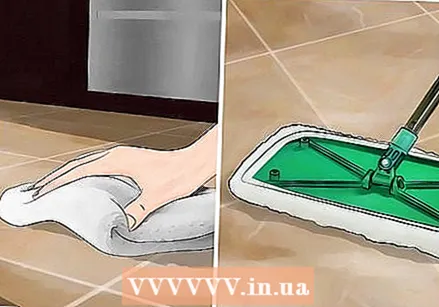 Use a towel or mop to wipe up any excess moisture after cleaning. Be careful as the floor can be slippery after the steam condenses into water.
 - Pay attention: A steam cleaner removes all sealant material from the joints. So only use a steam cleaner if the sealant material is old and it needs replacing.
Tips
- Always test a new cleaner or cleaning mixture in an inconspicuous area to make sure it won't damage your grout or tile.
- When using a mixture with baking soda or oxygen bleach, don't prepare more than you need. These mixtures quickly become less powerful.
- After cleaning the joints, apply a sealant to keep the joints cleaner for longer.
Warnings
- Do not use a brush with stiff bristles such as a steel or iron brush, as this can damage or tear your joints.
- Do not use vinegar on real marble, granite, travertine or other natural stone floors as this could scratch the surface and cause permanent damage to your floor. The joints in these floors may only be cleaned with a cleaning agent that is pH neutral.
Necessities
- Bucket
- Oxygen bleach
- Clean water
- Brush with nylon bristles
- Mop
- Baking soda
- Toothbrush
- Steam cleaner


