Author:
Judy Howell
Date Of Creation:
4 July 2021
Update Date:
1 July 2024
Content
Resizing an image on your Mac is easy with Preview, a free program installed by default on every version of OS X. Preview allows you to crop and resize images without installing any other software. In this article, we'll show you several uses of Preview: how to control the size of your photos, how to remove unwanted areas, and how to adjust the resolution of images.
To step
Method 1 of 2: Resize an image with Preview
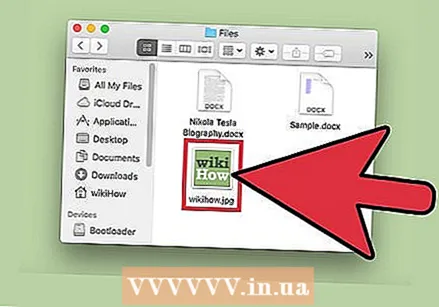 Navigate to the image you want to resize. In this method, we resize the entire image. If you want to crop part of the photo, skip to the next section.
 - To search for an image name or tag, open Finder and click the magnifying glass in the menu bar. Type your search criteria in the bar and press ⏎ Return to see the results.
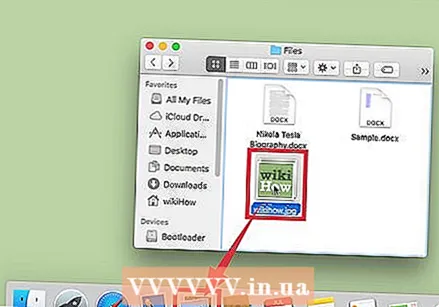 Drag the image to the Preview icon in your dock or in Finder. This will open the image with Preview.
 - You can also right-click on the image and select "Open with", then "Preview".
 Click the edit button to make the marker buttons visible. A new bar with buttons now appears above the image.
 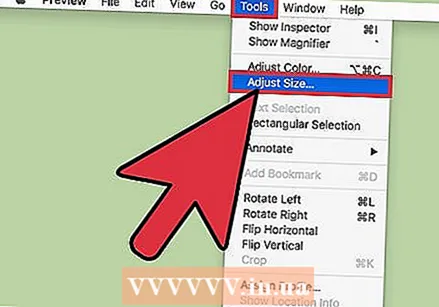 Click the "Tools" menu and select "Resize".
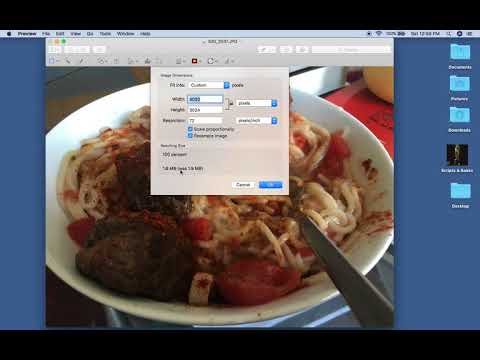
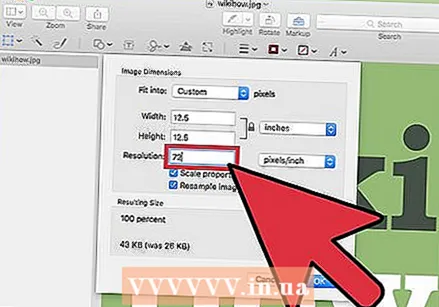 Change the resolution. Resolution is indicated in pixels per inch (you can also switch to pixels per cm in the drop-down menu). You can increase the resolution if you are going to print your image, or if you want to keep as much quality as possible.
 - If you want to use the image for an app like Facebook, you can leave the default resolution of 72. If you lower the resolution, the file size will be smaller.
- If you want to print the image at high quality, for example for advertisements or other forms of business communication, you can set the resolution to at least 600. Note: this will significantly increase the file size.
- For a glossy photo, 300 is sufficient. The file size will be much larger than the standard 72 pixels per inch image, but the final quality will be much better.
 Enter the desired width and height in the appropriate boxes. The larger the width and height, the larger the file size.
 - You may find it helpful to change the unit to get a better idea of your image. For example, you can change the unit to millimeters (mm). Click the drop-down menu to the right of the width and height boxes to change the units.
- You can also set the size as a percentage of the current size. To do this, click on "%" in the same drop-down menu and enter the desired percentages at "Width" and "Height".
 Check the option "Scale up / down proportionally" to prevent the image from distorting. This is optional, but this option automatically adjusts the height proportionally when you change the height. This way, the original proportions of the image always remain intact.
  Click OK to view the image at its new size. If you are not satisfied, press ⌘ Cmd+Z to undo the operation.
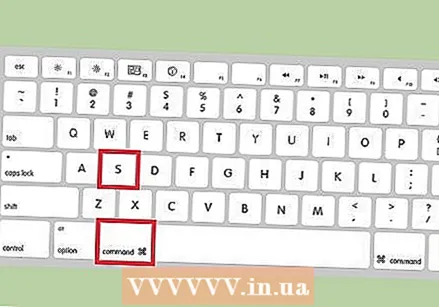
  Press ⌘ Command+S. to save the changes. When you have finished resizing, you can save your work.
 - If you want to save the edited image under a new name, click "Archive", then "Save As" and then you can enter a new name.
- After saving, if you find that you made a mistake, click "Previous Versions" in the "File" menu and then "Browse All Versions". Choose one of the versions of the image you want to recover.
Method 2 of 2: Crop an image with Preview
 Click the edit button to make the marker buttons visible.
 Click the dotted rectangle in the toolbar, then select "Rectangular Selection".
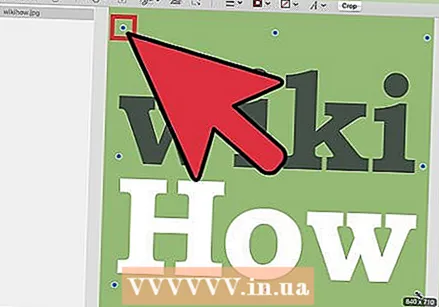 Drag the rectangle over the image until you have outlined the area you want to keep. When you release the mouse button you will see the dotted rectangle appear over part of the image.
  Click the Crop button. Now the parts that fall outside the selected rectangle are removed.
 - You can crop the cropped portion again, just like you would with any other image.
- If you do not want to save the changes, press ⌘ Cmd+Z to undo it.
 Press⌘ Cmd+S. to save your file.
- If you want to save the edited image under a new name, click "Archive", then "Save As" and then enter a new name.
- After saving, if you find that you made a mistake, click "Previous Versions" in the "File" menu and then "Browse All Versions". Choose one of the versions of the image you want to recover.


