Author:
Judy Howell
Date Of Creation:
26 July 2021
Update Date:
1 July 2024

Content
You can of course surprise your loved one with chocolates from the store on a special occasion, but why not make an original treat yourself? In fact, chocolate is very easy to make yourself and you can adapt the basic recipe for unique flavor combinations. Learn how to make simple chocolate candles, truffles, or homemade bars in this article.
To step
 Gather the ingredients. This is what you need to make simple chocolate candles:
 - 226 grams of finely chopped chocolate bars or chips
- Optional decoration such as nuts, dried fruit or coconut
- Optionally filling caramel, peanut butter or jam
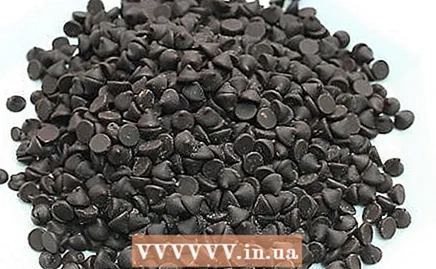 Choose the chocolate you want to use. Any type of chocolate bar or chips is suitable for this technique. Choose milk chocolate, dark chocolate, or even white chocolate to make candles.
 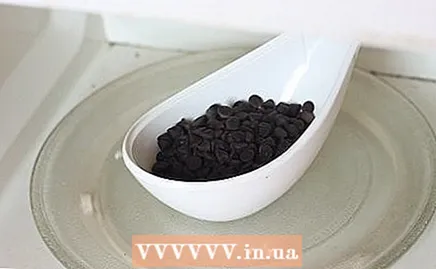 Melt the chocolate. Use a microwave for this (high, 30 seconds, stir, another 30 seconds, and repeat until the chocolate has melted).
 - You can stir in nuts, cooks, dried fruit or other ingredients to adjust the chocolate to your liking.
- Add a few drops of peppermint extract for mint chocolate.
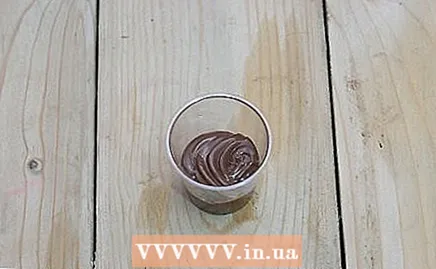
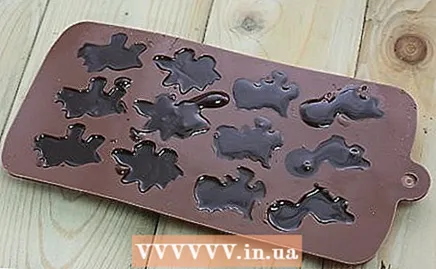
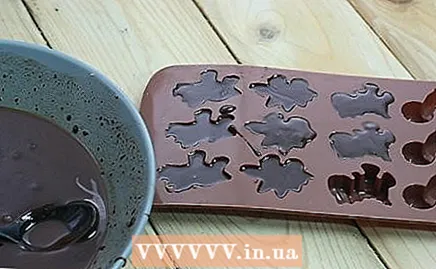 Pour the hot chocolate into molds. There are molds available in all shapes and sizes, which can be found in every kitchen store. Fill the molds to the brim. If necessary, use the back of the spoon to spread the chocolate into the corners.
 - If you don't have baking molds, get creative and make your own. Use mini muffin cases, paper cases, shot glasses or something similar.
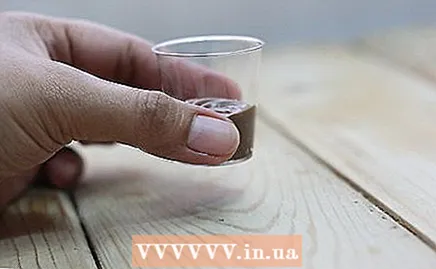
- To help collapse the chocolate, lift it a few inches and drop it onto the work surface. This removes air bubbles and makes the chocolate smooth.
- To make filled chocolates, fill the molds halfway and add some caramel, peanut butter or other filling in the middle. Pour chocolate on top of the filling to fill the molds to the brim.
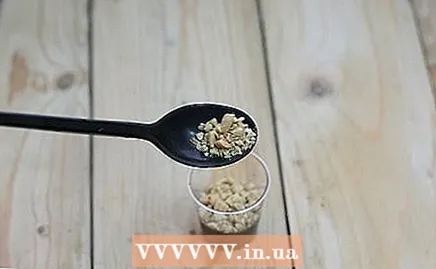
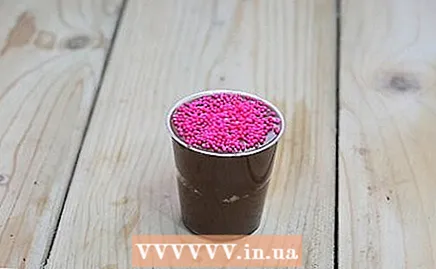
- Sprinkle the chocolate with decorations if desired.
- If you don't have baking molds, get creative and make your own. Use mini muffin cases, paper cases, shot glasses or something similar.
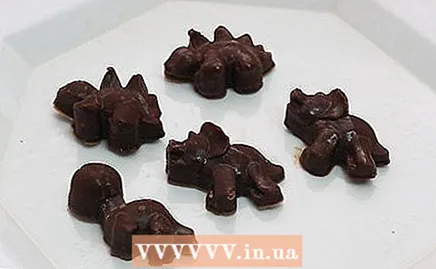
 Let the chocolates cool. Leave them on the work surface to harden or put them in the refrigerator. Let them cool completely before trying to take them out of the molds.
 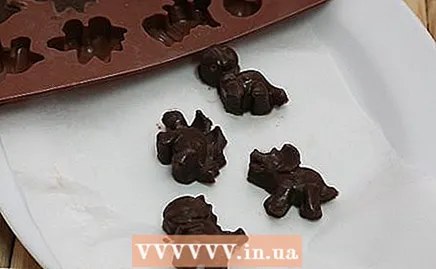 Carefully remove the chocolates from the molds. Eat them right away or wrap a piece of paper around them to give the chocolate as a gift.
 - Ready.
Method 1 of 2: Chocolate truffles
 Gather the ingredients. This is what you need to make chocolate truffles:
 - 226 grams of finely chopped chocolate bars or chips
- 1/2 cup cream
- 1 tablespoon of liqueur or a flavoring agent
- Cocoa powder or nuts for garnish
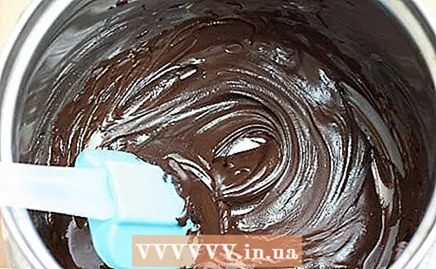
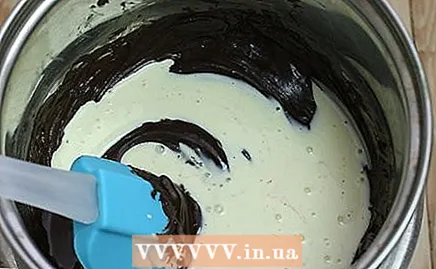 The chocolate mix. Place the pieces of chocolate in a large heatproof bowl. Put the cream in a small saucepan and reduce it to a low heat until it boils. Pour the cream over the chocolate and stir until the chocolate is completely melted and mixed with the cream.
 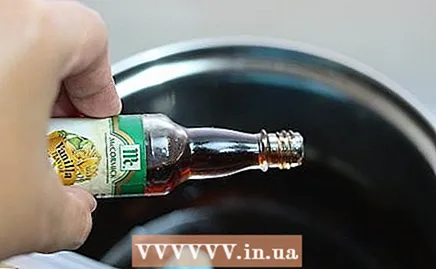 Add a flavoring. If you want to add liqueur or another flavoring, such as vanilla or peppermint, stir it into the melted chocolate mixture.
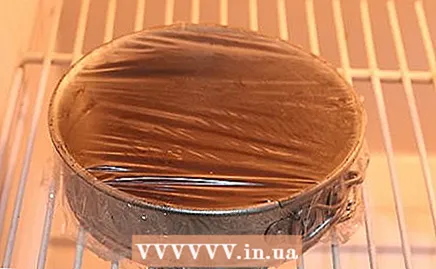
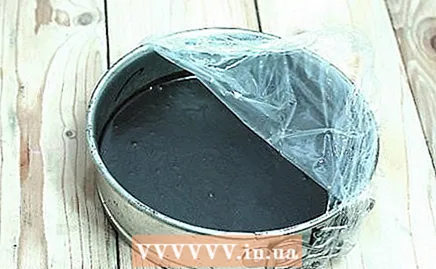
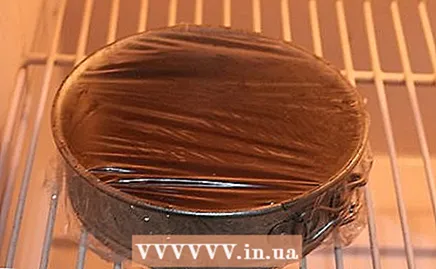
 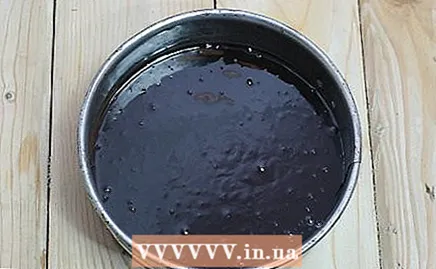 Let the chocolate cool down, Pour it into a cake tin and let it cool on the counter until the mixture has thickened. Stir it again and cover with plastic wrap, then place it in the refrigerator. Let the chocolate cool for 2 hours.
 - Make sure the chocolate has cooled thoroughly before moving on to the next step. It's a lot harder to handle when it's still warm.
- It's okay to melt the chocolate and leave it in the fridge overnight if you want to make truffles the next day.
- Make sure the chocolate has cooled thoroughly before moving on to the next step. It's a lot harder to handle when it's still warm.
 Scoop chocolate out of the pan with a small ice cream scoop. Shape it into a ball with your fingers (work quickly before the chocolate melts). Place the chocolate truffle on a baking pan lined with parchment paper to prevent it from sticking. Repeat with the rest of the chocolate, trying to make the truffles even in size.
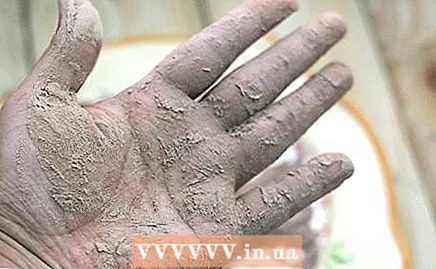
 - If the chocolate melts immediately when you work with it, try dusting your hands with cocoa powder, or holding them under cold water for a while to cool your hands (make sure to dry them well).
- You can also put the chocolate back in the fridge to cool it down.
- If the chocolate melts immediately when you work with it, try dusting your hands with cocoa powder, or holding them under cold water for a while to cool your hands (make sure to dry them well).
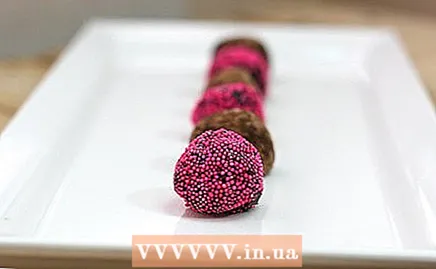
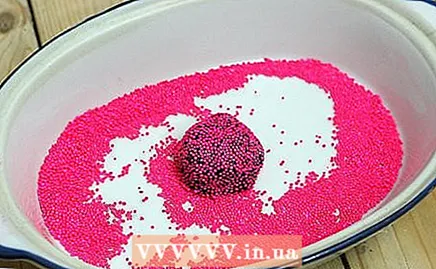 Powder the truffles. Roll the truffles in cocoa powder, chopped nuts, sprinkles or any other garnish of your choice. Make sure all sides are evenly covered.
 - Storing the truffles. If you're not going to eat them right away, put the truffles in an airtight container in the refrigerator. Because they contain cream, it is better not to keep them at room temperature for too long.
Method 2 of 2: Homemade chocolate bars
 Gather the ingredients. This is what you need to make your own chocolate bars:
 - 1 cup of cocoa butter
- 1 cup dutch process cocoa powder
- 1/2 cup honey, maple syrup, or agave nectar
- 1 teaspoon of vanilla extract
 Melt the cocoa butter with the sweetener. Place the cocoa butter and sweetener (honey, maple syrup or agave nectar) in a bowl. Place in the microwave (high) until the cocoa butter is completely melted, then stir the ingredients together until smooth.
 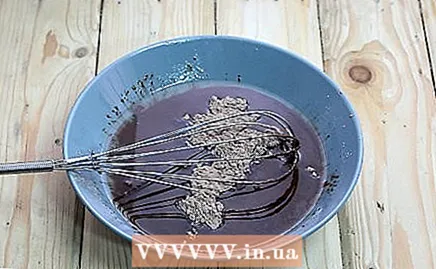 Add the cocoa powder and vanilla. Stir them through the mixture until the ingredients are completely blended and no chunks of cocoa powder remain.
 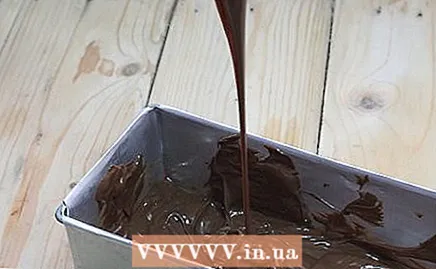 Pour the chocolate into the molds. Use candy molds or make chocolate bars by pouring the mixture onto a baking tray.
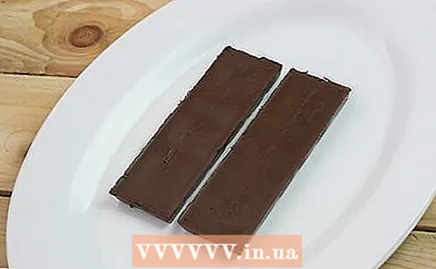
 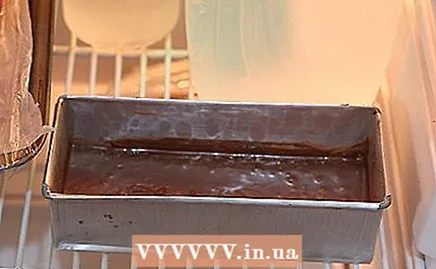 Let the chocolate cool down. This can be done at room temperature or in the refrigerator (so that it is ready a little faster). If you are making chocolate bars, make lines in the chocolate to indicate bars and cut them in half so that they are easier to break later.
 - Remove the chocolate from the molds or cut and break the chocolate bars. Keep chocolate that you don't eat right away in the fridge.
 Ready.
Tips
- Put the chocolates in a box and decorate with a ribbon as a birthday or Valentine's Day gift.
- Use dark chocolate, milk chocolate and white chocolate to make your chocolates more colorful.
- Experiment with different ingredients.
Warnings
- If you want to sprinkle sprinkles over the chocolates, you will have to do this before the chocolate has cooled, otherwise it will not stick. However, if you want to glaze the chocolates, you will have to do that after it has cooled.
- Remove the chocolates from the refrigerator and let them sit for a while. They may be too cold and hard to eat at first!


