Content
- To step
- Method 1 of 10: Change the program icons
- Method 2 of 10: Create icons and shortcuts on your desktop
- Method 3 of 10: Change file type icons
- Method 4 of 10: Change shortcut icons
- Method 5 of 10: Remove arrows from the shortcuts
- Method 6 of 10: Remove arrows from the shortcuts (Alternative method)
- Method 7 of 10: Create your own icons
- Method 8 of 10: Create icons with Irfanview
- Method 9 of 10: Set the icon file association in IrfanView
- Method 10 of 10: Change the icon description
- Tips
Many people think that the icons on their desktop are static and permanent. But that is not correct. There are several ways to create or change new icons. You can buy programs to customize your desktop, but the following steps will show you how to do this for free.
To step
Method 1 of 10: Change the program icons
 Right click on the desktop. Click on an empty spot where there is no icon yet.
 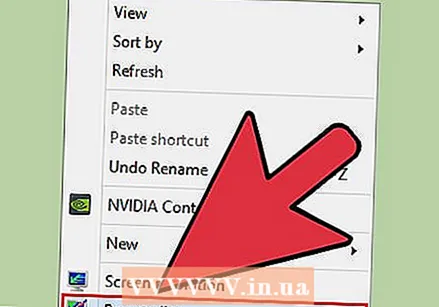 Click "Personalize" in the shortcut menu that appears.
 Click on "Change desktop icons" on the next screen.
 Click on the icon you want to change
 - Then press the "Change Icon" button.
- By selecting the check boxes at the top, you can specify which icons are displayed on the desktop. Checked boxes are icons that are displayed, empty boxes are not displayed.
 Browse the icon images and choose a different icon image.
Method 2 of 10: Create icons and shortcuts on your desktop
 Right click on the desktop. Click on an empty spot where there is no icon yet.
  Click "Personalize" in the shortcut menu that appears.
 Click on "Change desktop icons" on the next screen.
 At the top, tick the checkbox of the program or folder you want to place on your desktop.
 If you can't find the program or folder, create a shortcut. Go to the program or application you want to display on the desktop.
 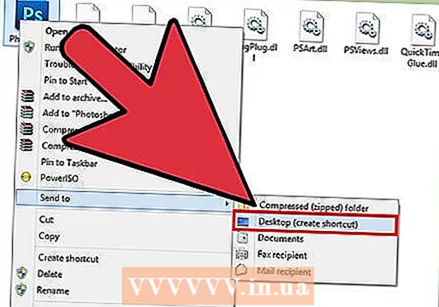 Right click on the application and select "Copy to". Then choose "Desktop".
Method 3 of 10: Change file type icons
Use this method to change all icons associated with a particular file type, such as, for example, all Notepad documents. A file icon generally changes icons of that type.
 Open My Computer> Tools> Folder Options
  Click File Types
  Indicate the file type icon you want to change.
 Click Advanced in the lower right corner of the screen.
 Change the icon.
 Use one of the 4 icons shown, or go to C: > WINNT> System 32> Progman
  Select the icon.
 Click OK.
- Note: You may not be able to edit some file types such as folders.
Method 4 of 10: Change shortcut icons
You cannot properly change individual icons on the desktop without changing the Registry, but you can change shortcut icons.
 Create a folder on the desktop.
 Name the folder Shortcuts.
 Place any desktop files you want to change the icons of to this folder.
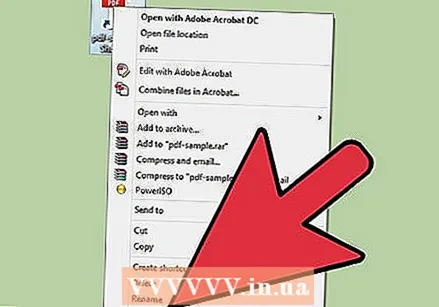
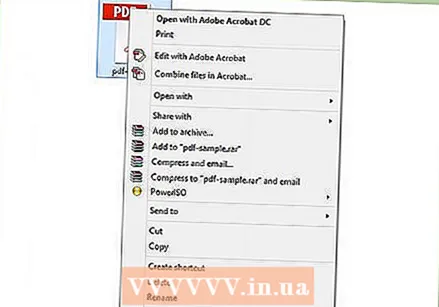 Right-click on each of these files.
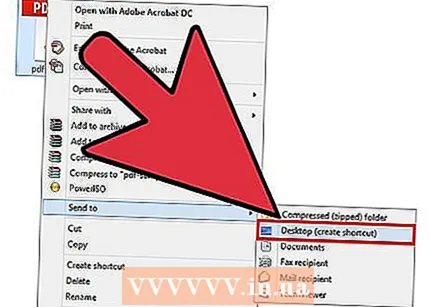 Choose Send to Desktop or Create Shortcut.
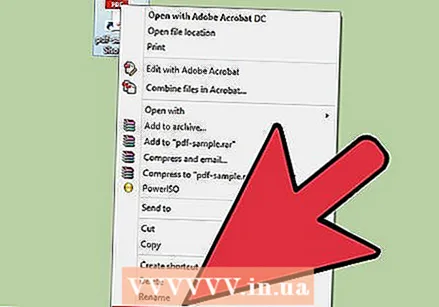 Right-click the new shortcut icon on the desktop and select Properties.
 Click Change Icon
  Click Browse to find more icons.
Method 5 of 10: Remove arrows from the shortcuts
If you want to remove the little arrows Windows adds to desktop icons, use "Tweak UI," a well-known Windows customization tool.
 Download the program from "TweakUI"
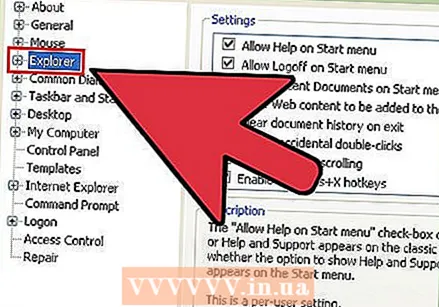 Run the program and go to Explorer.
 Then go to the Shortcut tab.
 Click on Overlay.
 Select None to remove the shortcut arrows.
Method 6 of 10: Remove arrows from the shortcuts (Alternative method)
Here is a method to get rid of those annoying arrows without downloading any software.
 First, open the Registry Editor. Start> Run> type "regedit"
  In Windows XP, go to HKEY_CLASSES_ROOT> lnkfile and delete the IsShortcut value.
 In Windows 98, go to [HKEY_CLASSES_ROOT CLSID {63B51F81-C868-11D0-999C-00C04FD655E1} InProcServer32] and delete the default value.
 For some Windows 98 computers, as well as Windows 95, go to both [HKEY_CLASSES_ROOT lnkfile], [HKEY_CLASSES_ROOT piffile] and [HKEY_CLASSES_ROOT InternetShortcut] and delete both IsShortcut values.
Method 7 of 10: Create your own icons
Here's a way to customize the icons on your desktop.
 Create a folder on the desktop and name it Icons or something similar.
 Download icons and images from the web to this folder.
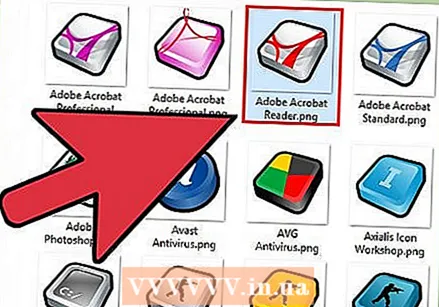 Select an icon or picture.
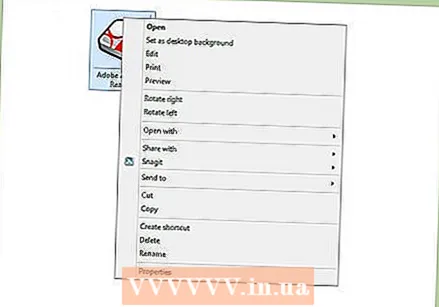 Right click to bring up the drop-down menu.
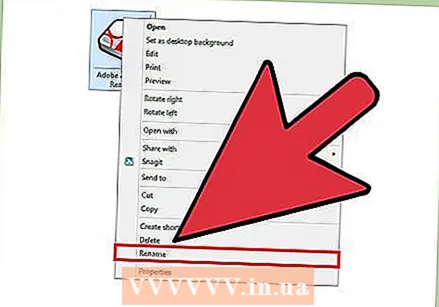 Select Save Image As.
 Save the image as .ico file and make sure the image is square (with 16x16, 24x24 or 32x32 pixels and a color depth of 16, 24 or 32 bit. You can adjust this with Paint. If the image is not accepted by the system, choose the same format as the existing icons.
Method 8 of 10: Create icons with Irfanview
You can create your own icons or icon files from images using some utility. IrFanview is an excellent example.
 Download "Irfanview".
 Place the program in the Icons folder you created. Create a new folder if you haven't already.
  Open an icon or image, including an image that you have created yourself.
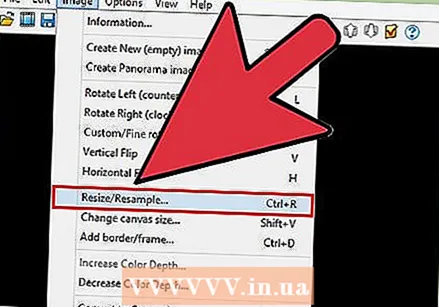 Make sure the image is square.
- Square up the image by choosing Image from the menu.
- Select Resize / Resample.
- Select either 16 or 32 pixels.
- Click OK.
 Indicate the correct color depth.
- Click on Image again.
- Click on Decrease Color Depth.
- Select the number of colors.
- Click OK.
 Save the image to a location that you want, but make sure that the file type is .ICO (Windows Icon).
 If you choose Save Transparent Color, you can indicate a color that must be transparent, so that the background (your desktop) becomes visible.
Method 9 of 10: Set the icon file association in IrfanView
At some point you will have to indicate that your computer will permanently adopt all changes. You can read how to do this here.
 Open Options> Set File Associations.
 Select Icon.
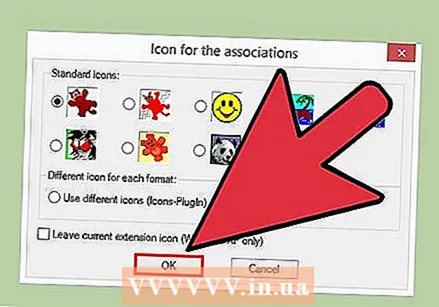 Click OK.
 Save the file.
- Select File> Save As.
- Select Binary Encoding.
- Select Save Transparent Color.
- Select Desktop> Icon Folder as the save location.
- Name the file Deskcon, for clarity.
Method 10 of 10: Change the icon description
Finally, it is a good idea to add descriptions to all new icons.
 Click the icon and then click Properties.
 Go to the Shortcut tab.
 Enter the new description in the text box behind Comment.
 Click Apply.
 Click OK.
 When you scroll the pointer over the shortcut, it will show your description. Note: This does not have to work with all shortcuts.
Tips
- About Edit32: your image must be square (16 or 32 pixels; 252 colors). In addition, it has a .ICO extension required.


