Author:
Eugene Taylor
Date Of Creation:
9 August 2021
Update Date:
1 July 2024

Content
- To step
- Part 1 of 4: Cutting away a stem from the mother plant
- Part 2 of 4: Planting the cutting
- Part 3 of 4: Transplant the new cuttings into their own pots
- Part 4 of 4: Using your new bougainvillea
- Tips
- Warnings
- Necessities
One of the most frequently asked questions in tropical plant nurseries concerns the propagation of bougainvillea. Most people have tried it countless times with only a few rotten cuttings as a result. Professional growers rarely answer this question, but in reality it is not that difficult.
To step
Part 1 of 4: Cutting away a stem from the mother plant
 Prune a plant to get your cuttings. Trim an older bougainvillea as you would with normal care for this tropical to semi-tropical plant.
  Remove and trim excess leaves. Certain parts will not grow or take root, so you can remove them.
 - Remove green recent growth. This will not take root.
- Remove 50% of all leaves from the part you want to take root.
- Cut the older woody parts into 5-10 cm pieces.
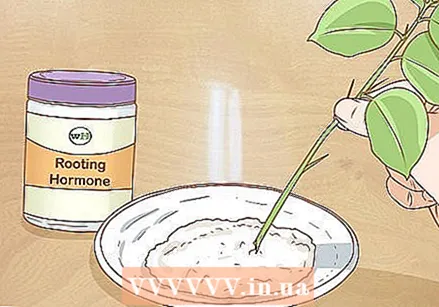 Treat and prepare the nodes. Nodes are where the roots are most likely to appear, so you will need to cut and treat the nodes to encourage growth / propagation.
 - Cut into the bottom of any section where there is a node and cut at an angle so that it has at least a slight point shape.
- Nodes are bumps or knots in the old wood.
- These are the areas where the highest concentration of the plant's natural hormones are produced.
- Moisten the bottom of each section with water and gently dip it in rooting powder.
- Rooting powder is acidic, which is why it is sometimes also called carrot acid.
- Plant growth hormone comes in both liquid and powder form and often contain an anti-fungal ingredient to prevent rot at the base where the roots will develop.
Part 2 of 4: Planting the cutting
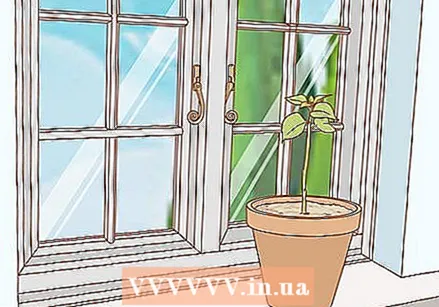
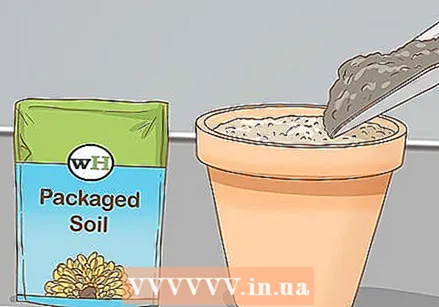 Moisten the soil and place the cutting in it. Moisten the soil thoroughly (any solid soil is fine) before inserting the small, prepared cuttings at an angle.
 - Avoid planting the cuttings straight, i.e. at an angle of ninety degrees. A forty-five degree angle will help the cutting take root better.
 Keep the cutting moist and in the shade. During rooting, keep the soil moist to muddy. Opt for 60-70% shade.
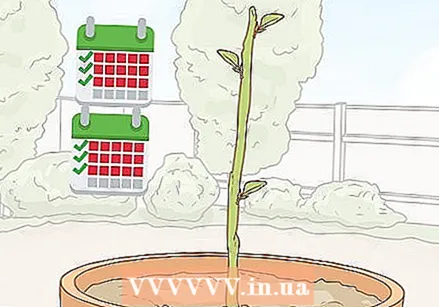
 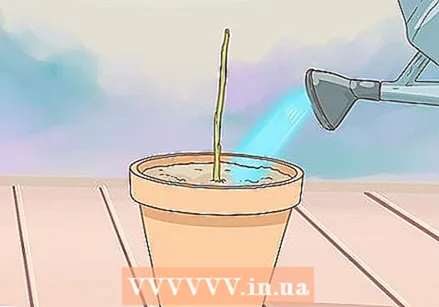 Wait for it to germinate. It may take a while for the cutting to germinate, in some cases up to ten weeks.
 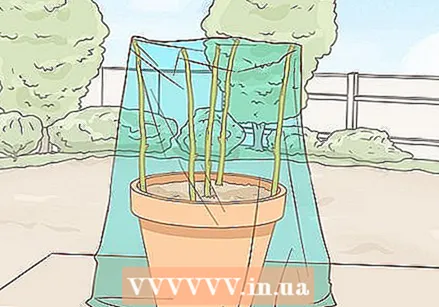 Leave the cuttings until four or six leaves have appeared. Be careful not to disturb the roots before they are ready. Leaves will appear, but this does not mean that the roots are ready.
 - Avoid removing cuttings when the first leaves appear. Foliage growth simply means that the rooting is about to take place, not that the plant has already taken root.
- Avoid pulling cuttings to check the roots as this will disrupt root growth and often cause the cutting to die.
- Once they have established themselves in the ground, leave the cuttings alone. Most people stop rooting by constantly monitoring the plant.
Part 3 of 4: Transplant the new cuttings into their own pots
 Know when the cuttings are ready. Remove the cuttings after three months and after shoots with four to six leaves have grown.
 - Seeing significant roots means it is time to transplant the cuttings to individual plastic pots and slowly move them from the shade to the sun.
 Follow the three-step process to full sun. You have to follow this process step by step to keep the plants happy.
 - Leave them in a place with a little more sun for a week at a time. This is called "hardening off" in tropical areas.
- After moving to full sun, wait a week and then plan how and where to plant them.
- Once in a pot or in the ground, provide extra water for a month or more so that the spindle root can grow even deeper.
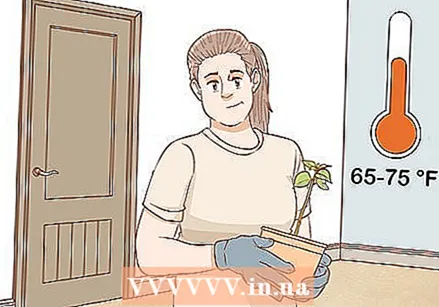
 Establish the new plants in their new place. The cuttings have now become full-fledged plants themselves and are adapting.
 - After a month, reduce the extra water so they can acclimate to their new "home".
- Once fully established, it will take a little bit of stress (fluctuations in the amount of water) to speed up flowering.
- The bloom is NOT the vibrant color we see, but the insignificant white flowers at the ends of the glossy stems.
Part 4 of 4: Using your new bougainvillea
 Give away the plants you don't need as pretty gifts or sell them to a nursery.
- The rooting, if done according to the steps above, will produce many more plants than you actually need, so be creative in how you will donate or sell the rest.
 Some people use bougainvillea propagation as a way to increase their income.
Tips
- Use bougainvillea as stand-alone plants, let them grow up along a fence, or use them to hold the soil on a hill during heavy rains.
- Aging ensures that these plants can tolerate drought and poor soil well. This makes them great additions to places where no other tropical plants can grow.
- By keeping them in pots you can prevent the plants from growing too fast and getting too big. In pots they can be made into bonsai, which makes these fantastic plants even more interesting.
- The rooting of the bougainvillea subspecies can vary considerably. The steps are the same, but some take root much faster than others.
- Trim the tops of each plant after it has grown 6-8 inches. This will ensure that more energy is focused on root production, which will help the plant develop a firmer base.
Warnings
- Use latex or other gloves when using rooting powder. Links between the powder (or liquid) and atypical cell growth in humans have already been observed.
- Wear gloves when cutting the original shoots to make cuttings. After flowering, most cuttings form very strong and sharp thorns.
Necessities
- Rooting powder
- Hard bougainvillea stains.
- Pan or dish to place the cuttings on for rooting
- If you don't have shade, buy a piece of "shade cloth" that you can stretch over the newly planted cuttings.
- Garden gloves as well as latex or rubber gloves
- Small plastic pots of 7.5-15 cm to transplant the newly rooted cuttings
- Very sharp garden shears for making cuts so that the cuttings will take root


