Author:
Christy White
Date Of Creation:
5 May 2021
Update Date:
1 July 2024
Content
- To step
- Method 1 of 4: Prepare the wood
- Method 2 of 4: Stain the wood
- Method 3 of 4: Remove the old stain layer with chemical means
- Method 4 of 4: Sand the wood to remove the stain layer
- Tips
- Warnings
Wood stain can be a great way to give new life to a piece of furniture, your kitchen cabinets, a wooden deck or any other wooden object. However, if the wood is already stained, you may not know how to do the job. Fortunately, there are some simple guidelines that can help you know whether to remove the stain or just apply a new stain to the old stain.
To step
Method 1 of 4: Prepare the wood
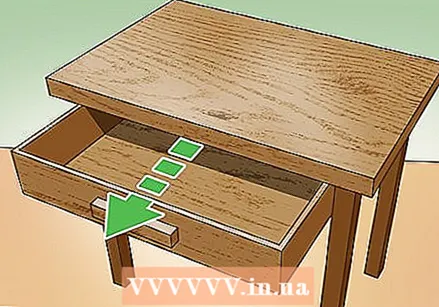 If possible, remove all drawers, doors and iron parts from and off the furniture. Taking the furniture apart will make it easier to paint it evenly because you can lay each part flat when staining. You can also make sure that you do not miss any spots and that you can stain the back of the doors and drawers well.
 - By removing all iron parts you will not accidentally pickle them.
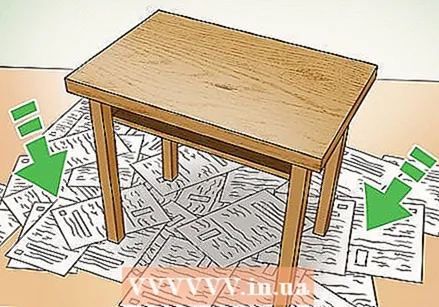 Protect your workplace. Stain is made to permanently color wood, so be sure to cover your work area with a canvas cloth, newspaper, old towels or a tarpaulin.
 - If you work outside on a lawn, no grass will stick to the stain layer during drying if you put a canvas cloth down.
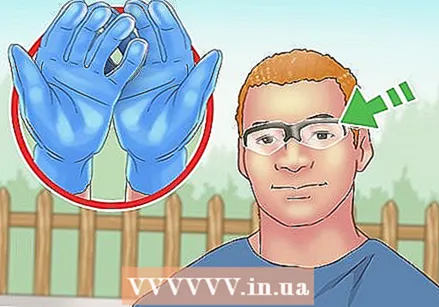
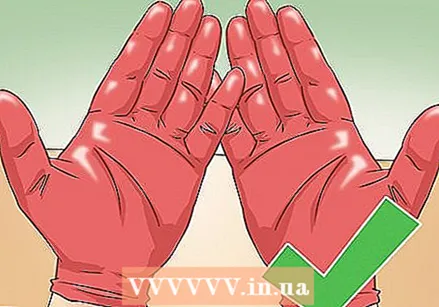 Wear rubber or latex gloves to protect your hands. Stain can be difficult to get off your skin. Wear a pair of thin gloves to avoid staining your hands and still allow them to move freely.
 - It may also be a good idea to wear old clothes that you don't mind staining if you spill stain.
 Remove the old stain if you go from a dark color to a lighter color. Most stains are formulated in such a way that the natural grain of the wood shines through. That is why you cannot get a lighter color by applying light stain to a dark stain layer. If you want to give the wood in question a lighter color, you will have to remove the old stain first.
 - You will also have to remove the old stain layer if the furniture is not only stained, but also lacquered in order to give the wood a lighter color.
- You can remove the old stain layer with a chemical paint stripper or sandpaper.
 Leave the old stain on if you want to give the furniture a darker color. If you go from light stain to dark stain, it is not necessary to remove the old stain first. However, keep in mind that the old stain layer can affect the final color of the furniture.
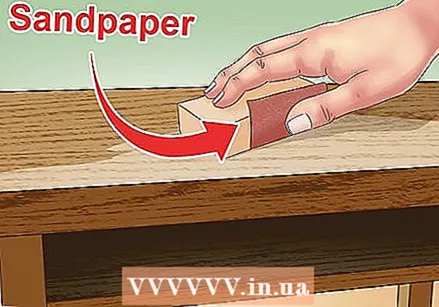
 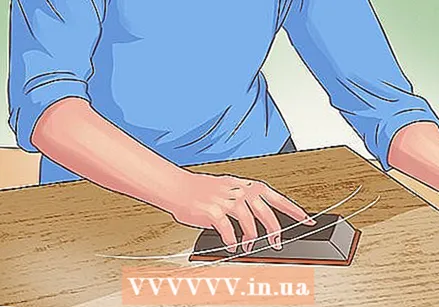 Lightly sand the surface of the furniture with fine sandpaper. You don't have to sand a lot. Just sand the wood enough to roughen the surface. 200 grit sandpaper is perfect for prepping the wood.
 - Use a sanding block or sponge so that you apply even pressure.
- If you've already sanded the wood to remove the previous stain layer, you don't need to sand it again.
- Don't sand through the old finish, or the wood will get smudged.
Method 2 of 4: Stain the wood
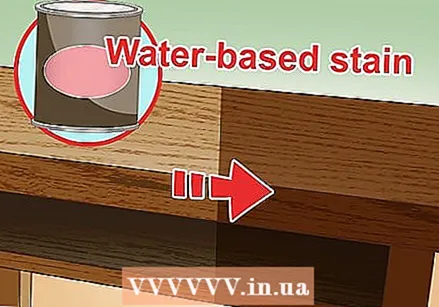 Choose gel stain, glaze stain, or water-based stain if you want to darken the wood. These types of stain usually darken the wood. They can sometimes hide the grain of the wood if you choose a very dark color.
 - The main difference between the different types of stain is the texture. If you are not sure which type to choose, ask a hardware store employee for a small amount of each so that you can try them out in an inconspicuous spot on the furniture.
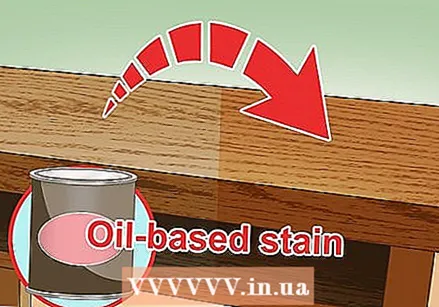 Opt for an oil-based stain if you want a more subtle color change. Oil-based stains usually have a more transparent finish and are therefore a good option if you want to get the best possible view of the grain of the wood. This stain is also a good choice if you want to darken the old stain layer slightly.
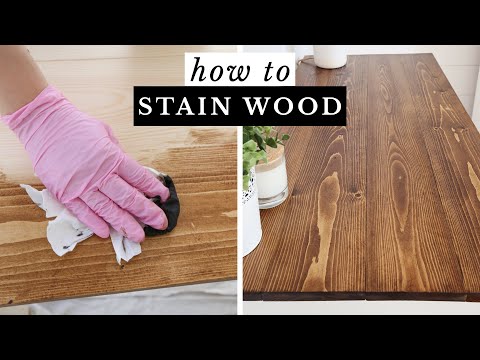
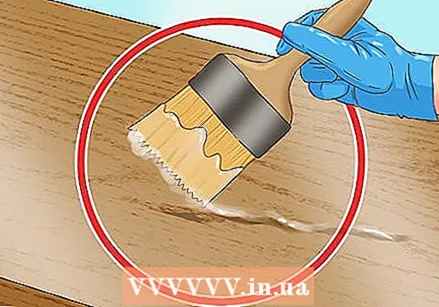
 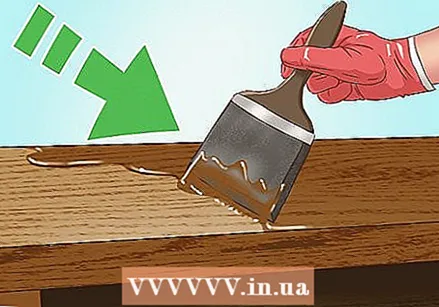 Apply a thick layer of stain with a foam brush or cloth. Using a foam brush or an old cloth will reduce the appearance of brush strokes and streaks in the stain layer. You can also apply thinner layers of stain, so that the stain is more easily absorbed by the wood.
 - If the stain is absorbed by the wood, you will eventually be able to see the wood grain better through the stain layer.
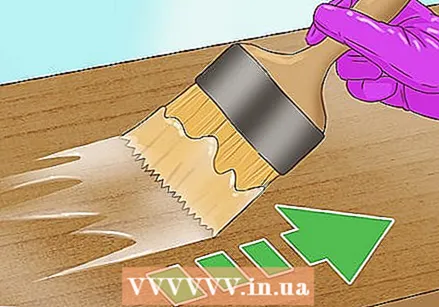
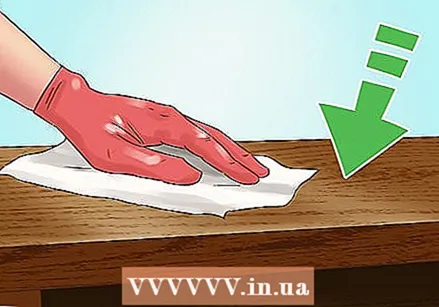 Wipe off the excess stain with pads. You may have to wipe the pads over the wood a few times to get an even stain layer. Look at the wood from different angles to make sure you don't leave streaks and blotchy spots in the stain layer.
 - You can buy pickling pads specially designed for this. They are made in such a way that they do not leave streaks in the stain layer.
- Leaving some of the excess stain on will darken the wood. However, it can be more difficult to give the wood an even color.
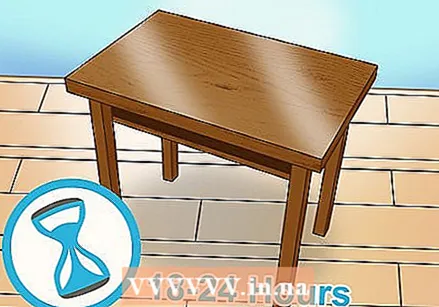 Let the stain dry for 18-24 hours. How long you have to let the stain dry may differ per stain, but by waiting 18-24 hours you can be sure that the stain layer is completely dry. If the stain layer is not dry, you will not be able to finish the wood smooth when you apply lacquer.
 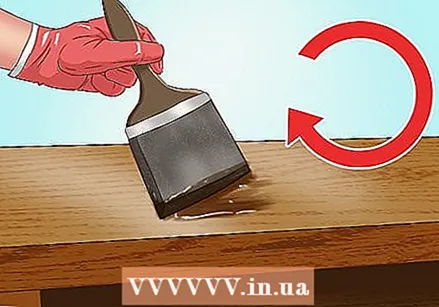 Apply another coat of stain if necessary. You may not be able to see the grain of the wood by applying several coats of stain, but a second coat can help give the wood a darker color if that's what you want. However, let the first coat dry completely before making up your mind as the color may change during drying.
 - If you only want to adjust the color slightly, then opt for applying a colored toner instead of a second coat of stain.
 For a glossy finish, apply water or oil based lacquer. Lacquer protects the stain and makes the wood shine beautifully. Apply the lacquer in the same way as the stain when the last coat of stain is dry.
 - Lacquer can also help protect the wood furniture by making it more resistant to stains and spills.
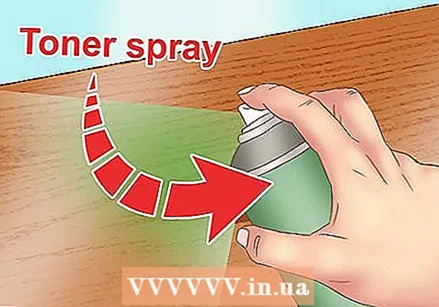 Spray a colored toner on the stain layer if you want to adjust the color. If you are not satisfied with the final color of the stain layer, you can slightly change the color with a spray toner. You usually apply a toner after the paint, but read the instructions on the packaging to be sure. A colored toner provides a thin colored layer that remains.
 - If the wood is too red in color, use green toner.
- If you want a warmer color, use red or orange toner.
- You can also use a toner with pigment, but this will give the wood a cloudy color.
 Adjust the color with frosting if you don't want to use a spray. It can be tricky to apply pigmented glaze evenly with a brush and you often see brush strokes, but glaze is a good option if you prefer not to use spray toner.
Method 3 of 4: Remove the old stain layer with chemical means
 If the wood furniture has small details that you want to keep, use a chemical paint stripper. Sanding a piece of furniture with sharp or curved edges can ruin the details that make the piece unique. A chemical stripper removes the old stain without damaging the wood.
 - A chemical stripper is also a good option if you are treating a large surface.
 Work outdoors or in a well-ventilated area. Chemical paint removers are made from harsh chemicals. Even if you buy a product that smells good, it is still better to avoid inhaling the fumes. If you can't work outside, open the doors and windows to let in fresh air.
 - If you start working on a day with little wind, you can place fans around your workplace to keep the air moving.
 Cover your workplace with a canvas cloth. If you're working on a surface that you don't want to ruin, you'll need a sturdy tarpaulin or canvas cloth to keep it from getting damaged by the chemicals you're using. Chemical paint removers are transparent, but can ruin the paint on your table or floor if they drip or are spilled on them.
 - If you don't have a canvas or tarpaulin, use thick old towels.
 Wear gloves and eye protection when working with these chemicals. The caustic chemicals in the paint stripper can be very dangerous so it is best to use personal protective equipment. In any case, wear gloves and goggles that can protect you if your paint stripper spills or splatters. Try to avoid getting paint stripper on your clothes, as you can get burns if you get it on your skin.
 - It may also be a good idea to wear a dust mask, even if you work in a well-ventilated area.
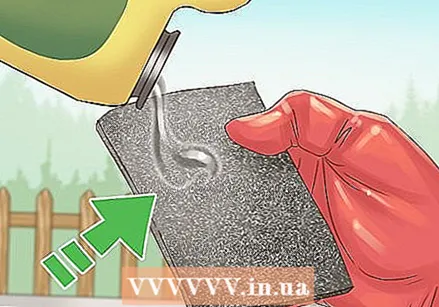 Pour the chemical stripper onto a piece of very fine steel wool. There are several ways to use chemical stripper, but this method only requires steel wool. Very fine steel wool has strength # 00, but you can also use steel wool with strength # 000 or even # 0000, depending on what you have at home.
 - The finer the steel wool, the smoother the surface of the wood will eventually become, but the longer the process will take.
- Depending on the size of the furniture, you may need several packages of steel wool. Steel wool is often sold in packs of six.
- You can buy paint stripper and steel wool at a hardware store.
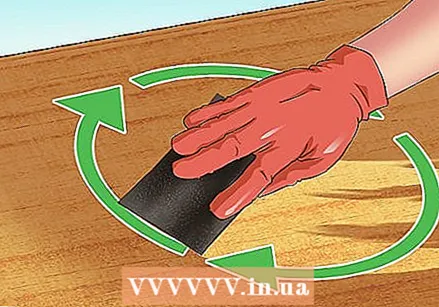 Rub the piece of steel wool over the surface of the wood in circular motions. When the steel wool is soaked with paint stripper, treat the wood in small sections. Rub the surface in circular motions. You should immediately see that the stain is transferring to the piece of steel wool.
 - Pick up a new piece of steel wool when the old piece of steel wool is full of stain.
 Continue until the stain layer is completely removed. If there are areas where you are unable to completely remove the stain, you can use a wire brush or a small piece of sandpaper to get the job done.
 - Let the wood dry completely before applying the stain again.
Method 4 of 4: Sand the wood to remove the stain layer
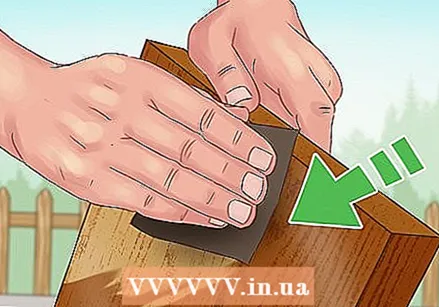 Sand the wood if the piece of furniture in question is small. If you want to stain dark wood in a lighter color or remove paint, sanding can be a good option. Sanding is the fastest way to remove an old stain from wood, especially if it is a small piece of furniture or one with a large, flat surface without details.
 - Sanding is also a good choice if you don't want to work with chemicals.
 Start with rough sandpaper and then use finer sandpaper. For the first sanding, use a rough piece of sandpaper with grit size 80 and then treat the surface with sandpaper with an average grit size of 150. Finally, you can use fine sandpaper with grit 220, for example, if necessary.
 - By using finer sandpaper you ensure that the surface of the wood does not wear too much.
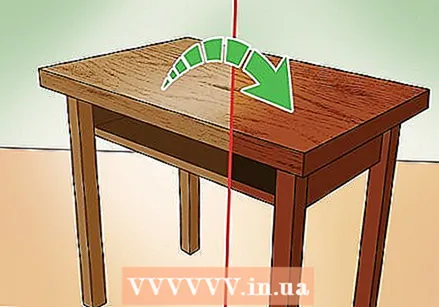
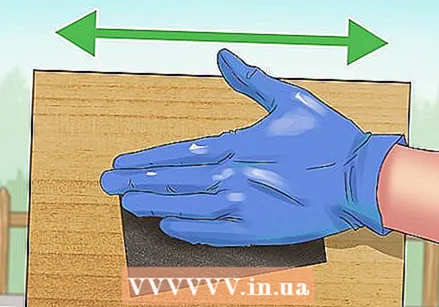 Keep the sandpaper or sander flat on the wood while working. Whether you're using a sander, sanding block, or just a piece of sandpaper, hold the tool flat against the surface of the wood while sanding. This gives the wood an even finish.
 - Otherwise, you may sand the wood unevenly, causing the wood to wear out and creating light spots that can be seen through the stain layer.
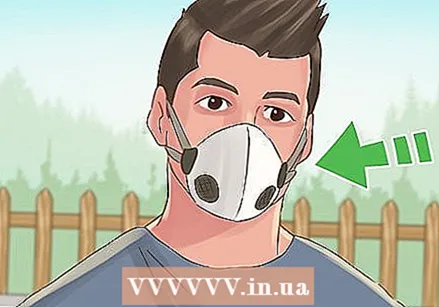 Wear a dust mask while sanding. Sanding will not release dangerous fumes, but there will be a lot of tiny dust particles in the air that can irritate your lungs if you breathe them in. A dust mask helps to protect your lungs while you work.
 - You can usually buy dust masks at hardware stores.
 After sanding, wipe the surface of the wood with a wet cloth to remove all sanding dust. When you are done sanding, make sure that no sanding dust is left on the wood surface, otherwise it will mix with the stain and create a rough, gritty finish.
Tips
- Do not apply stain to polyurethane lacquer, wax, varnish or shellac. The stain will then not dry properly.
Warnings
- Only use chemical paint removers in a well-ventilated area.
- Protect your hands, skin, eyes and respiratory tract with the correct personal protective equipment when working with aggressive chemicals.


